Send a Message
Start sending web push notifications using the Infobip SaaS layer.
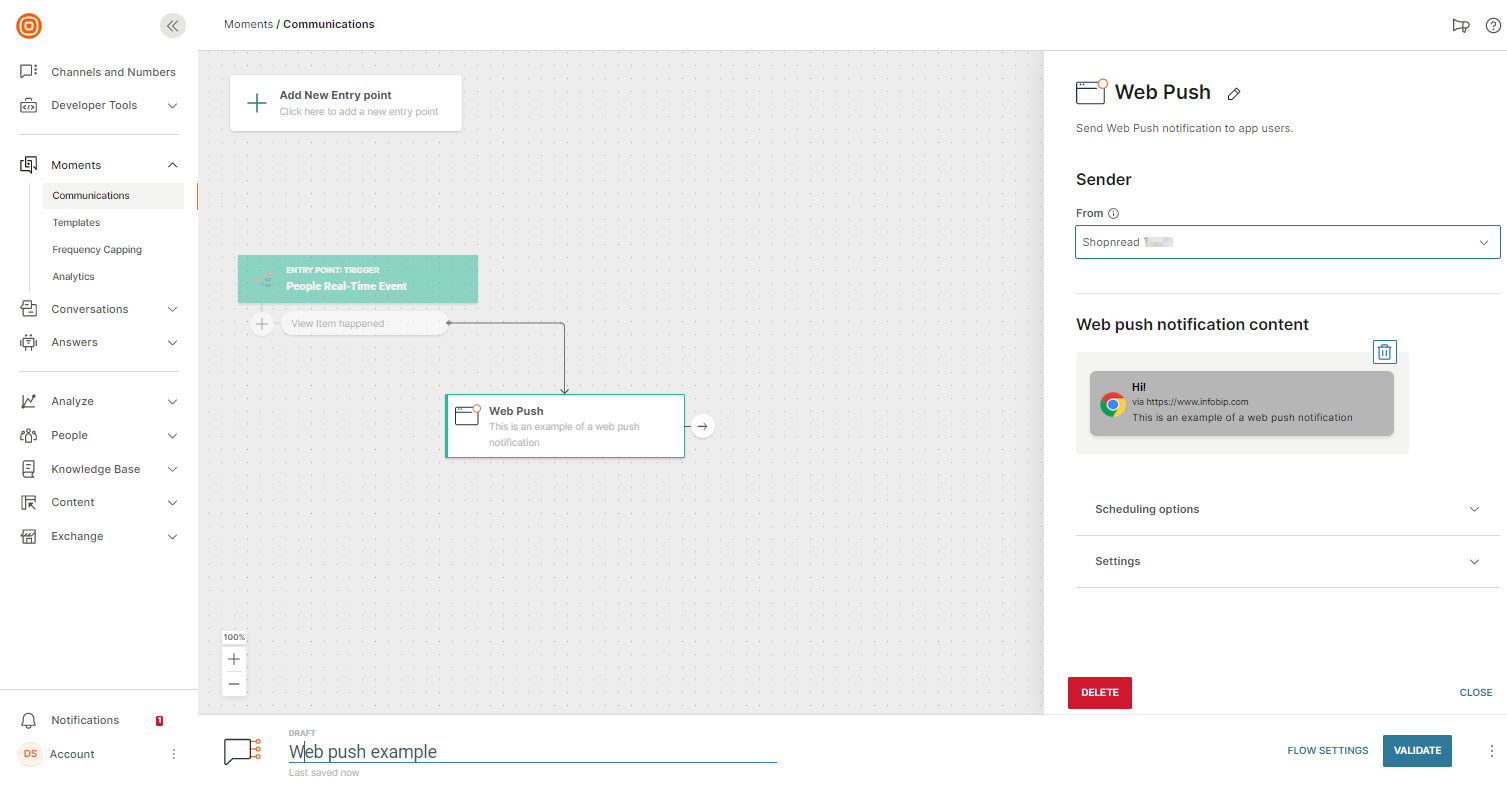
Web Push Notifications over Flow
Create notifications and send them to users over Flow, our two-way communication tool. But first make sure that you have completed the WPN configuration in the Channels and Numbers module on our web interface. If you have already set it all up, follow these steps:
- Go to Moments > Create Flow > Start from Scratch.
- Select the trigger for your communication: People Real-Time Event. Other triggers available with WPN are Change in People Profile and Date or Time.
- Select an event. For example "view item happened." Flow will wait for this event before sending the notification. The event has to be defined in the People module.
- Add the Web Push channel element and select the sender name.
- Click Create Web Push notification.
- Select the browser and OS that you want to use for preview. In the side panel, create the notification title and content, then insert the website URL, and upload an image that you want to appear in the notification.
- Add action buttons. Note that the limit for Chrome is two buttons.
- Finish editing and click Validate. If you don`t need to modify anything, Launch your communication!
Channel Specific Options
More possibilities available with WPN in Flow:
- Shorten URLs and Track URL clicks - send nicer-looking links and get better insight into customers` reaction to your messages.
- Play sound in-app - use it if you want to add sound to your notification.
- Day of the week - define the day but also decide if you want the notification to be sent throughout that day. If you do, select the All Day check box.
- Recurring or one-time notification - schedule one or several sending dates and times for sending the notification.
- Advanced targeting - this is where you add the domain alias, browsers, countries and cities that you want to "cover," as well as operating systems and language.
Scheduling
Use this block to define when do you want to start and end your communication, and select the time zone, date(s), and day(s) of the week when the notification should be sent out.
For an even more targeted communication, use send-time optimization.
Settings
The last block in the WPN side panel is for setting the message validity period, sending speed, and data payload.
You can also enable delivery reports over API pull to learn the status of your notifications.
Web Push Notifications over Broadcast
Send web push notifications over Broadcast to trigger a notification every time a set audience lands on your web page.
- Log in to the web interface and navigate Moments > Broadcast.
- Set your channel to Web Push Notifications, then define your audience and chose the web page.
- Add your notification content in the Title and Message message fields and add an image if you want to create a rich push notification.
- Edit the additional scheduling and time parameters required and name your broadcast.
- Once ready, hit Continue to Preview and switch between the preview options to see how your notification looks.
- Hit Launch to go live.