Free trial
Your 60-day free trial starts as soon as you create an account. A countdown displays how many days remain in your trial.
After the free trial ends, you cannot send traffic or use any remaining free units unless you upgrade to a paying account. Adding funds to your account during the trial automatically transitions your account from free trial to a paid plan.
To remove trial limitations and send messages without restrictions, add a payment to your account balance. The account balance functions as a prepaid wallet for numbers and message traffic. Any unused free units remain available after you add funds.
Products included in the free trial [#products-included]
When you start your free trial, you can use the following products for testing:
To use Infobip's customer engagement solutions, refer to the Products page.
Free trial limitations
The free trial includes the following limitations:
- Trial duration: 60 days from account creation.
- Message limits: Up to 100 messages per channel to your verified number (varies by channel).
- Recipient restrictions: You can only send messages to the phone number and email addresses verified during sign-up. Phone number verification is limited to 1 number for free trial accounts.
- Test sender only: You must use a predefined Infobip test sender. The test sender is a shared number or alphanumeric identifier (for example,
InfoSMS,ServiceSMS,DemoCompany, or a number like447xxxxxx) that varies by location and channel. The test sender is removed once you reach the free message limit for a channel. - Sender limitations: The verified number and email addresses are recipients only, not senders. You can only send test messages from the test sender to verified recipients.
Add more channels
You can add additional channels to your trial account at any time.
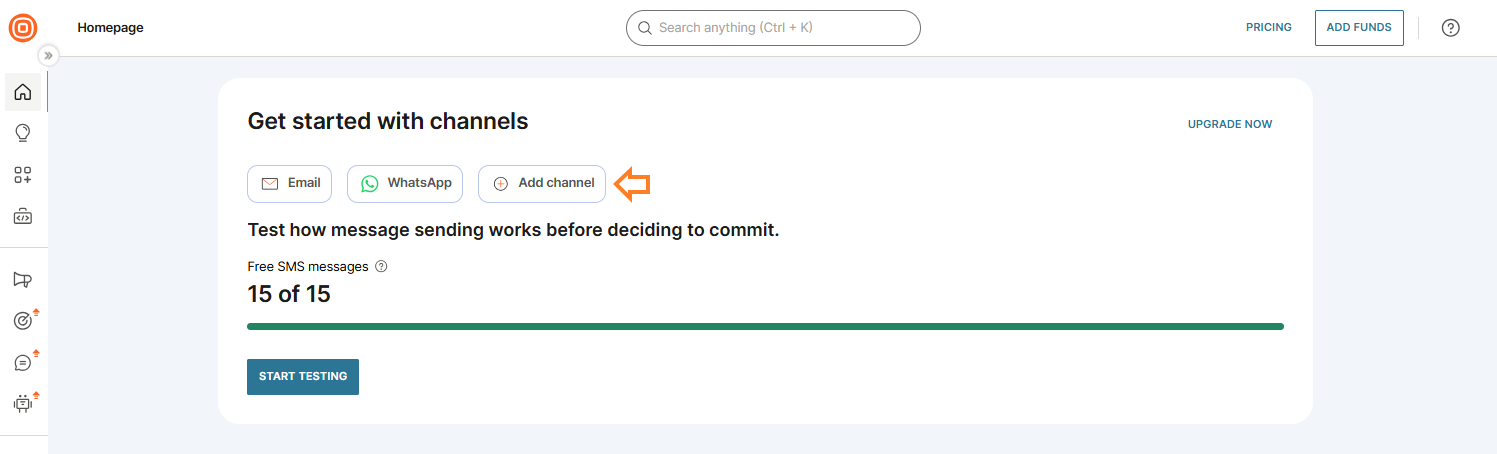
- Select + Add channel.
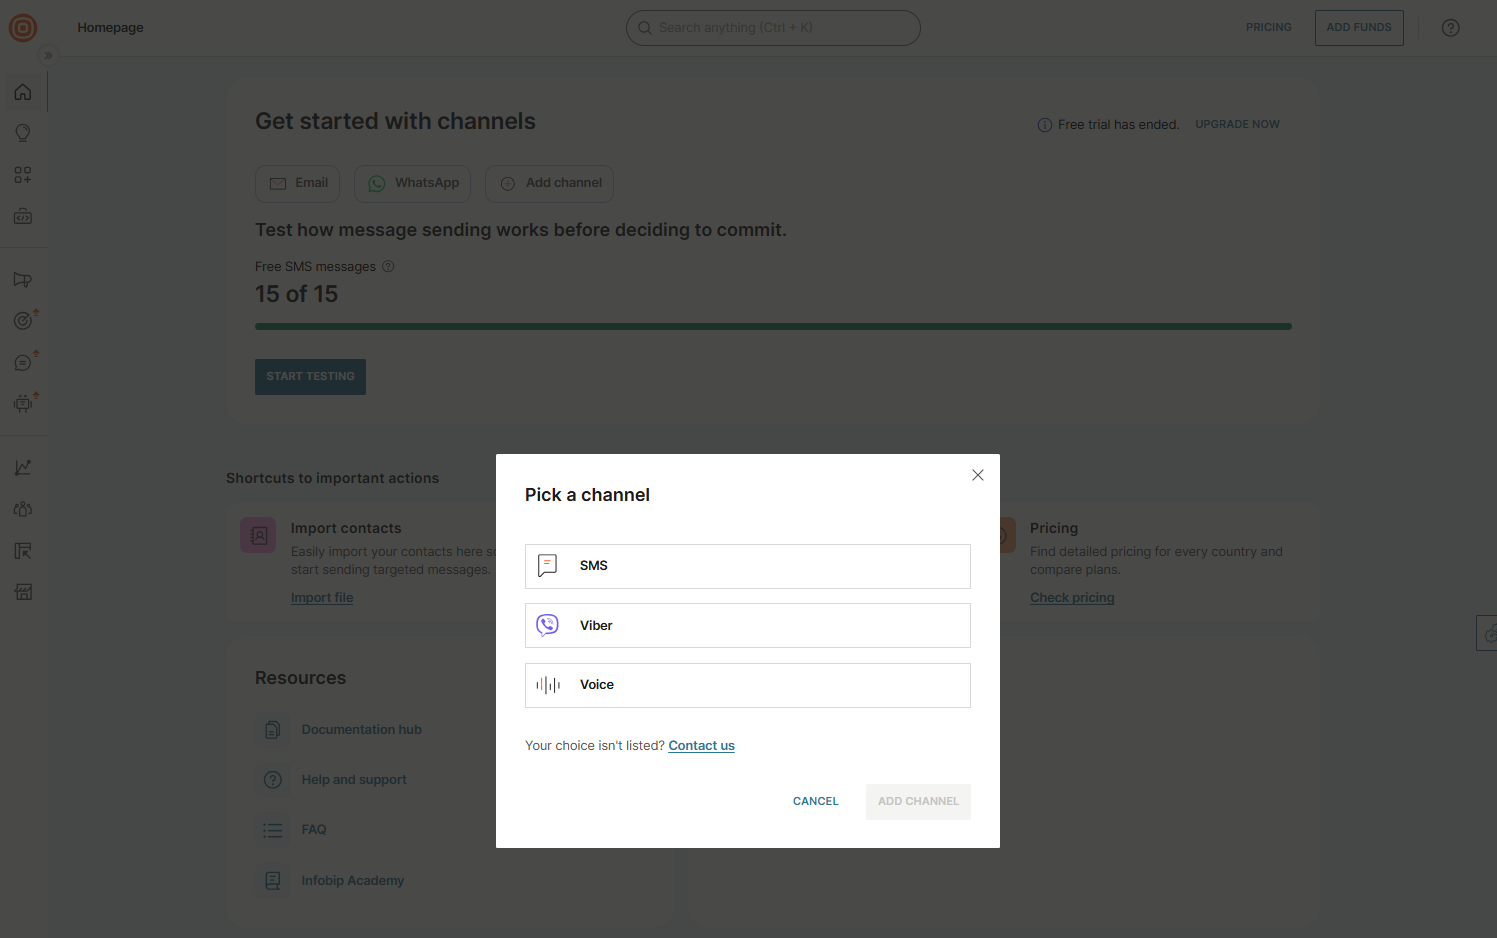
- If the channel you want is listed, select it and click Add channel.
- If the channel is not listed, select Contact us.
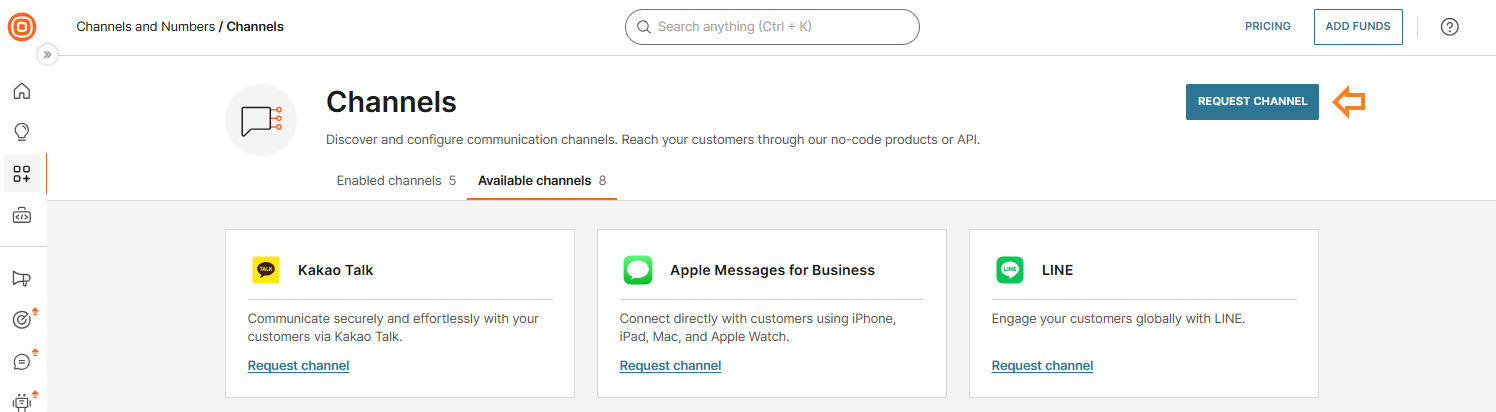
- You will be redirected to the Available channels tab.
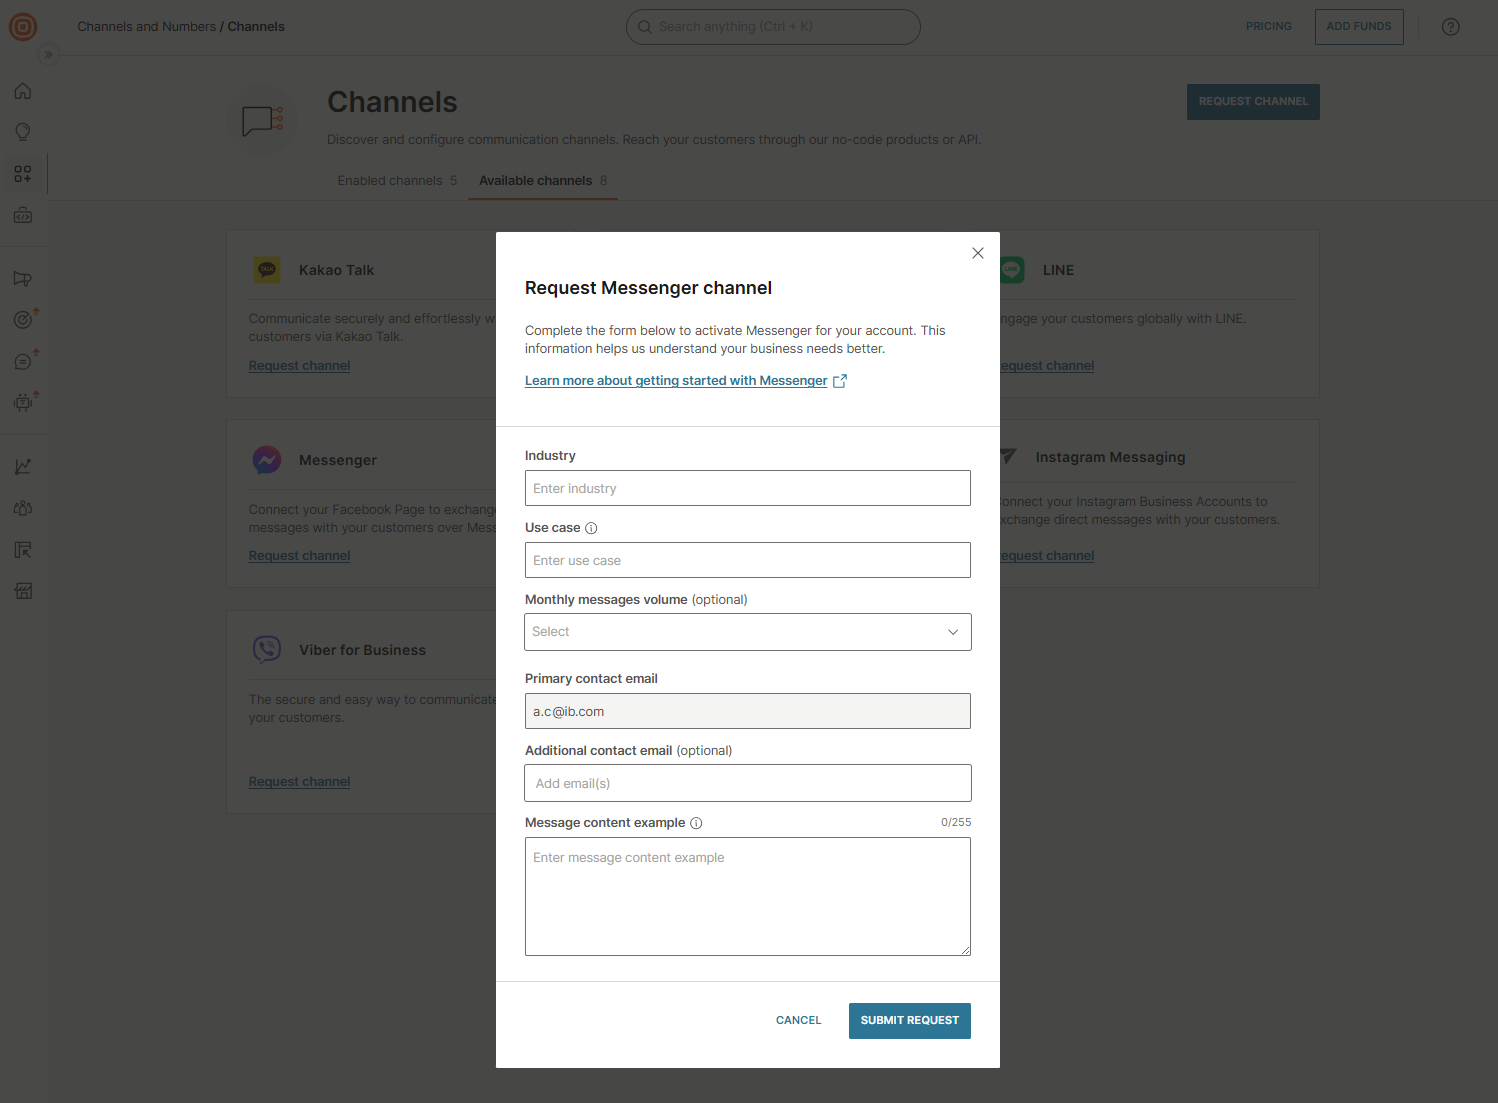
- Find the channel you want to add and select Request channel, either from the channel tab or from the upper-right corner of the page.
- Complete the request form and select Submit request.