Infobip SMS API includes a lot of possibilities that you, as a developer, can use. Since the area of application is vast, it’s worth taking the time to check out this practical example.
If you need to send an SMS message by including everything in the query, this is a post that will get you started. For this example, we’ll use Python programming language and include some code examples that will get you started in a matter of minutes.
The post is written for the beginner level which means that you can try out all of the examples just by populating them with your data.
Prerequisites
- Infobip Account with SMS credits
- Working Python environment
- Basic understanding of API
Step 1 – Installing the Python SDK
In your IDE, install infobip-api-python-sdk by running
pip install infobip-api-python-sdkStep 2 – Starting with the code
You’ll need the http.client and json modules, and a http client which will connect to your Base URL.
import http.client
import json
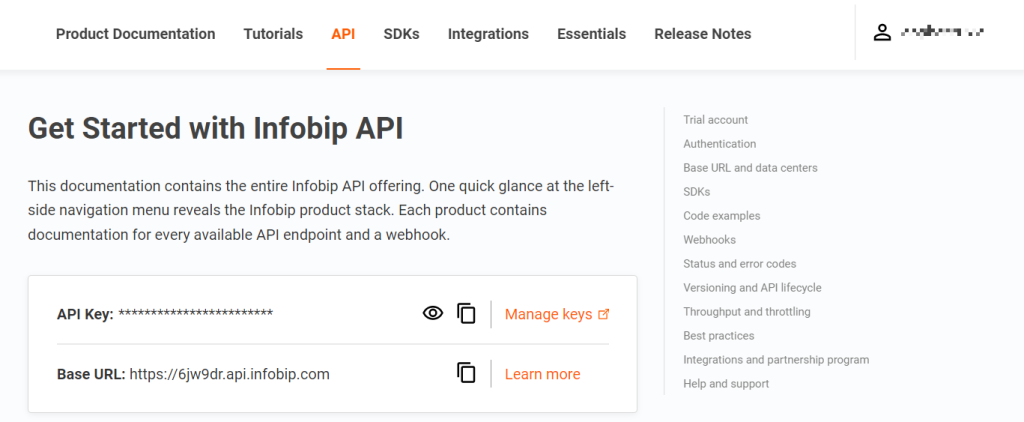
conn = http.client.HTTPSConnection("{BASE_URL}")Note: You can find your Base URL in your Infobip Account.

or on the API Reference page (make sure to log in!).
Step 3 – Payload Example
Payload example is written based on the send SMS message part of our API documentation.
payload = json.dumps({
    "messages": [
        {
            "destinations": [
                {
                    "to": "{PHONE_NUMBER}"
                }
            ],
            "from": "{SENDER_NAME}",
            "text": "{SMS_CONTENT}"
        }
    ]
})
In this code, just replace the placeholders.
For testing, use the phone number with which you signed up (limitation of a trial account) and enter the digits in an international format (e.g., 385992735323).
Step 4 – Writing the Query (GET request)
Make sure to encode user credentials and special characters when sending an SMS through a query parameter.
Use a URL encoding reference as a guide.
headers = {
    'Accept': 'application/json'
}
conn.request("GET", "/sms/1/text/query?username={YOUR_UNAME}&password={YOUR_PWD}!&from=InfoSMS&to={PHONE_NUMBER},{PHONE_NUMBER}&text=Message%20text&flash=true&transliteration=TURKISH&languageCode=TR&intermediateReport=true¬ifyUrl=https://www.example.com¬ifyContentType=application/json&callbackData=callbackData&validityPeriod=720&track=URL&trackingType=Custom%20tracking%20type", payload, headers)
res = conn.getresponse()
data = res.read()
print(data.decode("utf-8"))
Again, replace the placeholders with your data.
All the additional query parameters (e.g., transliteration, notify URL, etc.) are listed on the official documentation page.
Step 5 – Running the code
After successfully running the code, observe the output:
{
  "bulkId": "36634317509133825176",
  "messages": [
    {
      "to": "{P_NUM}",
      "status": {
        "groupId": 5,
        "groupName": "PENDING",
        "id": 18,
        "name": "PENDING_ACCEPTED",
        "description": "Message sent to next instance"
      },
      "messageId": "36634317509133825177"
    }
  ]
}
Note the bulkId and messageId values. These can be used to identify the whole bulk of messages or a single message for troubleshooting purposes (e.g., checking delivery reports).
Example of an error response
The example below demonstrates the output when using the wrong phone number (the trial account allows for just the one you signed up with):
{
  "bulkId": "36634317509133825176",
  "messages": [
    {
      "to": "41793026834",
      "status": {
        "groupId": 5,
        "groupName": "REJECTED",
        "id": 18,
        "name": "REJECTED_DESTINATION_NOT_REGISTERED",
        "description": "Destination not registered"
      },
      "messageId": "36634317509133825178",
      "smsCount": 1
    },
    {
      "to": "41793026727",
      "status": {
        "groupId": 5,
        "groupName": "REJECTED",
        "id": 18,
        "name": "REJECTED_DESTINATION_NOT_REGISTERED",
        "description": "Destination not registered"
      },
      "messageId": "36634317509133825177",
      "smsCount": 1
    }
  ]
}
Conclusions
After going through this post, you should now be able to send an SMS message with Infobip API using just one query.