Build a no-code SMS agent with Microsoft Azure AI Foundry and Infobip
By the end of this guide, you will have a working AI agent inside Microsoft Azure AI Foundry that can send SMS messages on demand through the Infobip SMS MCP server.
Scenario overview [#scenario-overview]
MCP servers let AI agents call external services as tools. Microsoft Azure AI Foundry can connect to the Infobip MCP docs directly from its Tools catalog to make it available to any agent you build in the platform.
In this guide, you will build an agent called sms-communicator that accepts natural-language requests, fetches live data, and sends the results in an SMS message.
Foundry supports two ways to authenticate the MCP server connection: API key and OAuth. This guide covers both, so you can choose the right one for your use case.
Choose your authentication method [#choose-auth]
Foundry supports two authentication methods for MCP server connections. Read the comparison below and pick one before starting.
| OAuth Identity Passthrough | API key | |
|---|---|---|
| How it works | Each user signs in to their own Infobip account via a browser popup on first use. | A single Infobip API key is stored in Foundry and used for all requests. |
| Setup effort | N/A | Requires creating a scoped API key in the Infobip account. |
| Best for | Agents used by individual users who each have their own Infobip account. | Shared or automated agents where one service account sends on behalf of everyone. |
| Credential management | None. Microsoft manages the OAuth app. | You own the key lifecycle (rotation, expiry, revocation). |
| Runtime prompt | Sign-in popup on first use per session. | No prompt. Seamless for the end user. |
Prerequisites [#prerequisites]
- Infobip account. Free trial accounts can only send messages to the phone number registered at signup.
- A Microsoft Azure account with access to Azure AI Foundry and an existing Foundry project.
- A deployed LLM model in your Foundry project (for example,
gpt-4o-mini). - A destination phone number in international format (for example,
447415774332). - API key only: an Infobip API key with the
sms-managescope. Find out more about API keys and scopes.
Difficulty level [#difficulty-level]
Beginner. No programming knowledge required. You should be comfortable navigating web-based admin portals.
Summary of the steps [#steps-summary]
- Create an agent in Azure AI Foundry and configure its model and instructions.
- API key only: Generate a scoped Infobip API key in the Infobip account.
- Connect the Infobip SMS MCP server using your chosen authentication method.
- Add Bing Web Search to the agent for live data lookups.
- Test the agent by requesting an SMS.
- Verify the SMS is delivered to the destination phone number.
Step 1. Create the agent [#step-1-create-agent]
- Go to ai.azure.com and open your Foundry project.
- In the left navigation, select Agents.
- Select Create agent.
- Enter
sms-communicatoras the agent name and select Create.
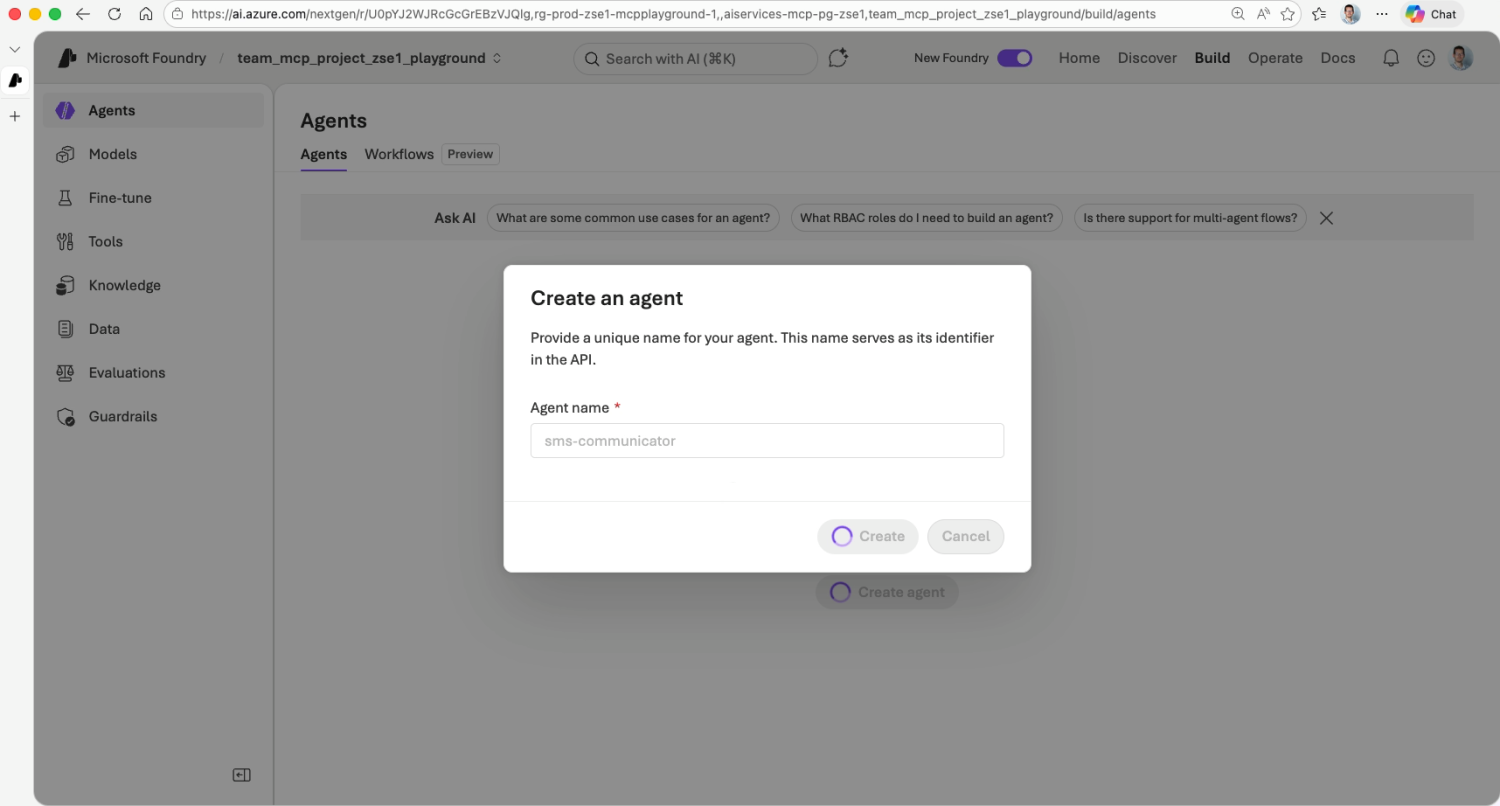
Once the agent is created, the agent playground opens.
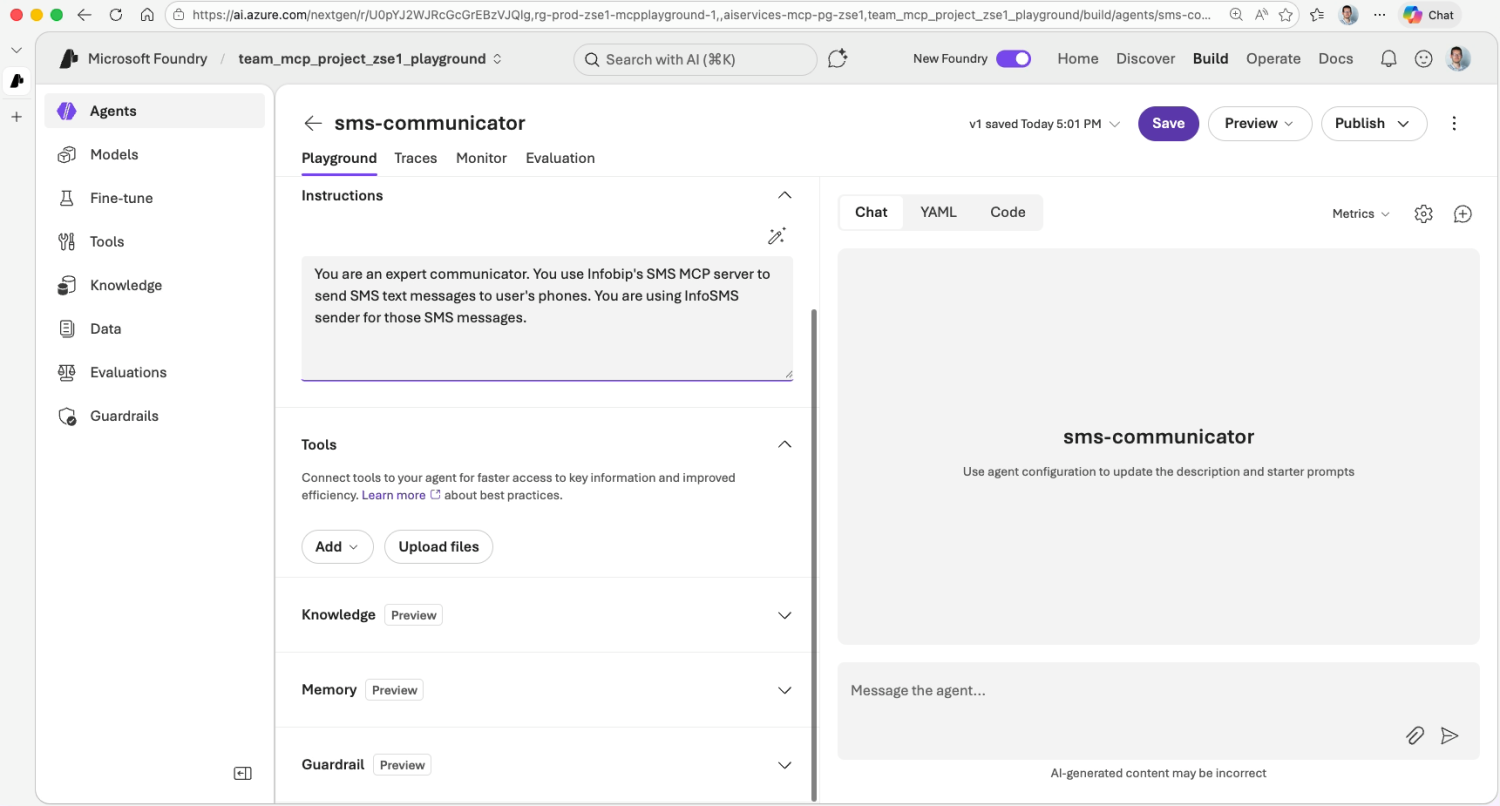
Step 2. Configure the agent [#step-2-configure-agent]
Do the following steps in the sms-communicator playground.
Set up the model [#step-2-model]
Select a deployed model for your project. gpt-4o-mini is a good default for this use case.
Write the system instructions [#step-2-instructions]
In the Instructions field, enter:
The InfoSMS sender name used in this guide is a shared sender you can use for testing. For live traffic, check your Infobip account for available senders to purchase.
You will add tools in the steps below.
Step 3. Connect the Infobip SMS MCP server [#step-3-connect-mcp]
The connection steps differ depending on the authentication method you chose. Follow the tab that matches your choice.
Connect with OAuth Identity Passthrough
No Infobip account setup is required. Foundry handles the OAuth flow using a Microsoft-managed app.
You can access this step from the left menu.
-
Select Tools in the left menu bar, and then select Connect a tool.
-
Open the Catalog tab and search for
sms. -
Select Infobip SMS MCP server and then select Create.
This opens the tool connection setup.
-
Leave the tool's Name field as
Infobip SMS MCP server. -
Under Authentication, confirm that OAuth Identity Passthrough is selected.
-
Under OAuth Provider, select Managed and then select Connect.
Foundry will now create a project-scoped connection. The MCP server connection is shared across all agents in the project. You only need to connect it once.
Generate an Infobip API key
Before connecting, create a dedicated API key in the Infobip account with the minimum required scope.
-
Open a new browser tab and go to portal.infobip.com.
-
Sign in with your Infobip credentials.
-
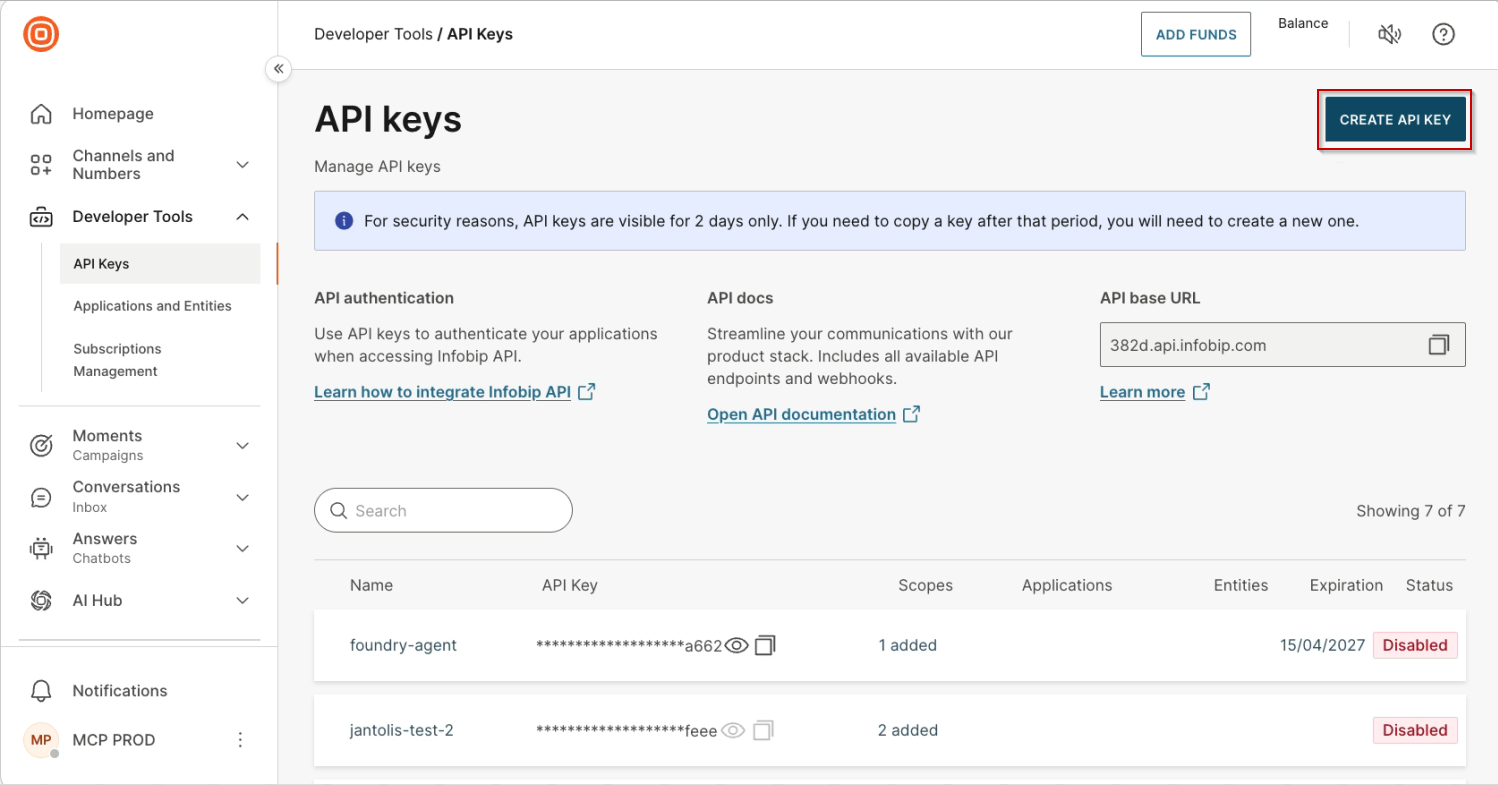
In the left navigation, go to Developer Tools > API Keys.
-
Select Create API key.
-
Fill in the key details:
- Name:
foundry-sms-communicator-agent(or any name you will recognize). - Expiration date: set an appropriate expiry for your use case.
- Name:
-
Under API Scopes, search for
sms-managewhich grants access to all SMS API endpoints. -
Select Create.
API keys are only visible for 2 days. Copy the key value immediately and store it somewhere safe.
Connect to Foundry with key-based authentication
-
Return to the Azure AI Foundry tab and navigate back to your agent's playground.
-
Under Tools, expand the Add menu button and choose Browse all tools.
-
Open the Catalog tab, search for
sms. -
Select Infobip SMS MCP server and then select Connect.
This opens the tool connection setup.
-
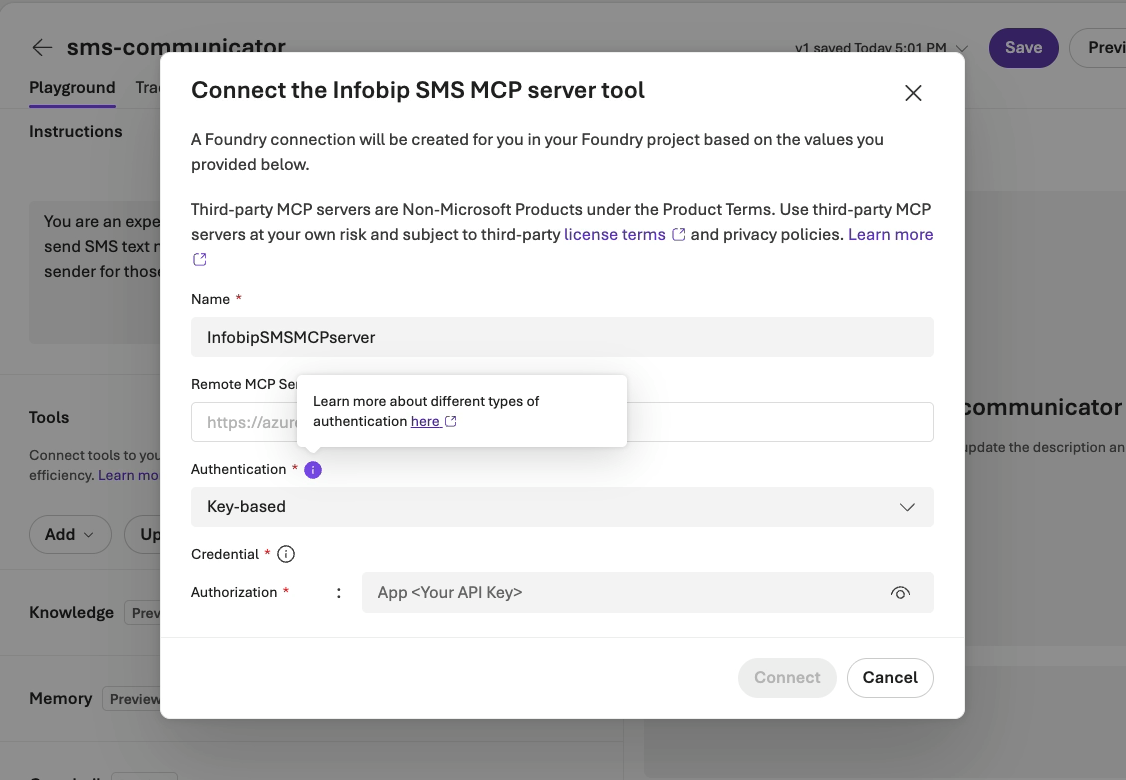
Leave Name as
Infobip SMS MCP Server. -
Under Authentication, select Key-based.
-
Under Authorization, enter your API key in this exact format:
App <Your_API_Key> -
Select Connect.
Foundry will store the API key as a project-level credential and will connect to the Infobip SMS MCP server.
Step 4. Add Bing Web Search [#step-4-bing-search]
Adding Bing Web Search lets the agent fetch live data, such as weather forecasts, before composing an SMS.
- In the Tools section of your agent's playground, expand the Add menu button and enable Web search.
- Select Search the web with Bing Search and select Add. The agent now has two tools: Infobip SMS MCP server and Bing Web Search.
- Save your progress.
Step 5. Test the agent [#step-5-test]
-
From within your agent's playground, select Preview to open the agent chat interface.
-
Type a prompt that includes a destination phone number, for example:
What's the weather going to be like in Redmond tomorrow? Send it to my phone on number 13859993791711 -
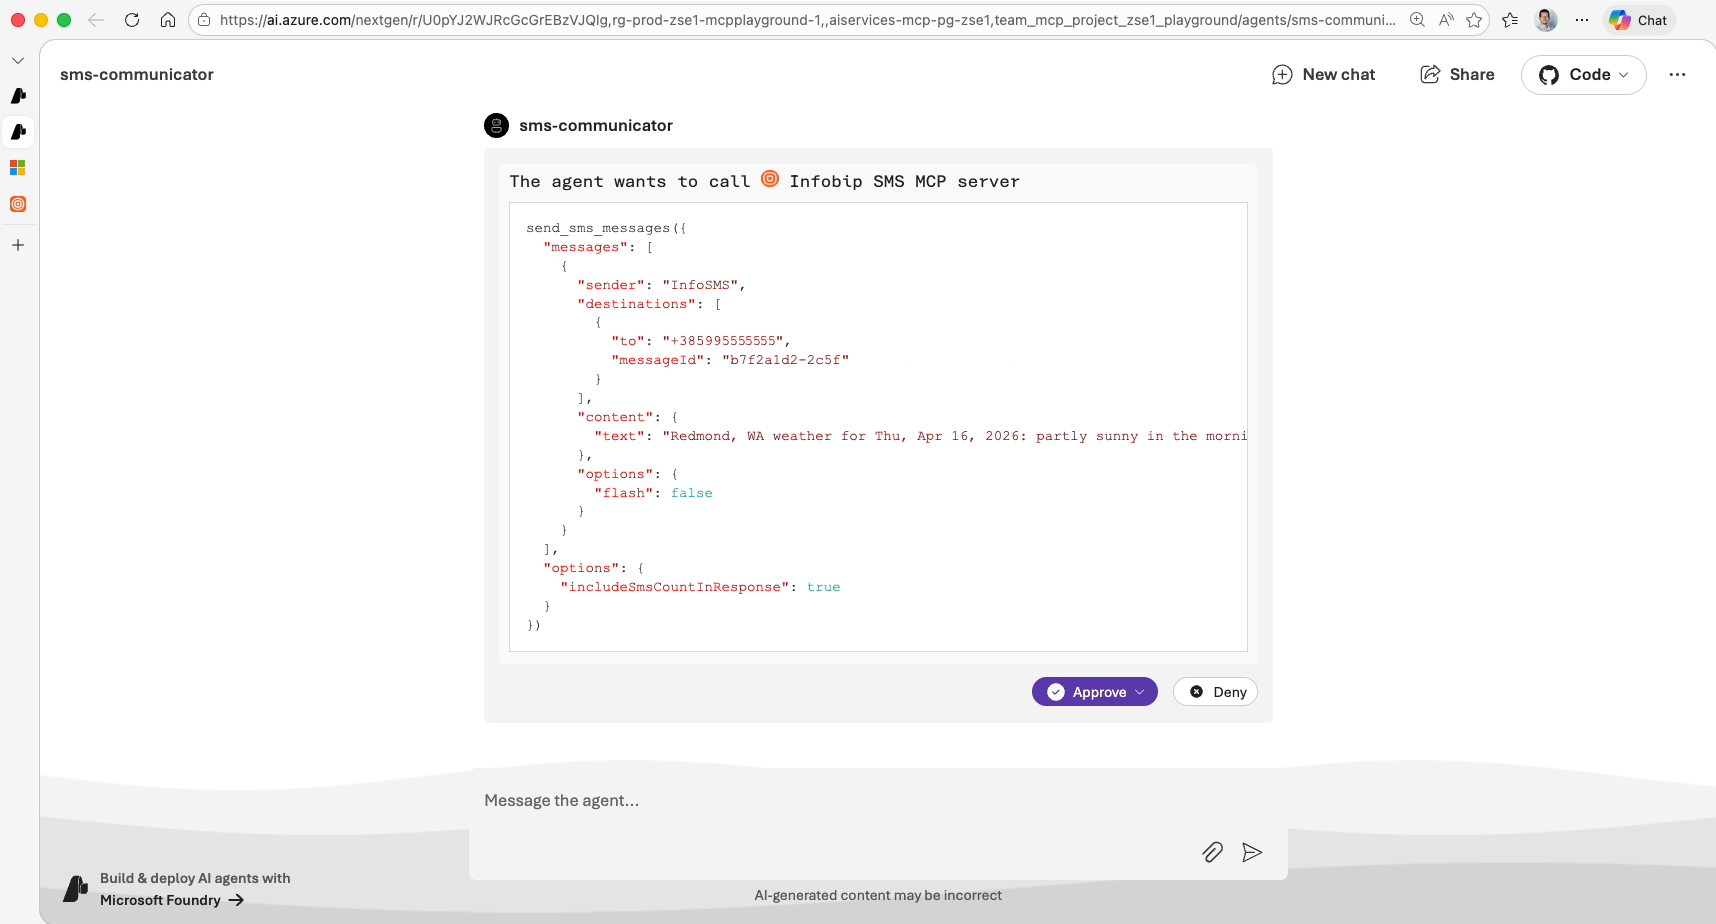
The agent will search the web for weather data, then display the SMS API call for review.
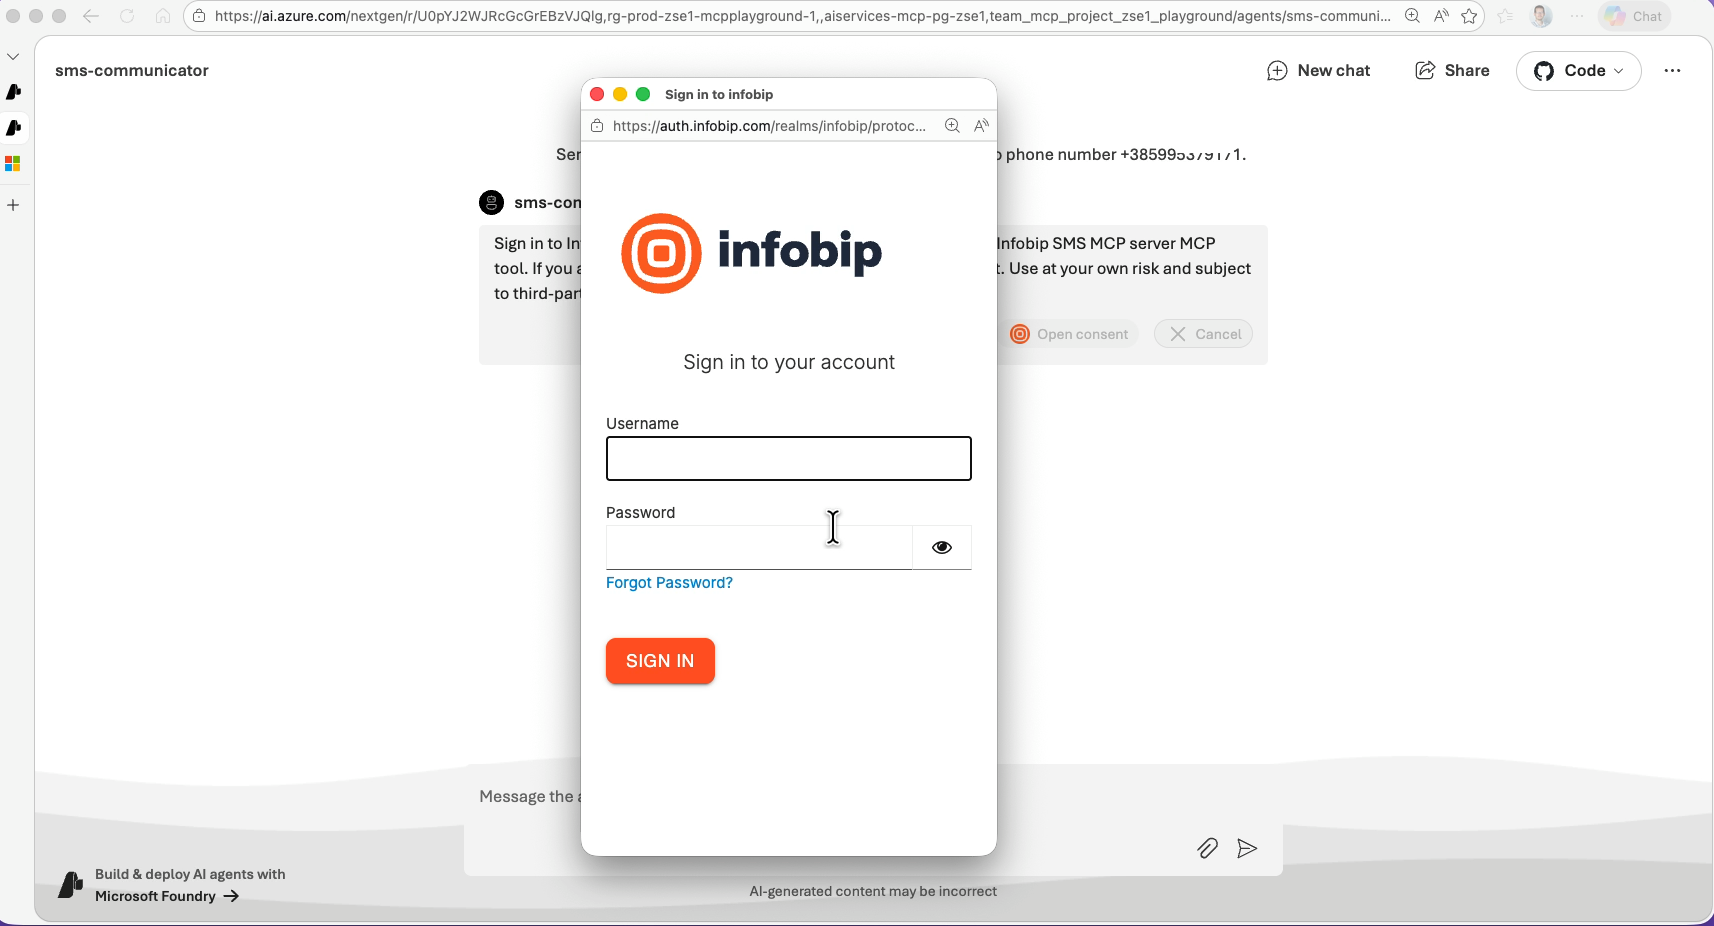
NOTEIf you are using OAuth, the first call in each session triggers an Infobip sign-in popup. Enter your Infobip credentials and select Sign in.
-
Review the payload and select Approve.
 NOTE
NOTEIn the agent playground, each tool call requires manual approval. In production, you can configure automatic approval for trusted tools when deploying the agent via the Foundry API or embedding it in an application.
Track message delivery [#track-message-delivery]
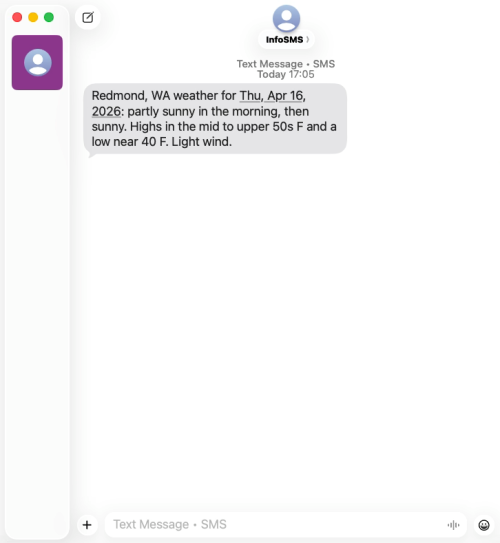
After approval, the SMS is sent immediately. Check the destination phone. The message should arrive within seconds.
To monitor delivery programmatically, use the Infobip Delivery Reports API. See SMS API reference for details on querying delivery status by messageId or bulkId.
You can also view sent messages and delivery status in the Infobip account.