Build a simple AI-powered FAQ chatbot
Quickly bootstrap AI power into any channel that we support in Answers to solve almost all FAQ problems you have. By using Answers and its early access AI assistants feature, you can easily implement a smart FAQ chatbot into popular social channels like WhatsApp and Viber.
Follow this tutorial to create, train, and implement an AI-powered FAQ chatbot.
Prerequisites
- Infobip account. If you do not have one, you can easily register.
- Communication channel (WhatsApp is used in this tutorial).
- Answers enabled.
- AI assistants enabled. This feature is currently in early access, so please reach out to our Support team if you are interested in using it.
- Web page or documents that could be used to answer frequently asked questions.
Implementation
Step 1: Create an AI assistant and set basic settings [#step-1-create-an-ai-assistant-and-set-basic-settings-implementation]
Navigate to the AI assistants page and click the Create Assistant button. Name the assistant and click Create. Choose the Write prompts method.
Copy the text below into the Prompt template field and replace everything in double square brackets with data that relates to your needs:
You are a helpful chatbot for [[Company]]'s products and services. Your name is [[FAQ Chatbot]]. This is your context:{context_str}, answer the question:{query_str} using context in a [[friendly and professional]] style. Include appropriate emojis in your response.
{context_str} and {query_str} placeholders. They are items that the AI assistant knows how to fill out automatically. Remember how you named the AI assistant so you can easily locate it in Answers later.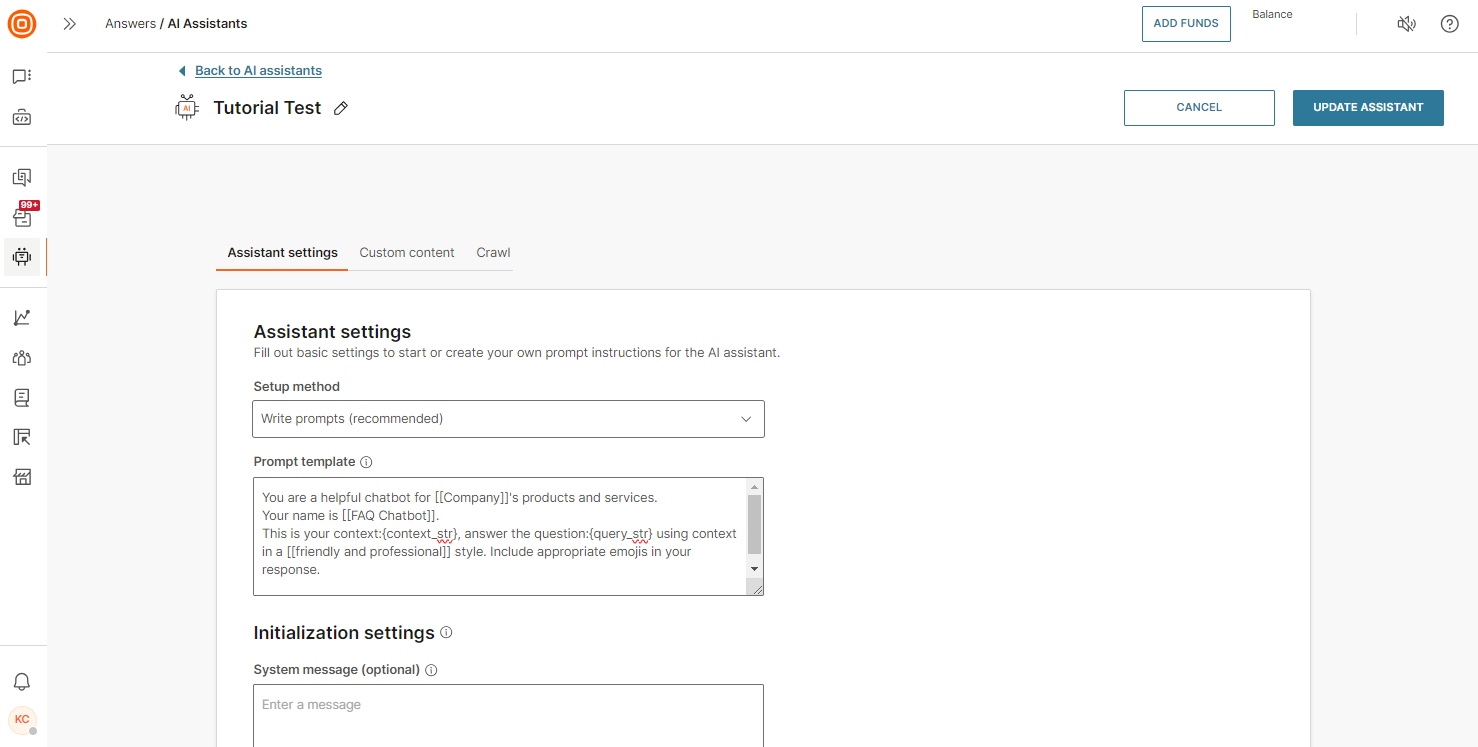
Step 2: Upload custom content to the AI assistant [#step-2-upload-custom-content-to-the-ai-assistant-implementation]
Collect any knowledge that you have - documents, videos, links - and turn them into a zipped folder that will be transformed into a knowledge base for the AI assistant.
Click the Custom content tab and upload your zip file.
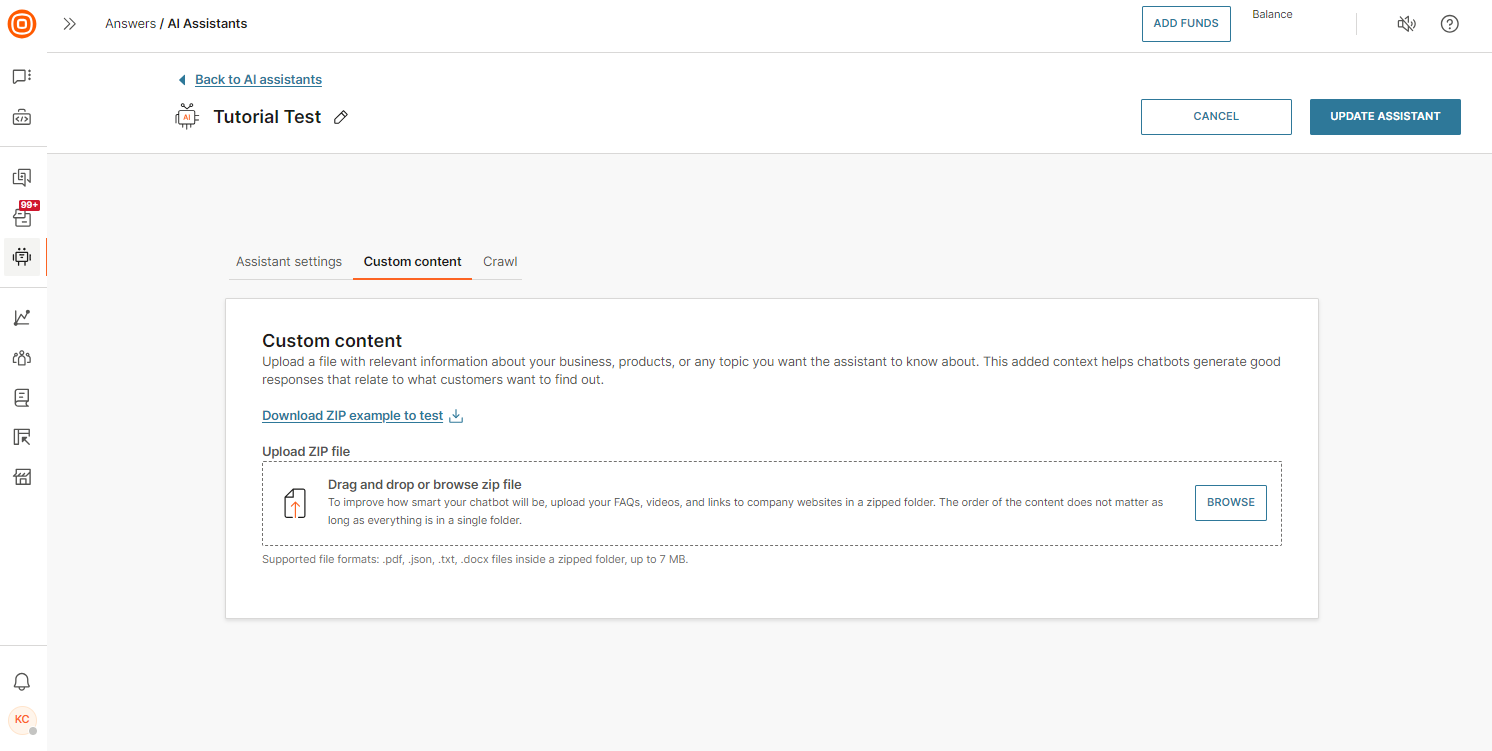
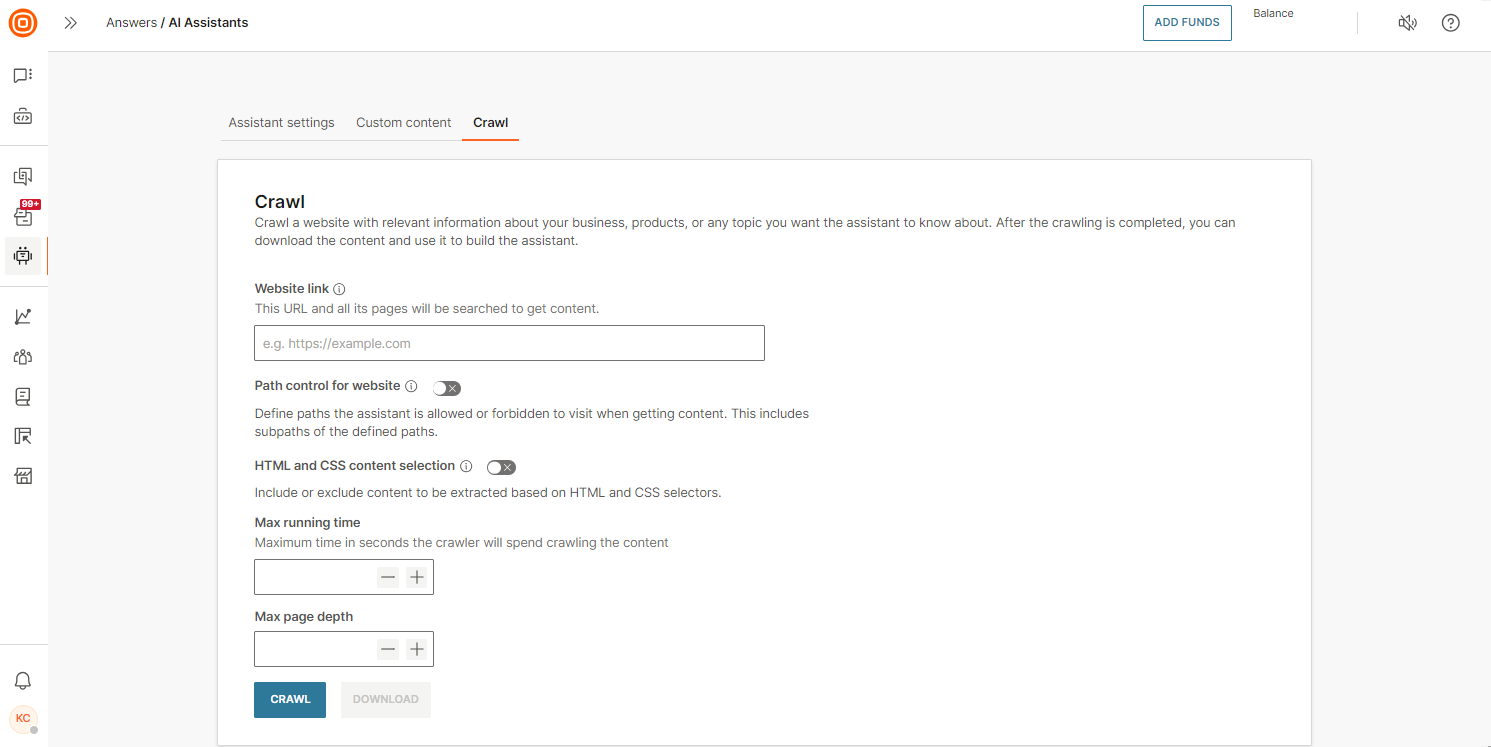
Or, as an alternative, click the Crawl tab if you already have a lot of knowledge documented on a web page, paste it, and the AI assistant will scrape it.
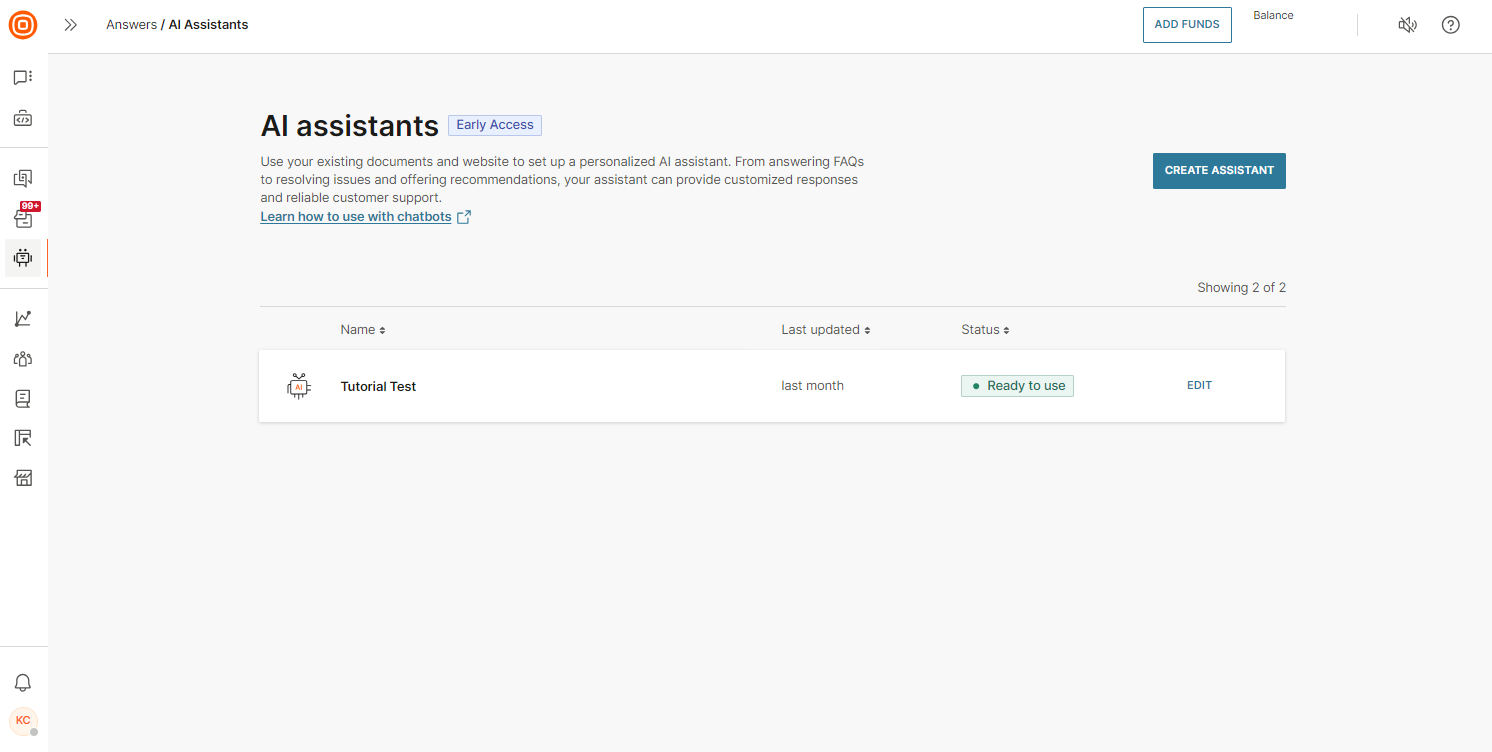
Step 3: Allow your AI assistant to process all the information [#step-3-allow-your-ai-assistant-to-process-all-the-information-implementation]
You can proceed to the next step when the status of your AI assistant changes to "Ready to use".
Step 4: Create a chatbot [#step-4-create-a-chatbot-implementation]
Navigate to Answers and create a chatbot on any desired channel. This tutorial focuses on WhatsApp.
Step 5: Add the AI assistant element to the Default dialog [#step-5-add-the-ai-assistant-element-to-the-default-dialog-implementation]
Add the AI assistant element to the Default dialog and select the FAQ assistant you created in the editor on the right side.
Step 6: Create a fallback dialog [#step-6-create-a-fallback-dialog-implementation]
If the AI assistant encounters issues processing a user's message or something goes wrong, set up a fallback dialog to inform the user of temporary difficulties and encourage them to try again.
This dialog should rarely be triggered, but in the event the AI assistant becomes unavailable, a fallback action must be in place. You also have the option to redirect the user to an agent through Conversations.
Create a fallback dialog and include a Send Text element to explain to the user what is happening.
Return to the Default dialog, select the AI assistant element, and choose the fallback dialog in the editor on the right.
Step 7: Test your chatbot and activate it! [#step-7-test-your-chatbot-and-activate-it-implementation]
Test your FAQ chatbot in the Test tab and click the Activate button if you are satisfied with the results.
Next steps
- Find out more about Answers and other features you can use inside chatbots.
- Find out more about the AI assistants, the parameters you can set, and how it works.