Launch RCS sender on carrier networks
After creating and testing your RCS sender, you must submit launch requests to make it available on carrier networks. This tutorial describes how to submit launch requests for specific countries and networks, enabling your RCS sender to deliver messages to end users in production.
The launch process involves submitting campaign details, opt-in/opt-out procedures, and supporting materials for carrier review and approval.
Prerequisites
- Infobip account. If you do not have one, you can create a free trial account.
- RCS sender created.
- RCS channel active on your account (full plan or free trial).
Launch requests are submitted per country and network. Each request is reviewed individually by carriers, and approval timelines vary by network operator.
What is sender launch? [#what-is-sender-launch]
After you create your RCS sender, it's only accessible to registered test devices. To send messages to production users, submit a launch request for each country where you want to reach end users.
The launch request includes your campaign details, brand website, demonstration video, and opt-in/opt-out procedures. Carrier networks review your request and approve or reject based on compliance with their policies. Once approved, your sender can deliver messages to real users on those networks.
Implementation steps [#implementation-steps]
Submit launch request [#submit-launch-request]
- On the Infobip web interface, go to Channels and numbers > Channels > RCS Business Messaging > Senders.
- Select the required sender.
- Select the REQUEST LAUNCH button.
Configure launch request [#configure-launch-request]
In the launch request form, configure the following settings:
Select sender and target market [#select-target-market]
-
Sender: You can remain with the current sender selection or select another available sender from the dropdown.
-
Country: Select the country from the list of available countries in the dropdown menu.
-
Traffic origin: Select the traffic origin based on where your messages will be sent from:
- Local - Messages sent from servers/infrastructure within the same country as recipients
- International - Messages sent from servers/infrastructure in other countries
If you're not sure which option to select, contact your account manager or Infobip support.
-
Additional email addresses (optional): Add additional email addresses to receive launch status notifications. Account owner and requester are automatically added to the email list.
You must submit separate launch requests for each country where you want to reach users. A single launch request covers all available networks within the selected country.
Fill out required fields [#fill-required-fields]
Fill out all the required fields for the sender launch request:
-
Brand website: Enter your brand's website URL.
-
Sender launch video URL: Enter the URL of your sender demonstration video. The video must show your complete RCS messaging use case, including opt-in process, message examples, opt-out process, and user experience. Host the video on a publicly accessible platform (YouTube, Vimeo, etc.).
-
Campaign description: Describe your messaging campaign and what messages users will receive.
-
Campaign message example: Provide sample message(s) that demonstrate your actual message content.
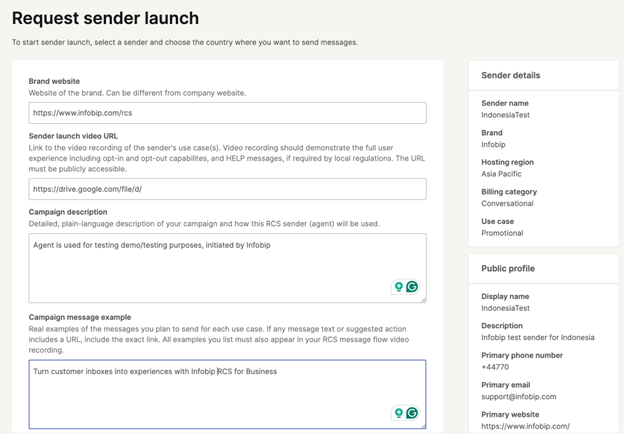
Sender details (sender name, brand, hosting region, billing category, use case) are visible in the right panel.
If sender details need to be changed, you can only make changes on test senders. If the sender is launched, contact your Account Manager for any additional changes.
-
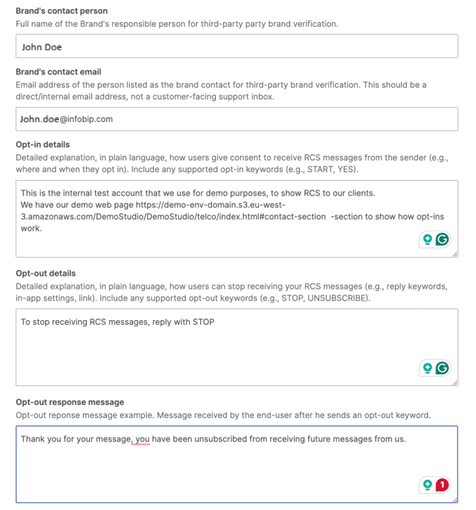
Brand's contact person: Enter the name of the primary contact for this launch.
-
Brand's contact email: Enter the email address of the contact person.
-
Opt-in details: Explain how users consent to receive messages.
-
Opt-out details: Explain how users can unsubscribe from your messages.
-
Opt-out response message: Enter the automatic unsubscribe confirmation message that users receive when they opt out.
-
Brand's contact person role: Enter the role or title of the contact person.
-
Message example: Provide additional message example(s) if applicable.
-
Confirm the entry by selecting NEXT.
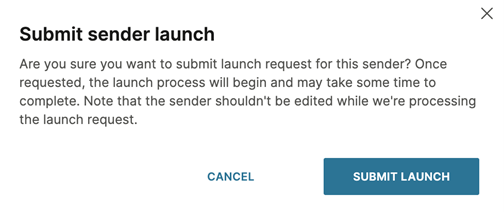
-
Submit the sender launch by selecting SUBMIT LAUNCH.
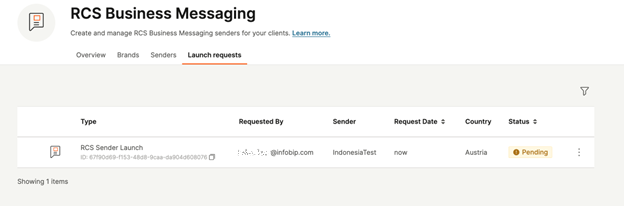
Monitor launch status [#monitor-launch-status]
After submitting, track your launch request status on the Launch requests tab. Sender launch requests display the following information:
- Country - Target market
- Traffic origin - Local or international
- Request status - Current state of the launch request
- Submission date - When the request was submitted
- Requester - Who submitted the request
Launch request statuses [#launch-request-statuses]
| Status | Description |
|---|---|
| Pending | Request submitted, awaiting review by Infobip registration team |
| In Progress | Request forwarded to carriers, under review |
| Completed | Launch approved and deployed on all requested networks |
| Rejected | Launch request rejected by one or more carriers |
Launch status notifications [#email-notifications]
Once the Infobip registration team processes the launch request, an email notification is sent to the account owner and requester. The request status changes from Pending to In Progress.
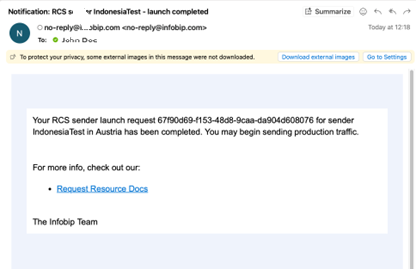
Once the launch is completed, an email notification is sent to the requester and the request status changes to Completed.
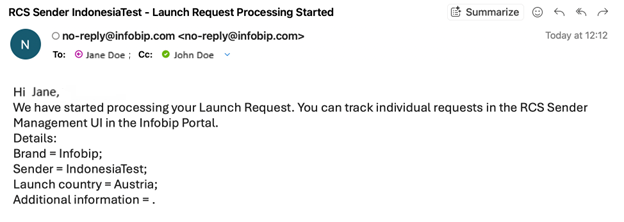
The request status is then changed from Pending to In Progress.

After the launch is completed, an email notification is sent to the requester and the request status is changed to complete.
Agent status list [#agent-status-list]
| Agent Status | Description |
|---|---|
| Completed | Sender launched |
| In Progress | Launch request in progress |
| Not requested | Specific network wasn't requested in the initial launch request |
| Rejected | Sender rejected due to specific reasons (not appropriate use case, incorrect billing type, video recording not representing the correct use case, etc.) |