Build a pre-support data collection chatbot
Is your customer support team overwhelmed by high traffic? Let this chatbot ease the burden by collecting user information upfront before transferring them to a live agent.
This tutorial will enable you to build a simple and efficient chatbot that can collect several types of information from your users and re-route them to an agent.
Prerequisites
- Infobip account (opens in a new tab). If you do not have one, you can easily register.
- Communication channel (WhatsApp is used in this tutorial).
- Answers enabled.
- Conversations enabled.
Implementation
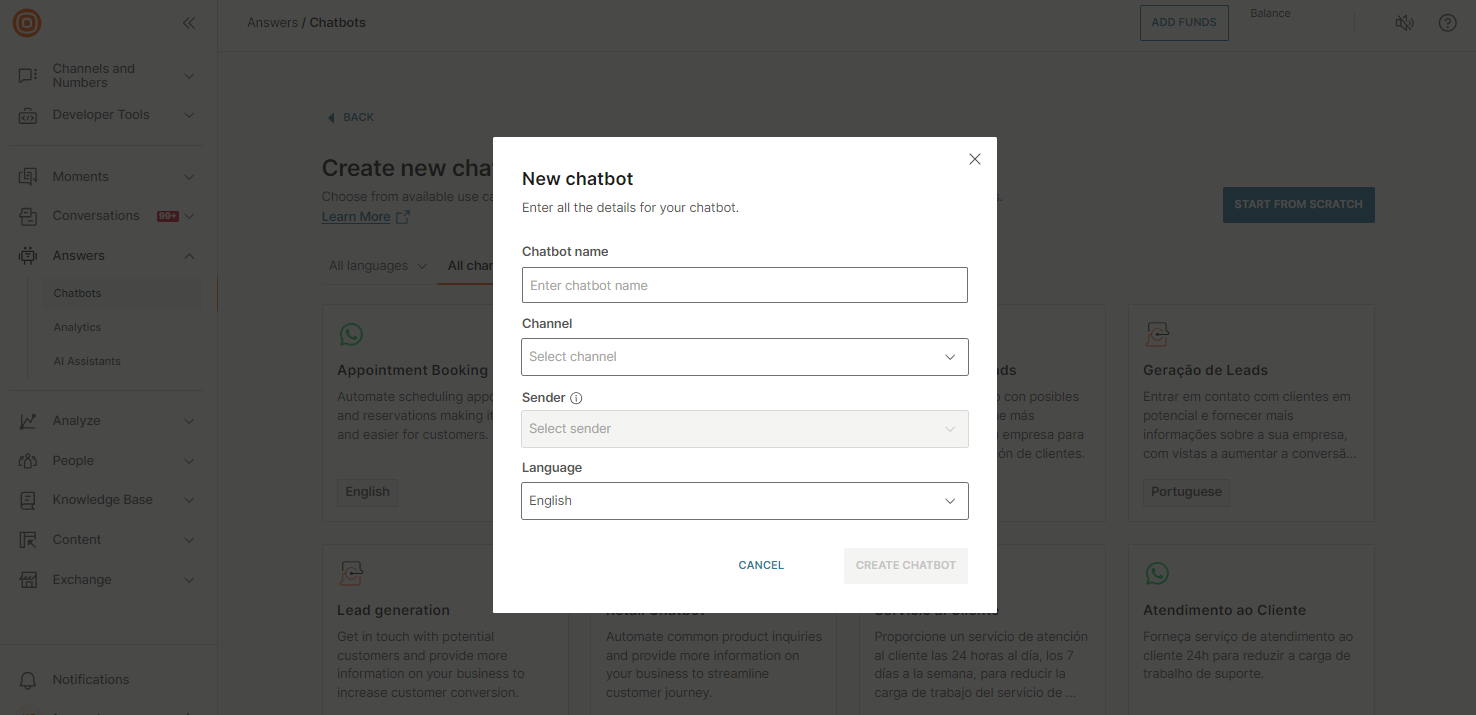
Step 1: Create a chatbot
Log into your Infobip account and navigate to Answers → Chatbots. Once the page opens, click the New Chatbot button → Start From Scratch.
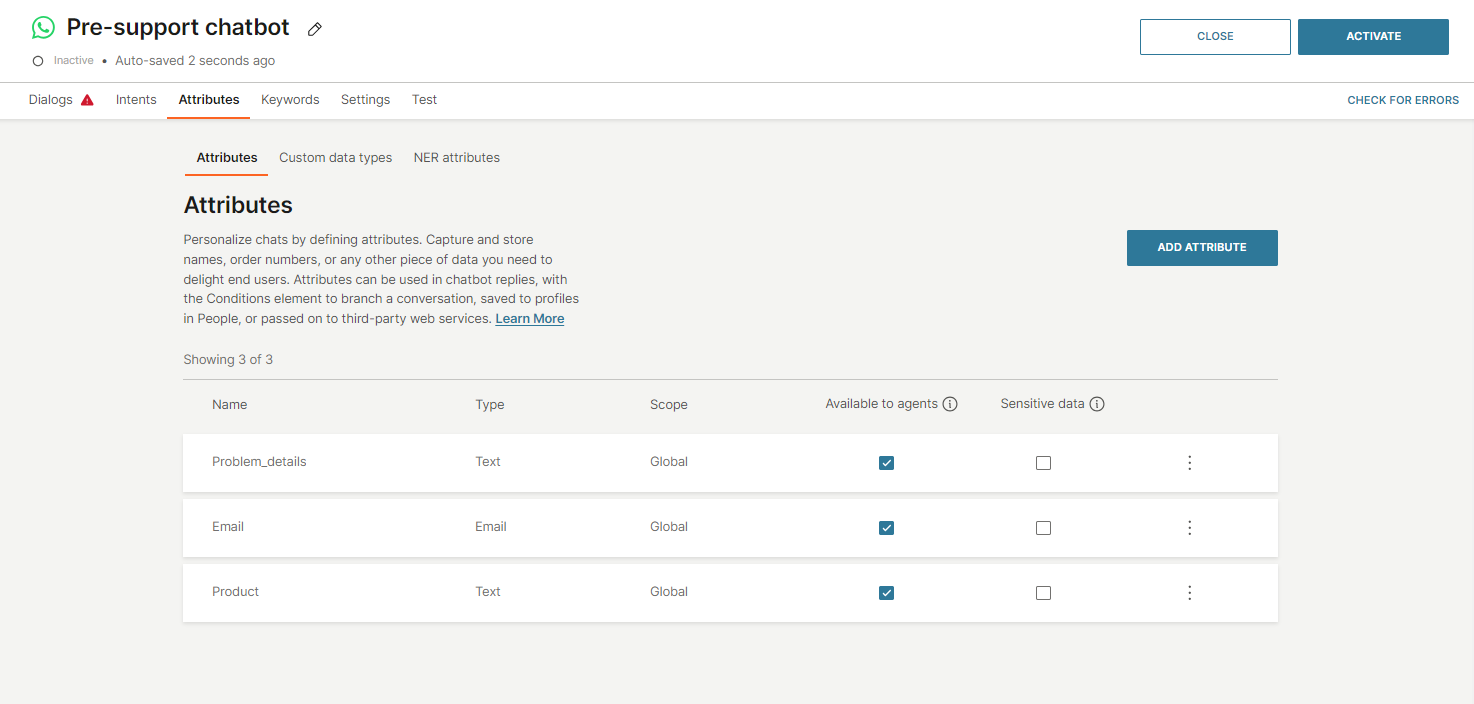
Step 2: Create attributes
In the Attributes tab, create the attributes that you want the chatbot to populate - this is the information you want to collect. For example:
- First name
- Last name
- Phone number
- Product
- Problem details, etc.
In this tutorial, three attributes are used: email, product, and problem details. Ensure all attributes have the Global scope, are visible to the agent, and have the correct data type selected.
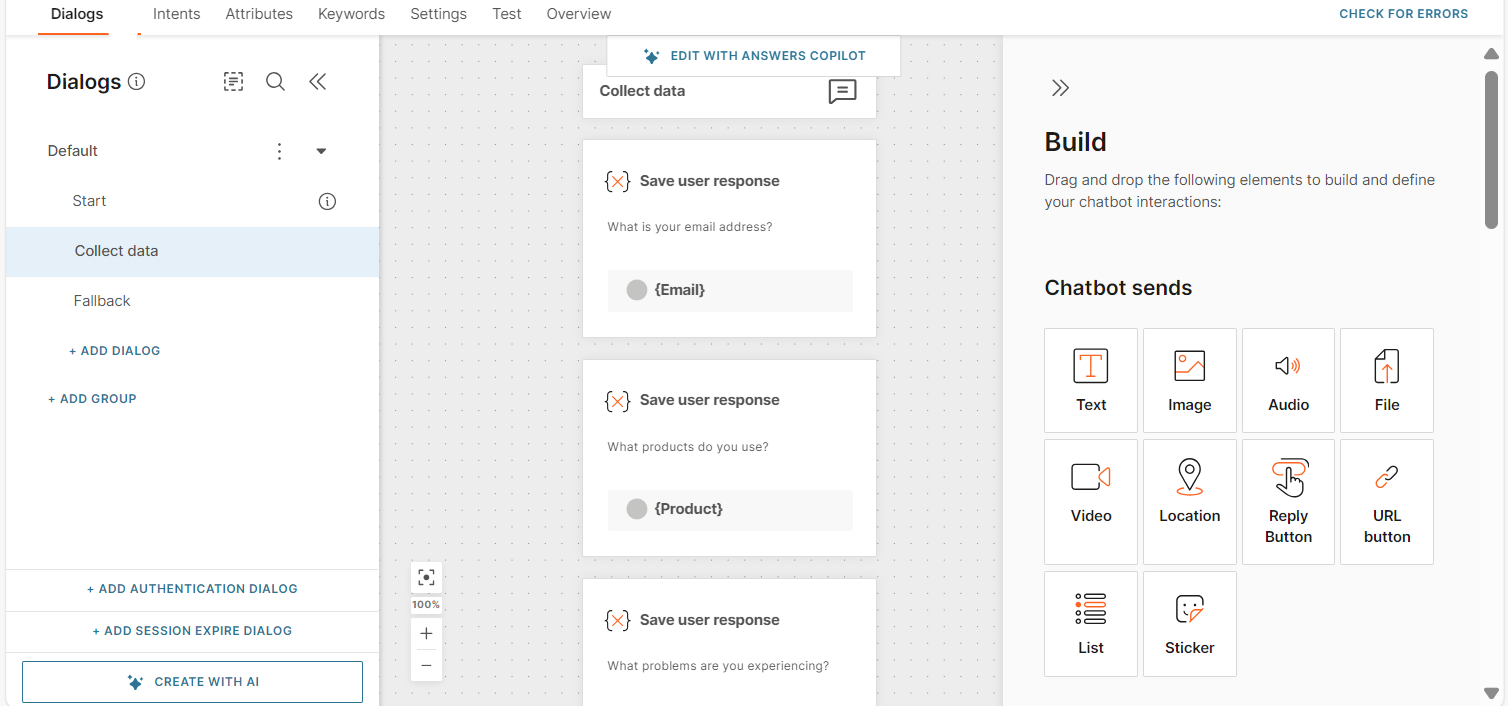
Step 3: Create a dialog
Click the Dialogs tab at the top and create a new dialog named "Collect data". Add the three attributes by dragging and dropping the Save user response element from the editor on the right side.
In each Save user response element, set up a guiding question that clearly indicates to the user what information is needed. Then, capture the user's response and store it in the appropriate attribute.
For each Save user response element, ensure that the fallback action repeats the same dialog if the user does not provide a valid response. This way, the system will prompt the user with the same question again until the correct information is gathered and saved to the corresponding attribute.
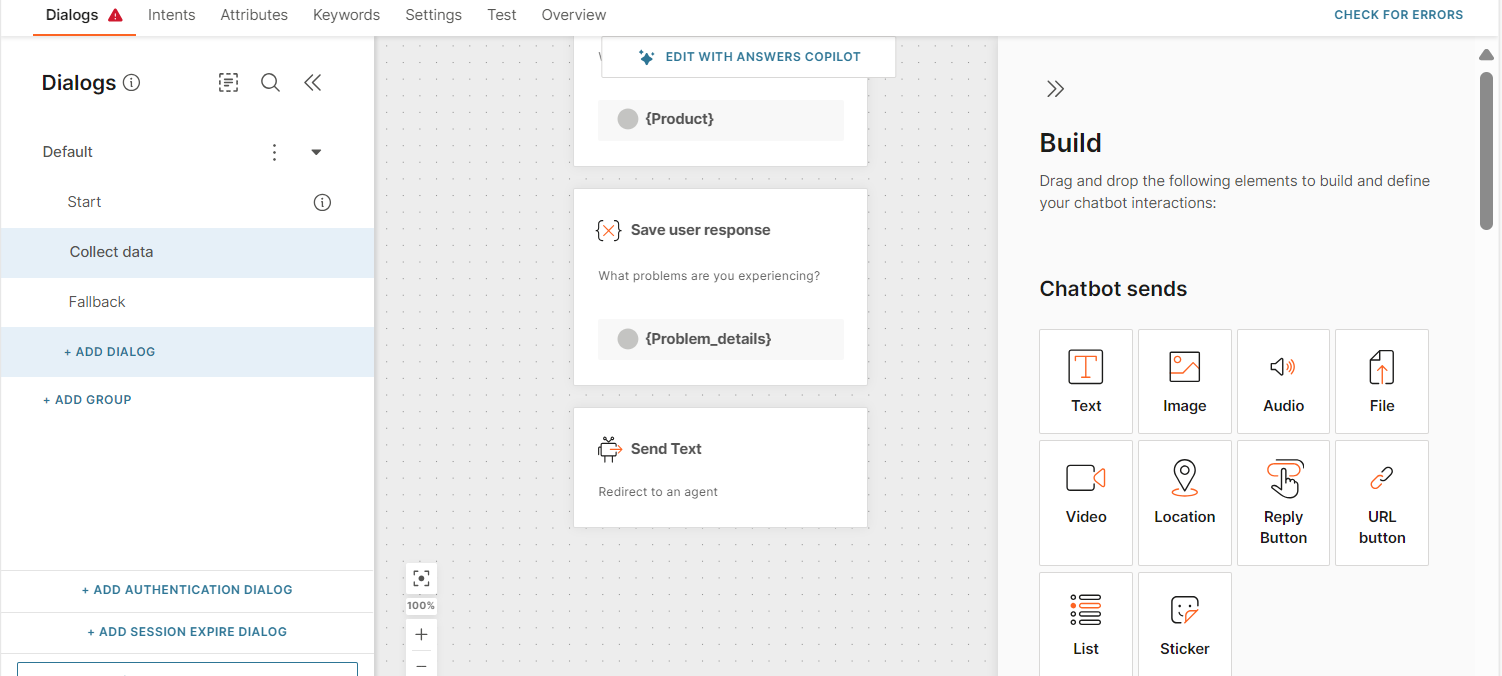
Step 4: Inform the user they will be routed to an agent
Add a Text element from the editor on the right side to inform users about the process and notify them that their conversation will soon be transferred to your contact center. This message can provide clarity and set expectations, ensuring a smoother handoff to the support team.
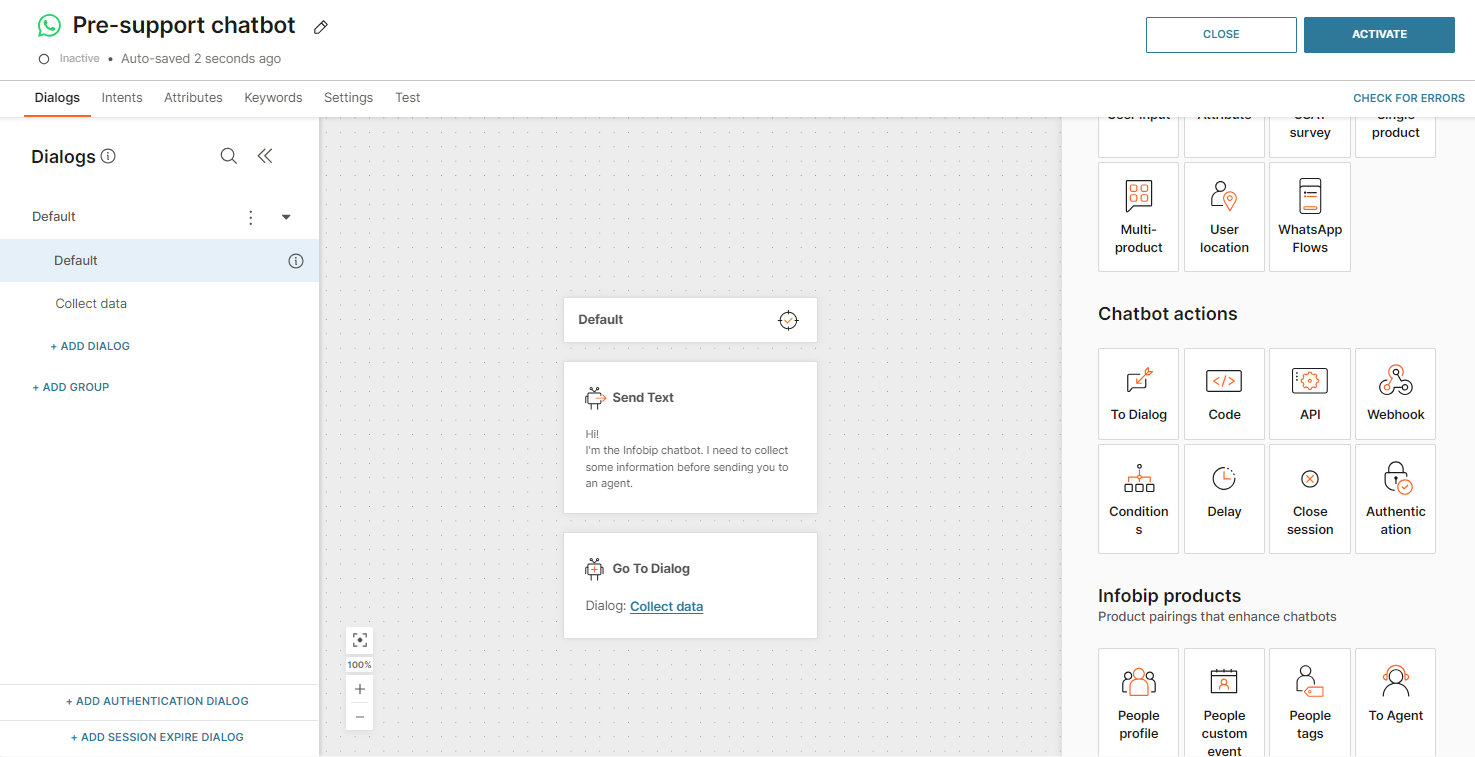
Step 5: Add elements to the Default dialog
In your chatbot's Default dialog, add the Text element from the editor to welcome the user, explain the process, or add any other necessary information. Then, use the To Dialog element to route to the previously created "Collect data" dialog.
Step 6: Test and activate the chatbot
In the Test tab, try out your pre-support chatbot and activate it if you are happy with its performance. This will enable your agents to have more meaningful interactions with users, as they will have access to all the essential information collected and visible in the Conversations.
Next steps
- Find out more about Answers.
- Find out more about Conversations.
- Improve your customer support experience by using tags.
- Find out how attributes work.