Get started
This section provides an overview and instructions for setting up and using Apple Messages for Business. Follow the steps below to get started.
For additional information, refer to the documentation on the Apple website.
Verify availability of Apple Messages for Business
Before registering, confirm that the Apple Messages for Business channel is available in your account. To do so, follow these steps:
-
In the web interface, go to Channels and Numbers > Channels.
-
Look for Apple Messages for Business under available channels.
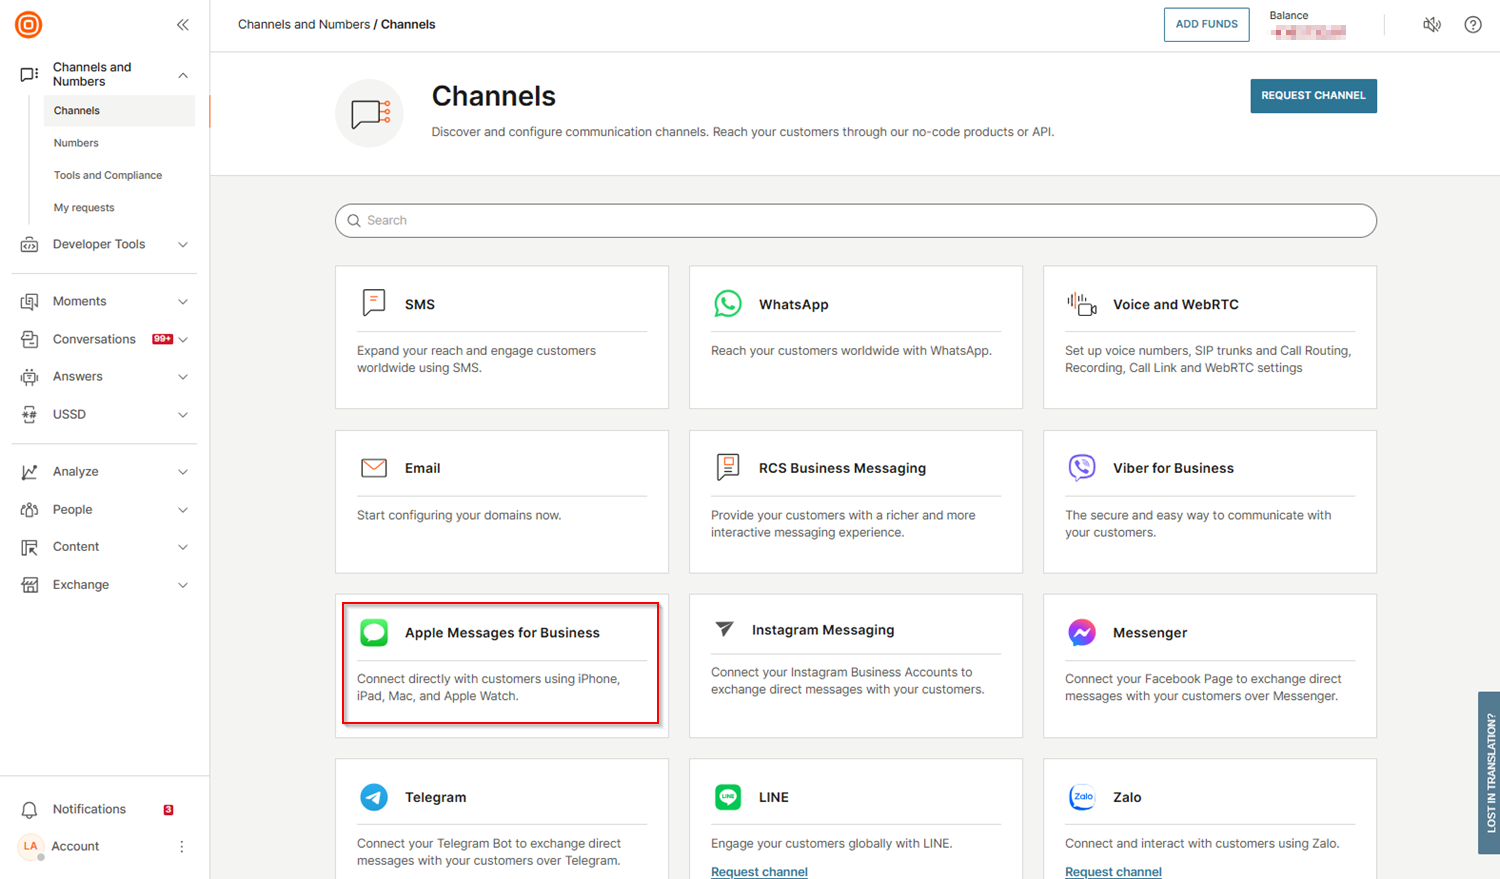
If Apple Messages for Business is listed, continue with the registration steps below. If it is not listed, contact our Support for assistance in enabling this feature.
Create and register a Messages for Business account
To create and register your Messages for Business account, complete the following:
-
Go to the Apple Business Register and register your organization.
-
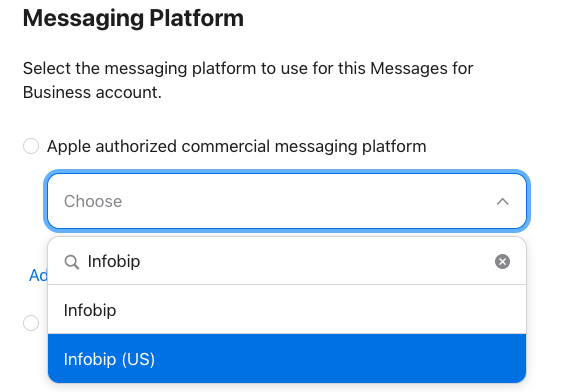
Set up your Messages for Business account.
- Log in using a business Apple ID or a corporate Managed Apple ID created by your organization.
- Accept the Terms of service and confirm the information about your organization.
- Assign more than one team member to each role for your organization.
- Choose Infobip (US) if your organization is USA-based or Infobip for the rest of the world.
- (Optional) Register a separate account for each of your brands or create accounts for testing, development, staging, or production environments.
Apple typically takes 1–2 business days to approve new registrations.
Connect Messages for Business account to Infobip
-
Link your Messages for Business Account with your Infobip account.
-
Work with Infobip to test the sending and receiving of messages to ensure proper setup.

Define use cases and implement use case solutions
-
Complete the Use case template to define your most common use cases.
- Define your channel goals by completing the Readiness assessment.
- Identify the top contact drivers or use cases you want to support on Messages for Business.
- Plan entry points to drive customer engagement, such as adding Messages buttons or using Message Suggest. For more information, refer to the Entry points section.
-
Work with Infobip to design and implement solutions for each use case. Follow Apple's best practices.
- Set up an automated welcome message, including an off-hours response.
- Design a welcome menu with list picker options to route customer queries.
- Configure a customer satisfaction survey using list picker functionality.
- Set up authentication and Apple Pay, if needed.
For more information, refer to Apple's user experience documentation.
Prepare and launch Apple Messages for Business
-
Prepare operations and marketing.
- Work with Infobip to define and track channel goals to measure performance.
- Develop agent scripts, train agents, and register phone numbers for the Message Suggest functionality.
- Create and finalize marketing plans, including press releases, to support the launch.
-
Review implementation with Infobip.
- Contact your account manager to initiate an Apple review of your implementation.
-
Launch Apple Messages for Business.
- Coordinate with your account manager to activate your account and entry points.
- Log in to Apple Business Register and submit a request to bring your Messages for Business account online. Once Apple approves it, the account status changes to ONLINE.
- Enable the Messages for Business button on your brand's Apple Maps location, adding additional countries where applicable. For more information about the Apple Maps place card entry point, refer to Apple's Entry points overview.
- Enable the Messages for Business buttons on your website and app. For more information, refer to Apple's Message with your customer section.
Once complete, your Apple Messages for Business channel will be live and ready for customer engagement.
Configure inbound actions
Configure actions for inbound Apple Messages for Business to automate message processing and reduce manual handling. You can configure messages to be forwarded to HTTP endpoints or marked as "No action" if no automated response is needed.
To configure inbound actions for Apple Messages for Business, follow the steps below:
-
In the web interface, go to Channels and Numbers > Channels.
-
Select Apple Messages for Business and navigate to the Senders tab.
-
Choose the sender, then select the three dots menu > Edit inbound configurations. Configure the inbound actions and keywords as needed.
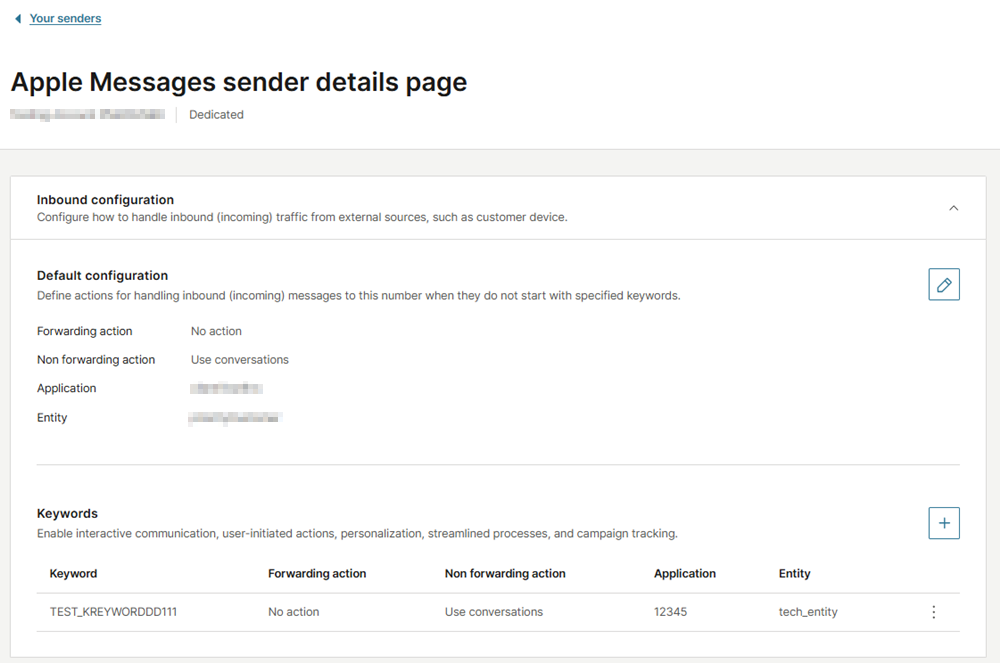
Supported actions for Apple Messages for Business:
- Forwarding actions: Forwarding to HTTP, No Action
- Non-forwarding actions: Conversations
For more information, refer to Messaging actions and Keywords sections.