Build and publish an agent
Building and publishing an AI agent requires several steps, from initial creation through configuration, testing, and deployment.
- Create your agent: Use a template or start from scratch.
- Configure: Add instructions, tools, and settings.
- Test: Validate behavior with test groups and test cases.
- Configure content filters (Optional): Add safety controls to identify harmful content in end user messages and respond accordingly.
- Publish: Make your agent available for use with other solutions.
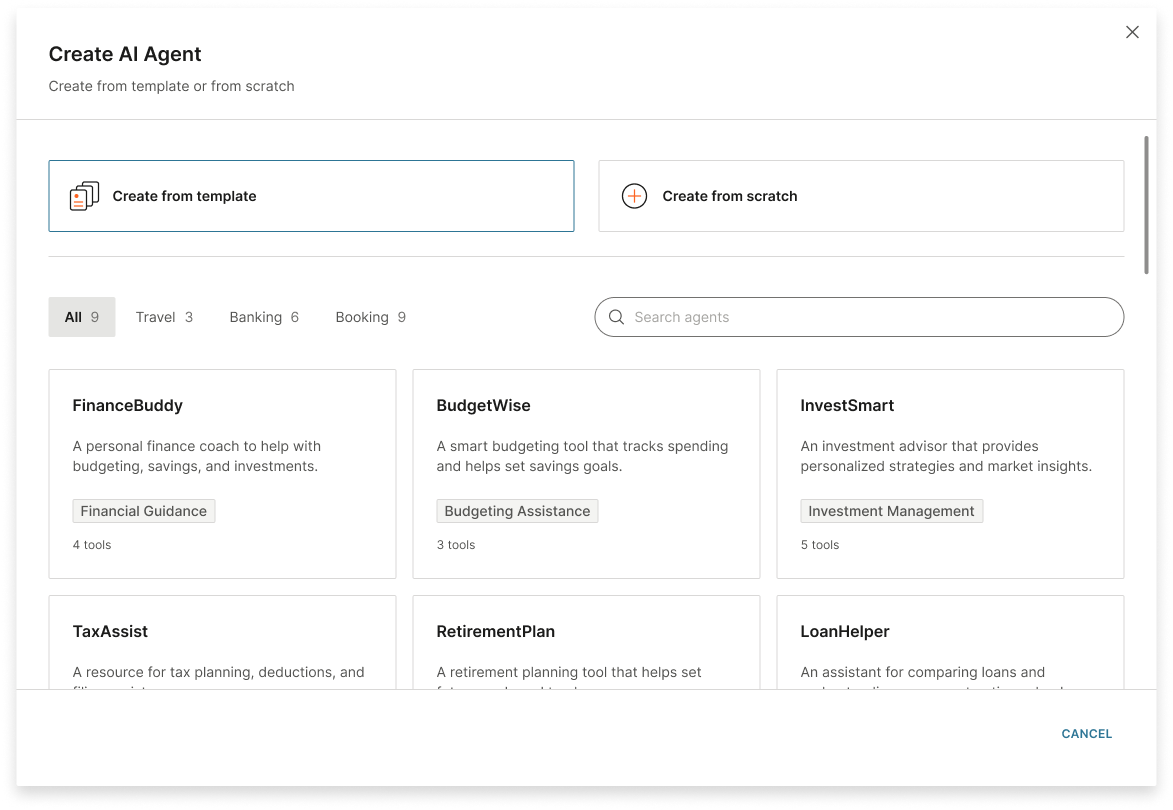
Create your agent
You can create an AI agent either from a template or manually.
If multiple AI agents need to work together, create a separate AI agent for each specialized task, and then use an orchestrator agent to coordinate these agents.
Create from template
Use this option when you want a predefined structure that matches a common use case.
-
On the Infobip web interface (opens in a new tab), go to Automation studio > Agents.
-
Select Create agent.
-
Select Create from template.
-
From the available templates, select one that matches your use case.
-
Configure the fields in the AI agent to meet your use case and requirements.
Create manually
Use this option when you want full control over the initial setup.
- On the Infobip web interface (opens in a new tab), go to Automation studio > Agents.
- Select Create agent > Create from scratch.
- Configure the fields in the AI agent.
Next steps
After creating your agent, configure it with instructions, tools, and settings.