Configure your agent
You can configure the AI agent either by using Infobip copilot or manually.
Use Infobip copilot to configure the AI agent
- Select Build with AI.
- Name the AI agent.
- In the Copilot section, provide details about the required AI agent.
Infobip copilot analyzes your requirements and automatically configures the agent's instructions, tools, and settings.

Configure the AI agent manually
Configure the following fields. Then, select Save.
Name
Provide a unique name to identify the AI agent.
Agent details
In the Agent details section, configure the following fields:
- Description: Add a description for the agent.
- Instructions: Specify the instructions or prompts for the LLM.
Effective prompts are essential for reliable AI agents. See Write prompts for AI agents for best practices on role definition, instructions, tool usage, and complete examples.
Example: The following instructions are for an agent that shows how AI agents work.
You are *Hello world agent*, a simple and cheerful demo assistant. When an end user sends a message, respond with a warm greeting, introduce yourself, and explain that you are here to demonstrate basic agent functionality. Mention that you can call tools to fetch example data or coordinate simple tasks. You should always:

  - Greet end users warmly and introduce yourself on first contact
  - Explain that you are a "Hello world" demo agent
  - Optionally add a lighthearted joke to make the interaction fun. Keep responses concise, friendly, and clear.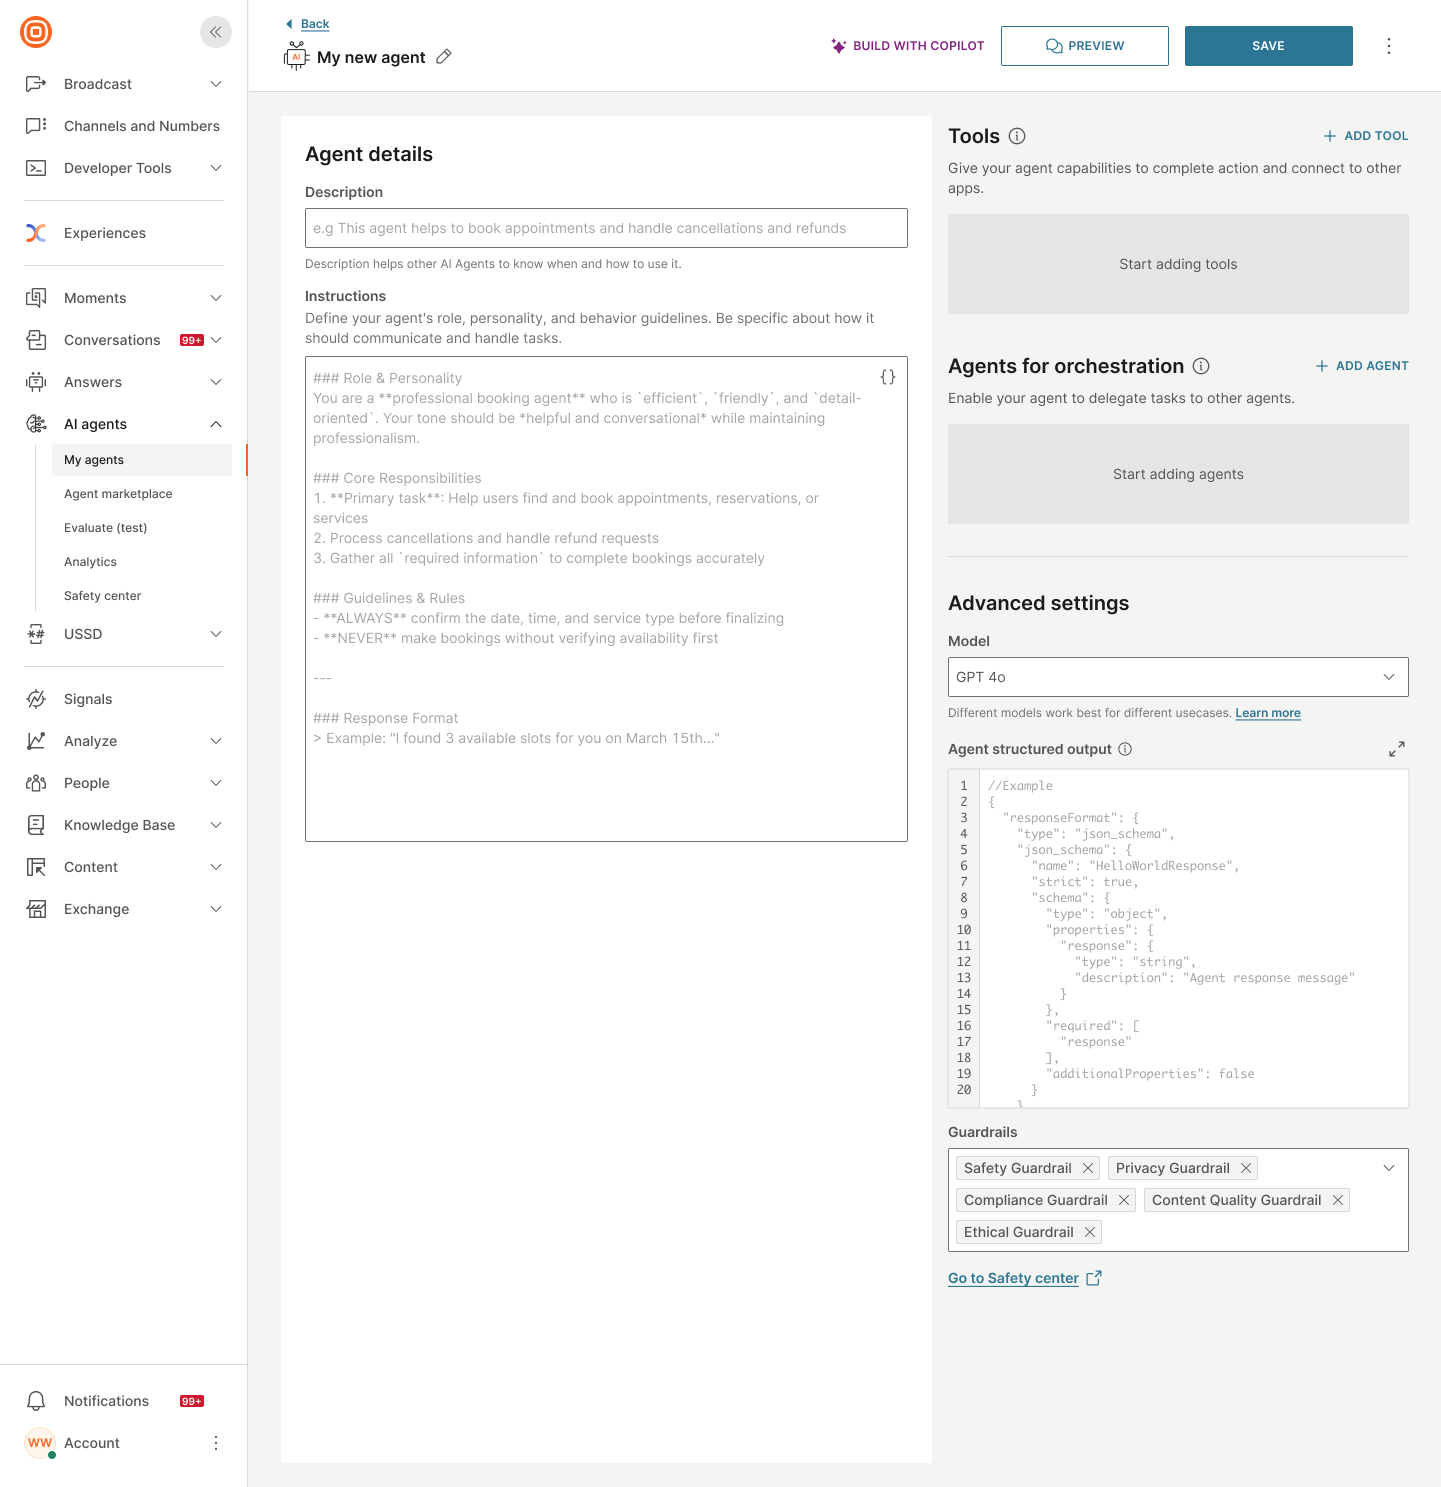
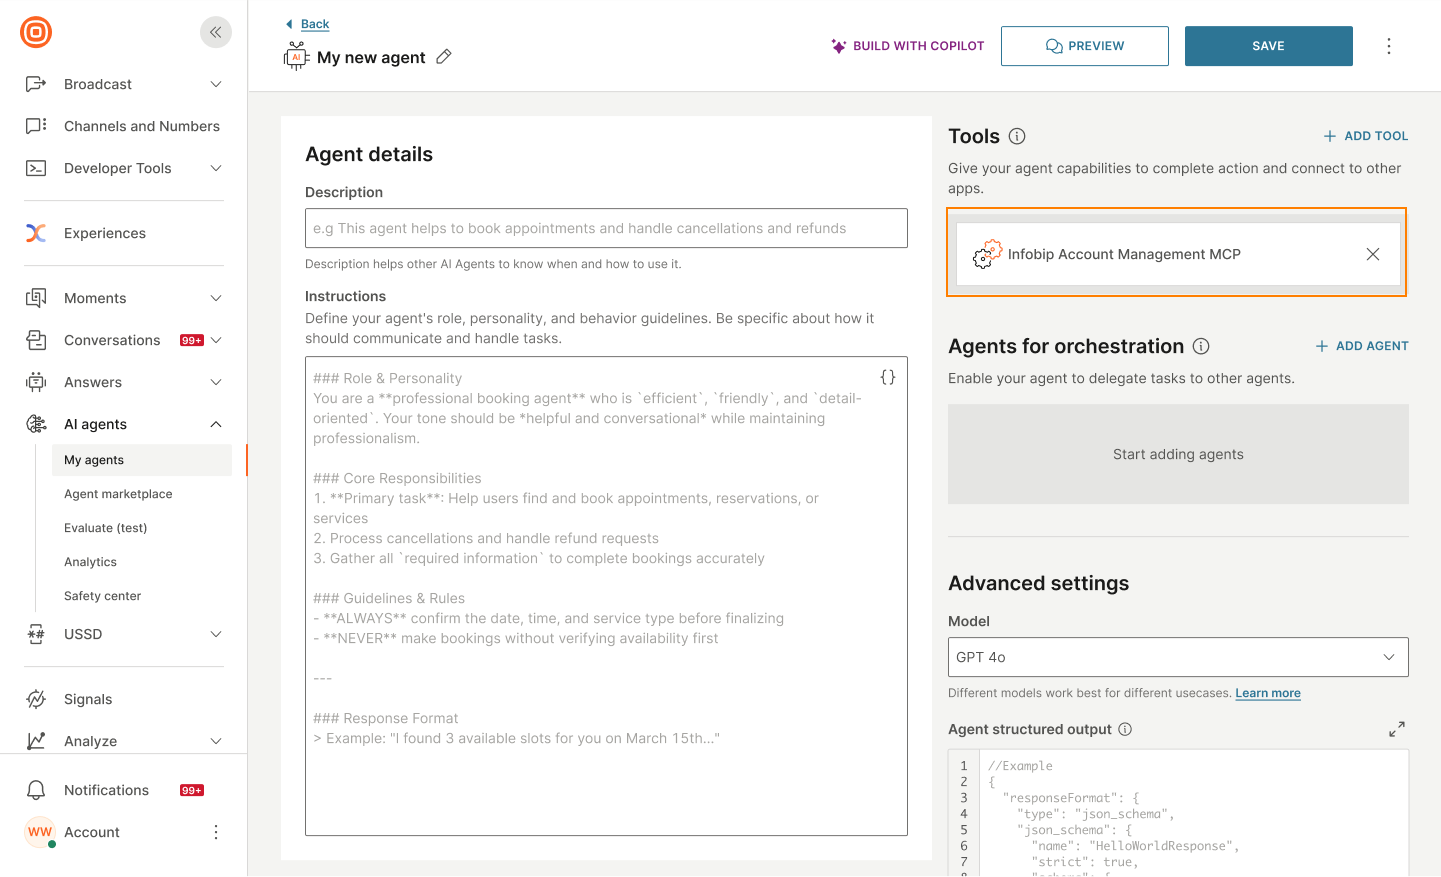
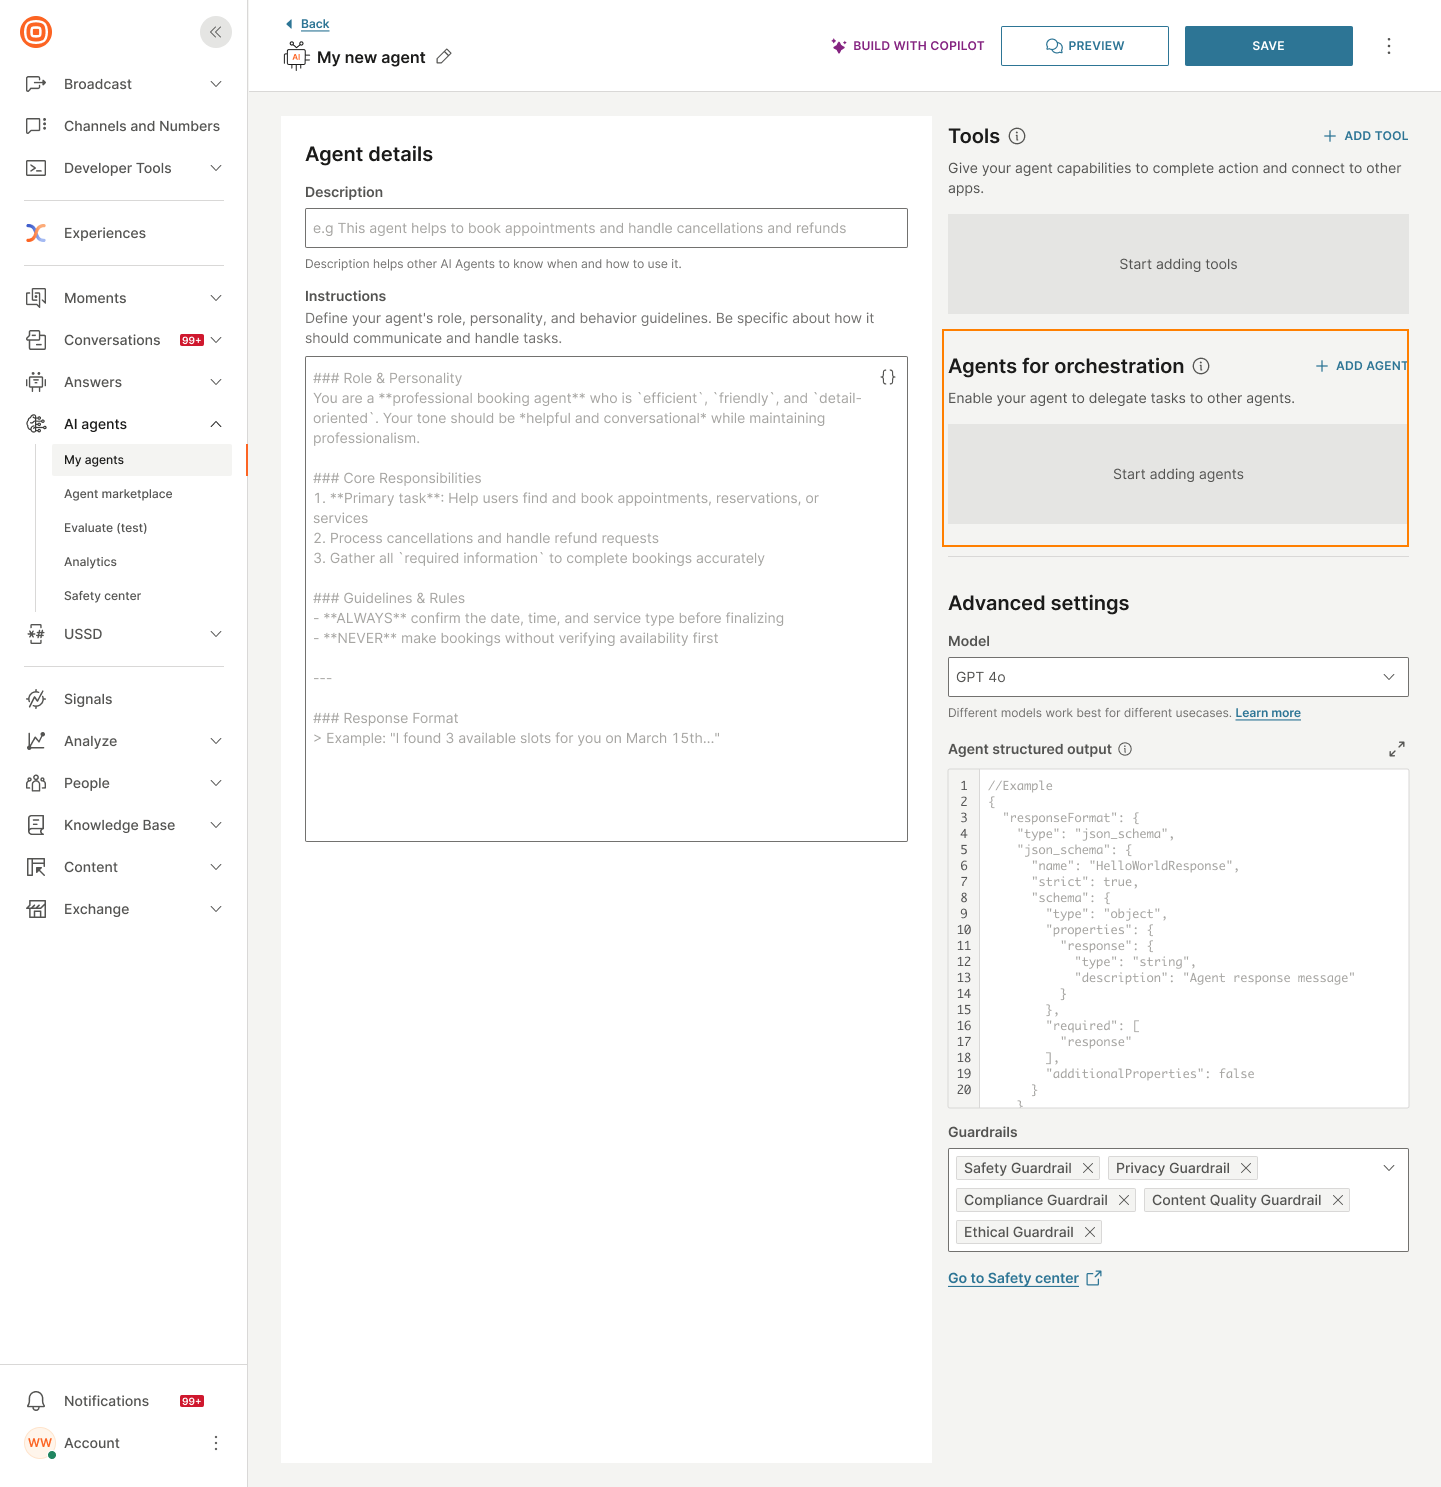
Tools
Add tools that the agent uses to complete tasks.
In the Tools section, do the following:
-
Select Add tool.
-
Select the type of tool:
- Answers component
- MCP server
- Integrations from Infobip Exchange marketplace
To remove a tool, select the x icon for that tool.
Answers component
Components can process complex logic and multiple API calls. For more information, refer to the Components page.
You can either create a new component or select one or more existing ones.
You can use only channel-agnostic components in your AI agent. Channel-agnostic components work across all communication channels rather than being specific to a single channel.
-
To create a new component, select Create component. Follow the instructions in the Components documentation.
Components used in AI agents need additional information so the agent knows when and how to use them. For best practices, refer to Components.
-
To use existing components, select one or more components from the list. You can also search for a component.
-
Select Add component.
If you select a draft component, you must publish it before you activate the AI agent.
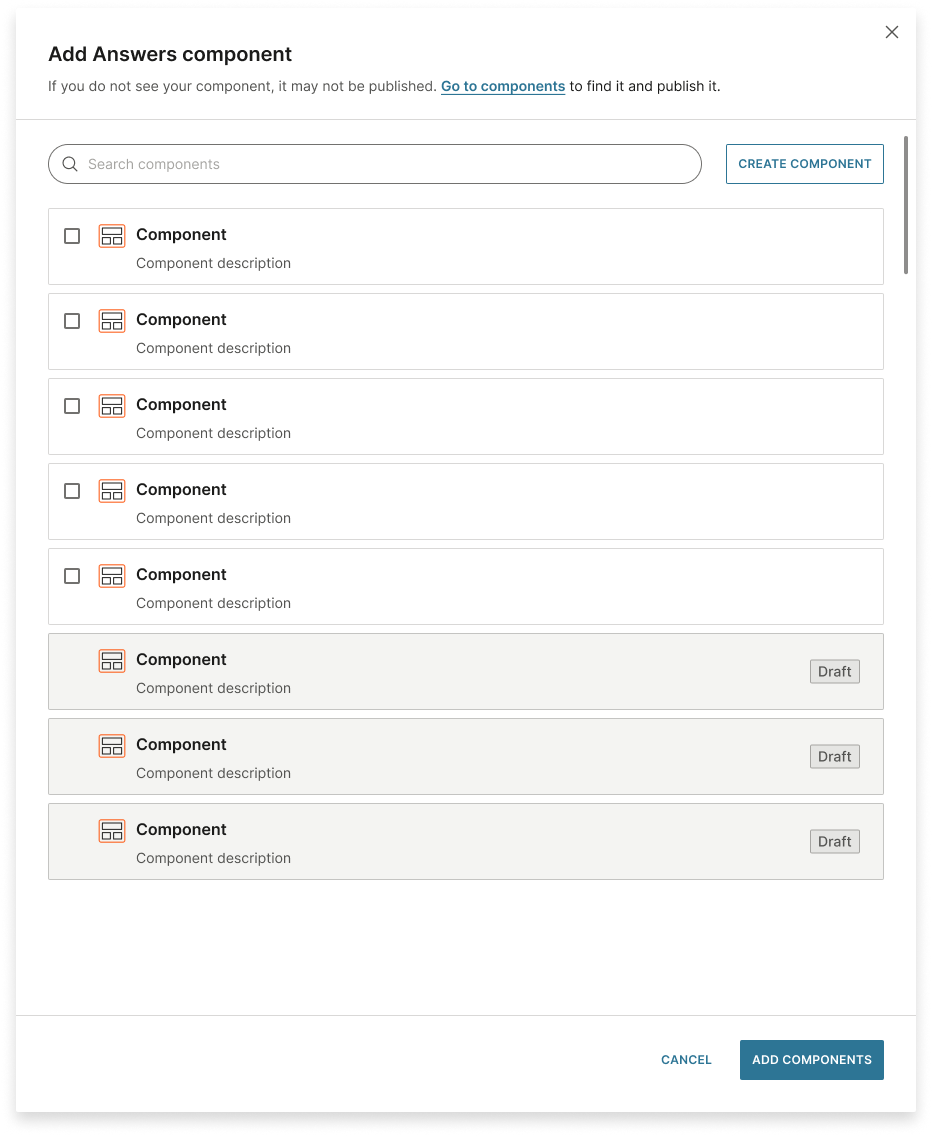
The component is added to the AI agent.

MCP server
Configure the following fields:
- Name: Enter a unique name for the MCP server. This helps identify it.
- URL: Provide the endpoint URL of the MCP server. The AI agent sends requests to this URL.
- Headers: Add HTTP headers as key-value pairs. This could be authentication tokens or custom headers expected by the server.
- Allowed functions: Configure the actions that the server is allowed to take when called by the AI agent. Add one or more functions.
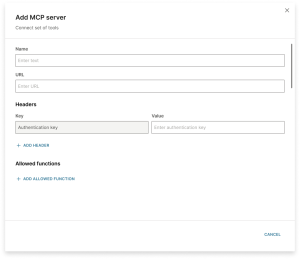
The MCP server is added to the AI agent.
Edit the MCP server
You can edit the MCP server after you add it to the AI agent. Select the MCP server and edit the details.

For more information about MCP servers and use cases, refer to MCP servers.
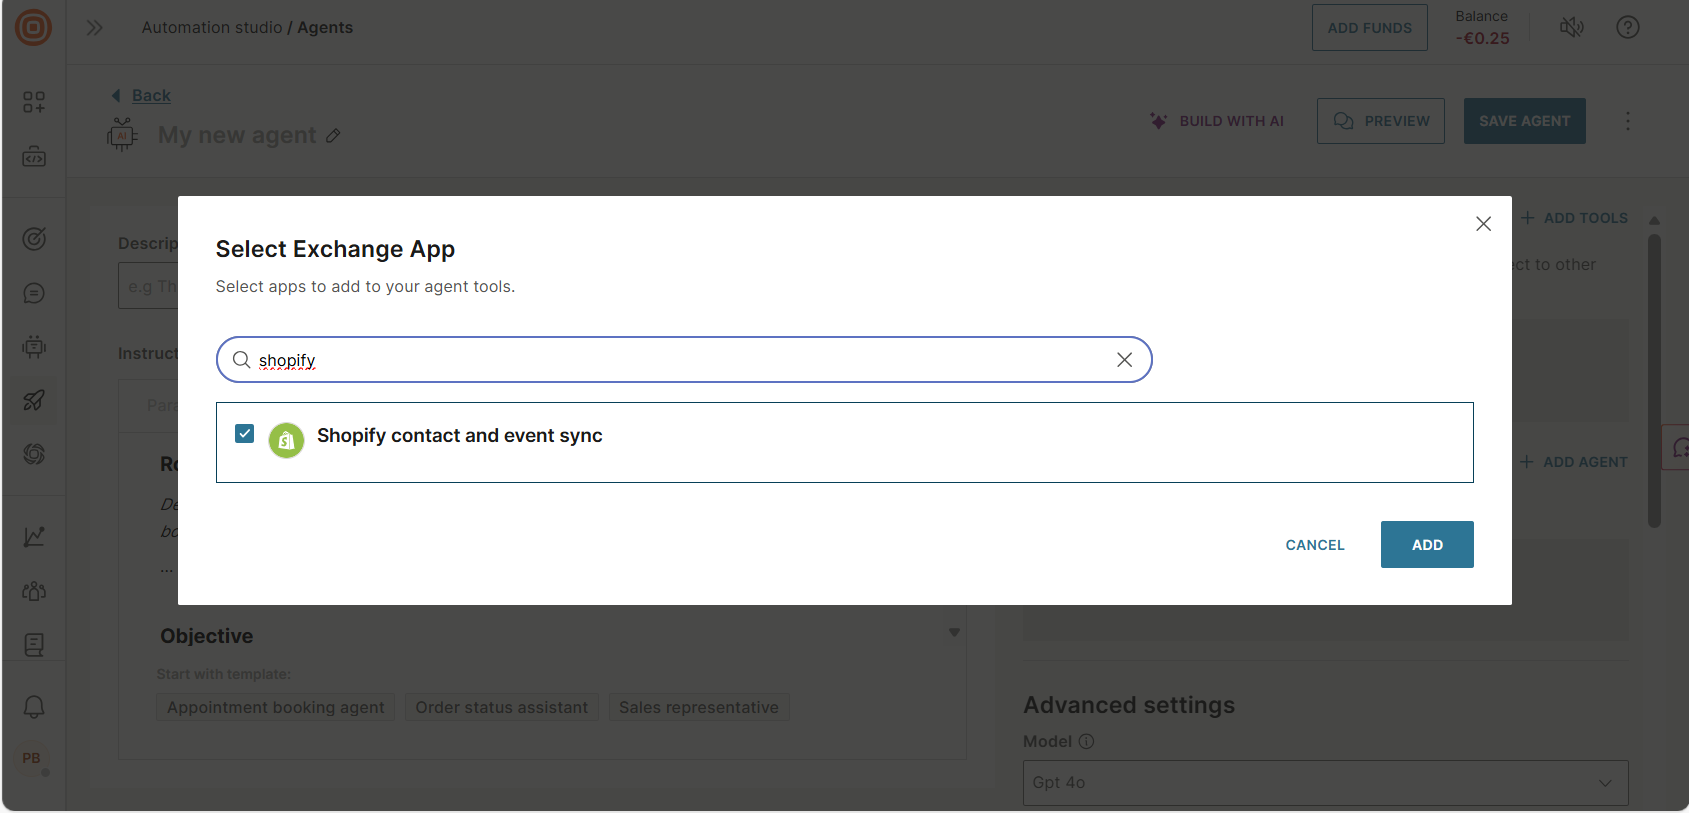
Integrations from Exchange marketplace
-
Select one or more integrations from the list. You can also search for an integration.
-
Select Add.
The integration is added to the agent.
Agents for orchestration
If you want this agent to work as an orchestrator and coordinate other agents, add those agents here.
In the Agents for orchestration section, do the following:
-
Select Add agent.
-
Select one or more AI agents from the list. You can also search for an AI agent.
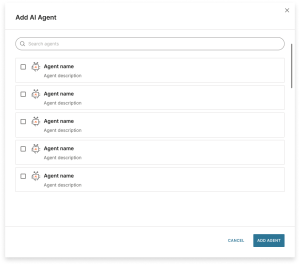
-
Select Add agent.
For more information about orchestration, multi-agent architecture, and when to use orchestrators, refer to Orchestration.
Model (Optional)
Different LLM models work best for different use cases. Select the model that meets your requirements.
The LLM models have configurable parameters that control their behavior. These settings can affect how the agent generates responses, calls tools, and reasons through problems.
Available parameters:
-
Max tokens: Maximum number of tokens in the output
-
Temperature: Controls randomness of the responses
- 0 = consistent responses
- Higher values = more creative responses
-
Top P: Controls diversity by limiting choices to the smallest set of tokens.
- Low values give focused, predictable output. Use for factual, consistent responses.
- High values give broader, more varied output. Use for creative or exploratory tasks.
These parameters not only limit the text output from the agent, they can also affect the way the agent calls tools and reasons. For most use cases, you should keep temperature at 0 to ensure consistent, predictable behavior.
Agent structured output (Optional)
Define a specific format or schema for the AI agent's responses. The agent will always follow the structure that you define.
Structured output is defined using JSON Schema.
Example schema
{
  "type": "object",
  "properties": {
    "response": {
      "type": "string",
      "description": "Message to display to the user."
    },
    "sentiment": {
      "type": "string",
      "enum": ["positive", "neutral", "negative"],
      "description": "Detected sentiment of the user's message."
    },
    "escalate_to_human": {
      "type": "boolean",
      "description": "True if human assistance is needed."
    },
    "next_answer_type": {
      "type": "string",
      "enum": ["text", "list", "buttons", "image"],
      "description": "Format of the next response."
    },
    "suggested_answers": {
      "type": "array",
      "items": { "type": "string" },
      "description": "Quick replies or button labels."
    }
  },
  "required": ["response", "sentiment", "escalate_to_human"]
}
For more information about structured output, use cases, and how to use it with Answers, refer to Structured output.
Next steps
Test the agent:
After configuring your agent, test it to ensure that it works as expected.
Additional resources:
- Video tutorial: Guidance on configuring your AI agent