Flow editor
This page describes the new flow editor.
The Flow editor in Moments is a visual, no-code, drag-and-drop interface where you can design your flow.
You can add and configure flow elements, configure advanced settings, and manage the flow.
Get started with the flow editor [#flow-editor-get-started]
This section explains the structure of the editor and how to access it.
All changes that you make in the editor are saved automatically.
How to access the editor [#flow-editor-get-started-access-editor]
Existing flow: For an existing flow, go to the All flows page and select the flow. The flow opens at the editor page.
New flow: When you create a flow, it automatically opens at the editor page.
Structure of the editor [#flow-editor-get-started-structure]
The editor contains the following sections:
- Canvas (left): Used to design the flow.
- Build side panel (right): This is a dynamic panel that enables you to configure the selected item.
- Element configuration: When an element on the canvas is selected, this panel shows the fields and settings for that element.
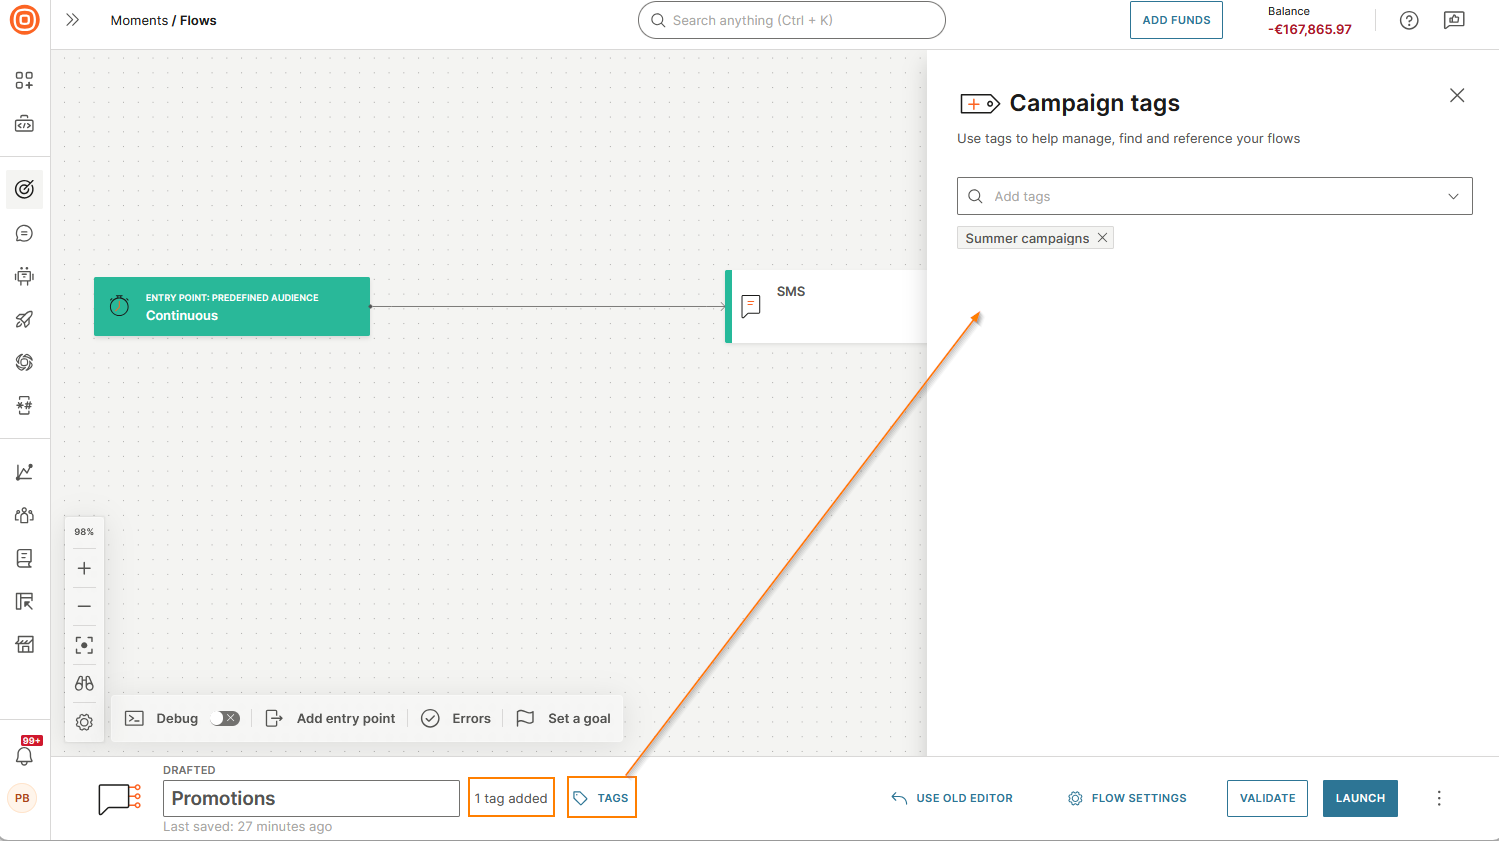
- Tags: When Tags is selected from the footer, this panel shows a list of available tags.
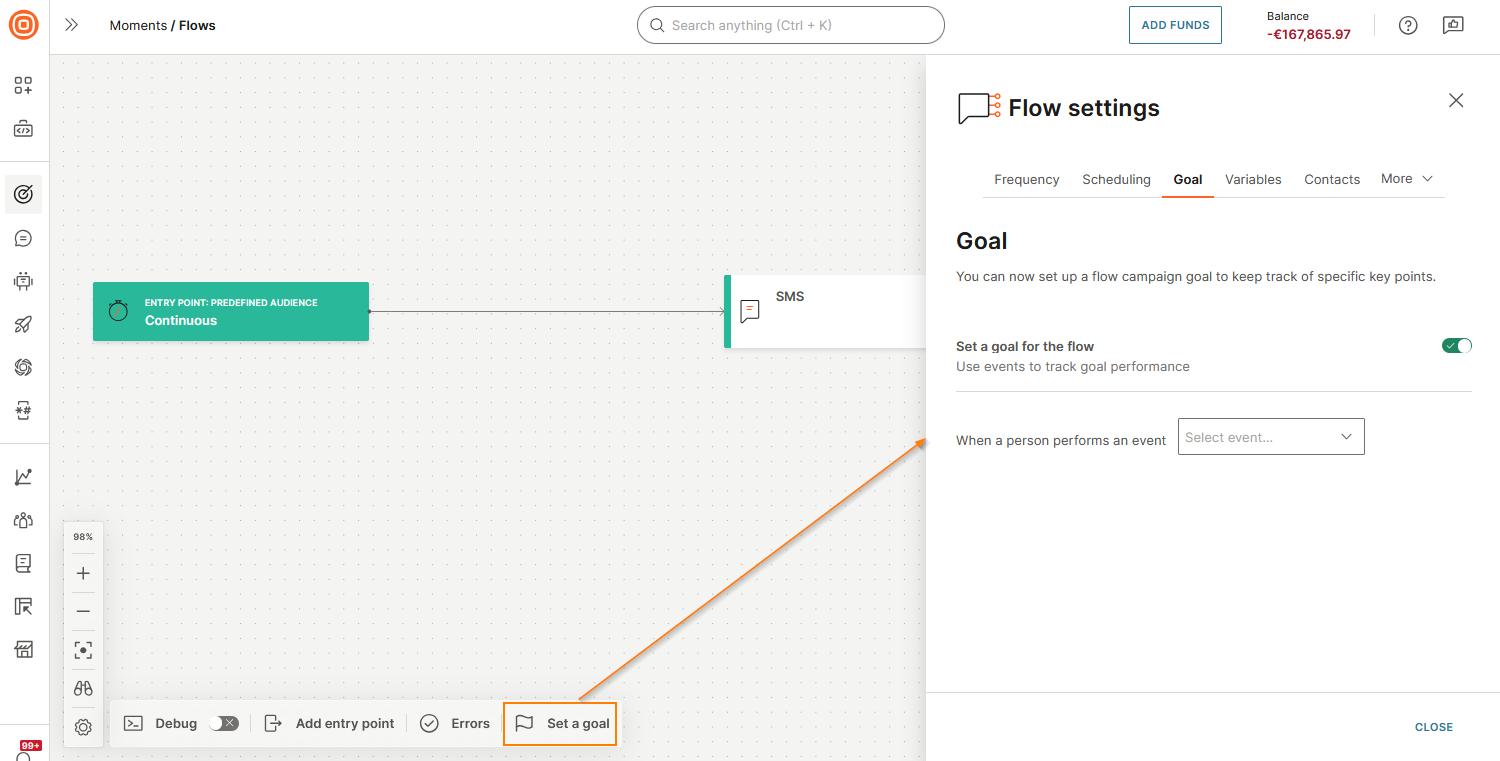
- Flow Settings: When Flow settings is selected from the footer, this panel shows the settings for the flow.
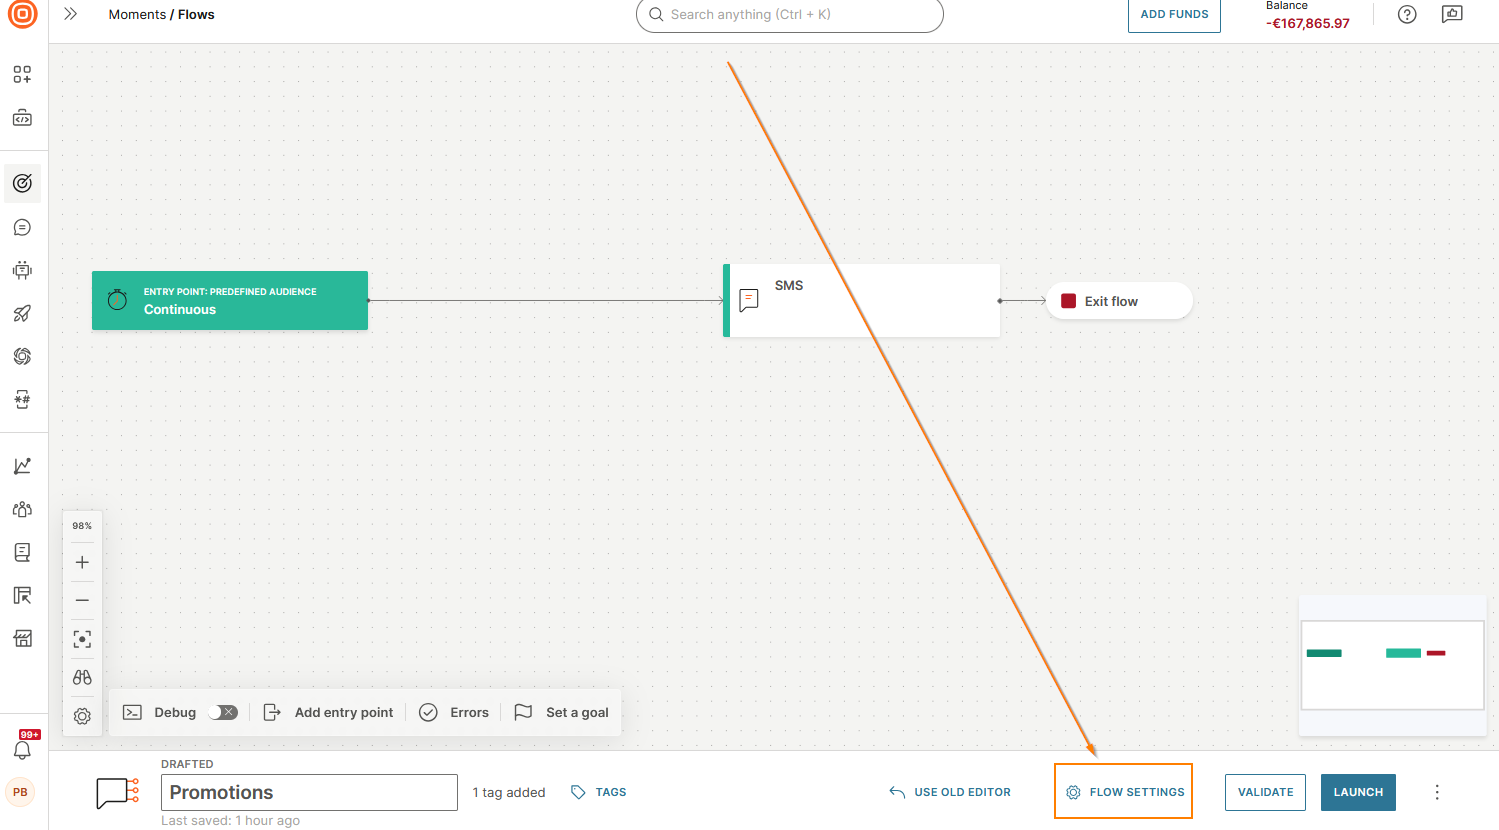
- Footer (bottom): Contains flow controls and metadata such as the name of the flow, number of Campaign tags in the flow, and flow settings.
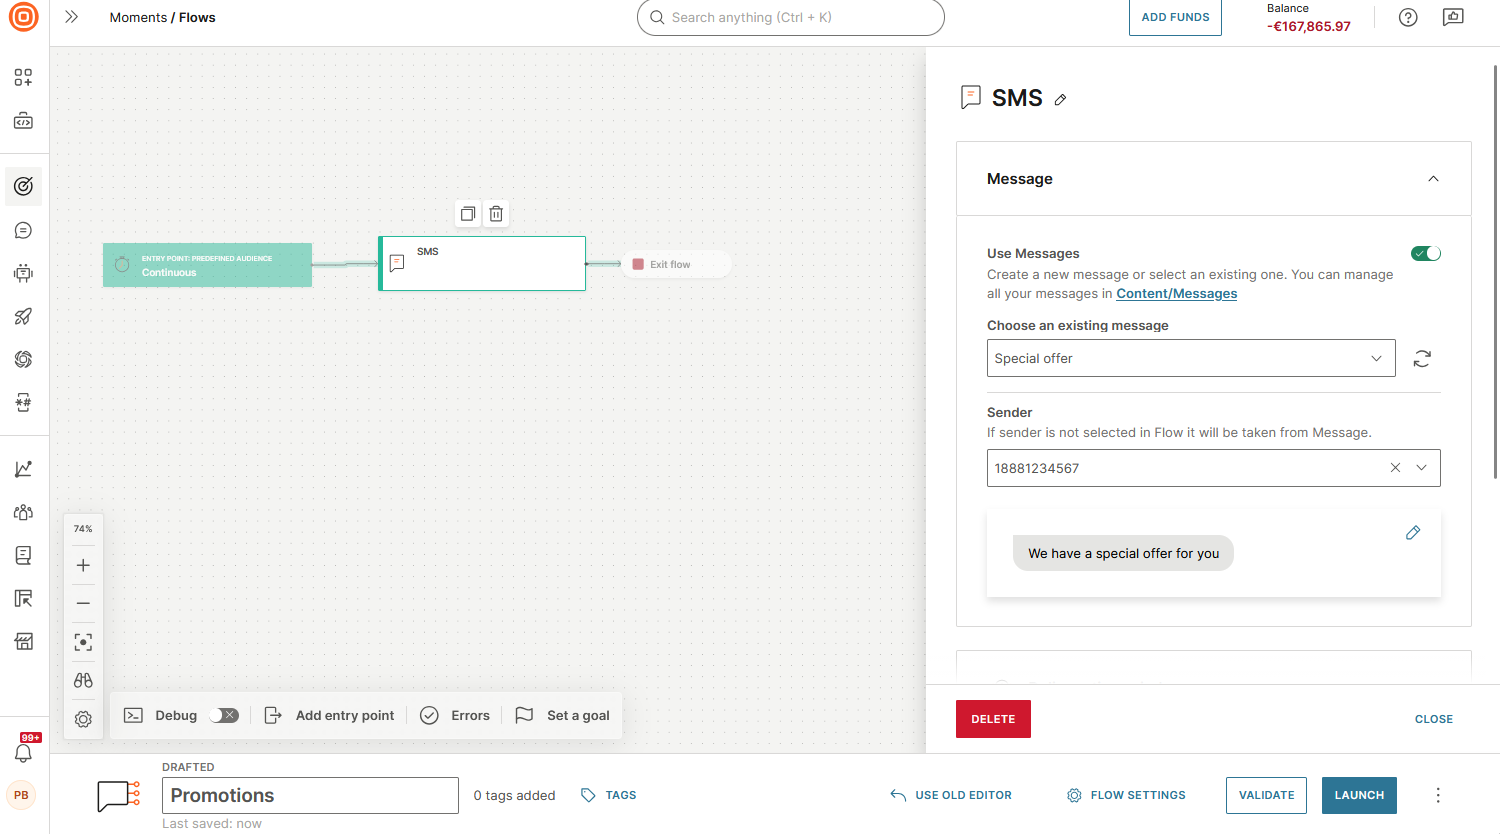
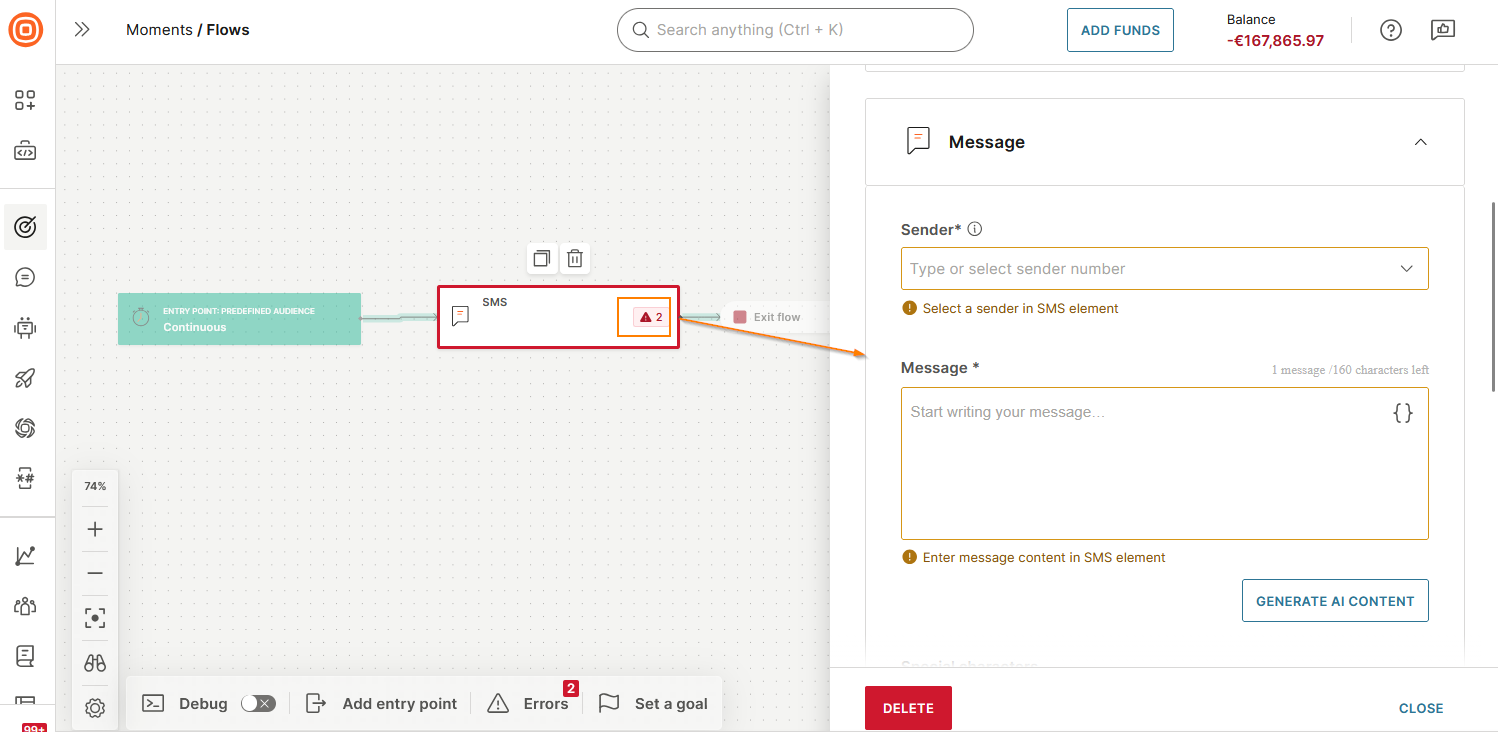
The following image shows the Build side panel for a flow element.
Create and manage elements [#flow-editor-create-manage-elements]
Enable enhanced canvas controls [#flow-editor-enhanced-controls]
Enhanced canvas controls provide improved interaction with the Flow editor. They enable you to do the following:
- Navigation: Move around the canvas by scrolling, dragging with the right or middle mouse button, or holding the Space key while dragging
- Zoom: Adjust the zoom level by pinching on a touchpad or using Cmd/Ctrl + scroll with your mouse.
- Select element: Select an element and drag it to move it.
- Multi-select elements: Select multiple elements and then drag to move them.
To enable enhanced canvas controls, select the Settings icon and select Enhanced controls.
To use legacy controls, disable this option.

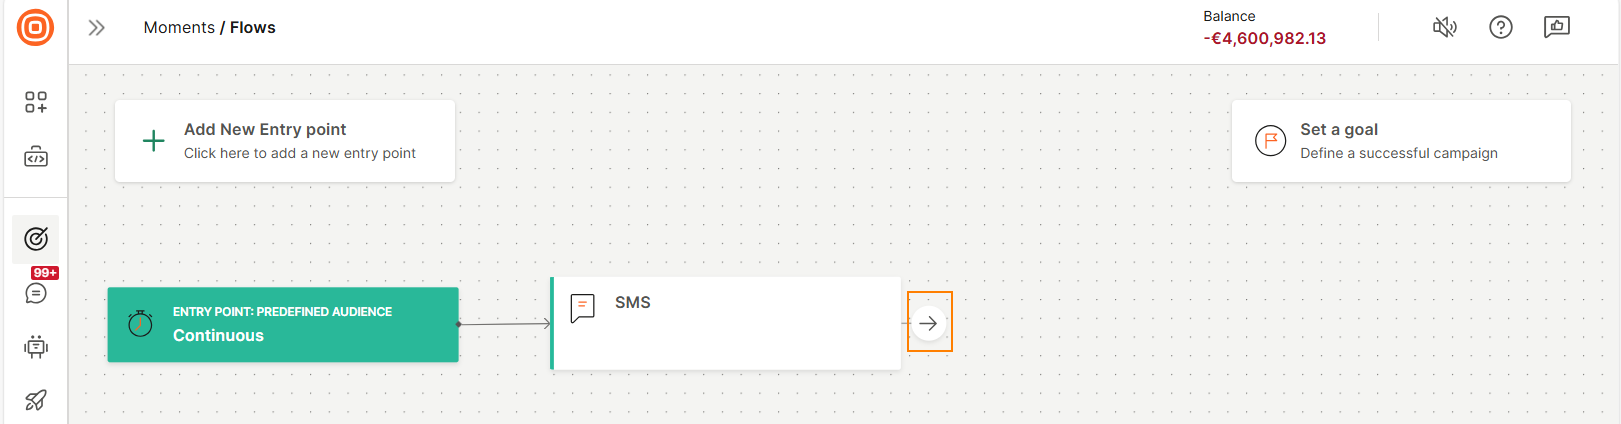
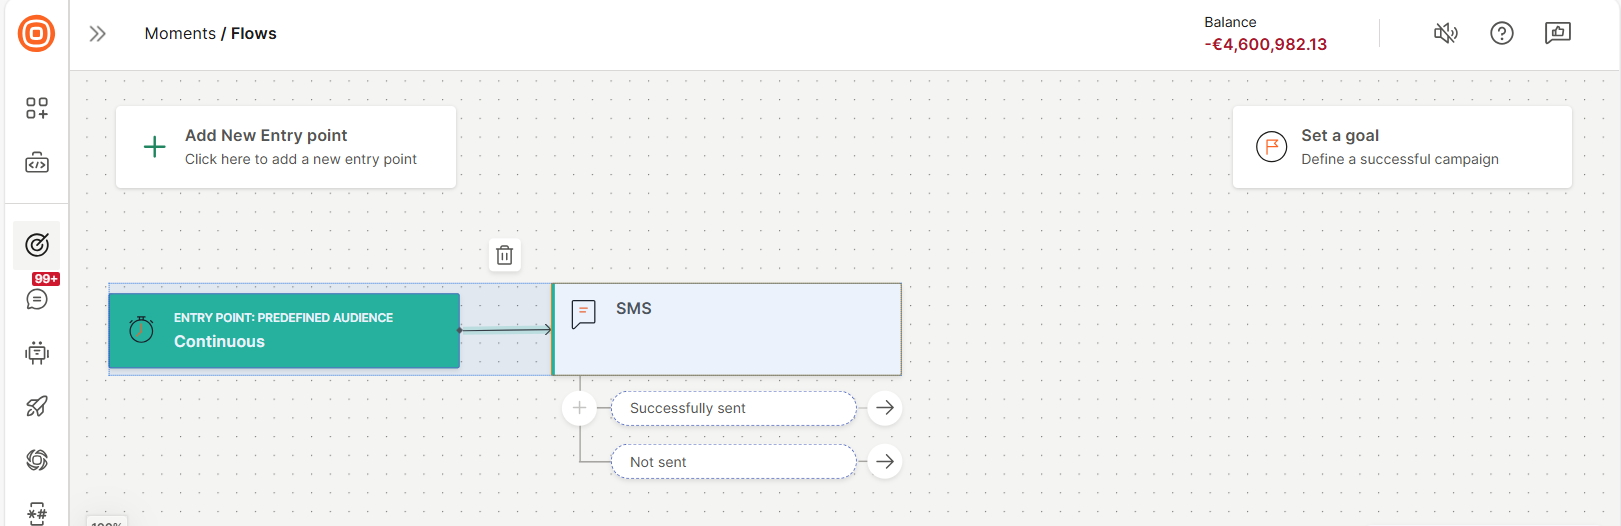
Add an element to the flow [#flow-editor-add-element]
-
Select the arrow next to an existing element.
If the element has branches, select the arrow next to a branch to add the next element.
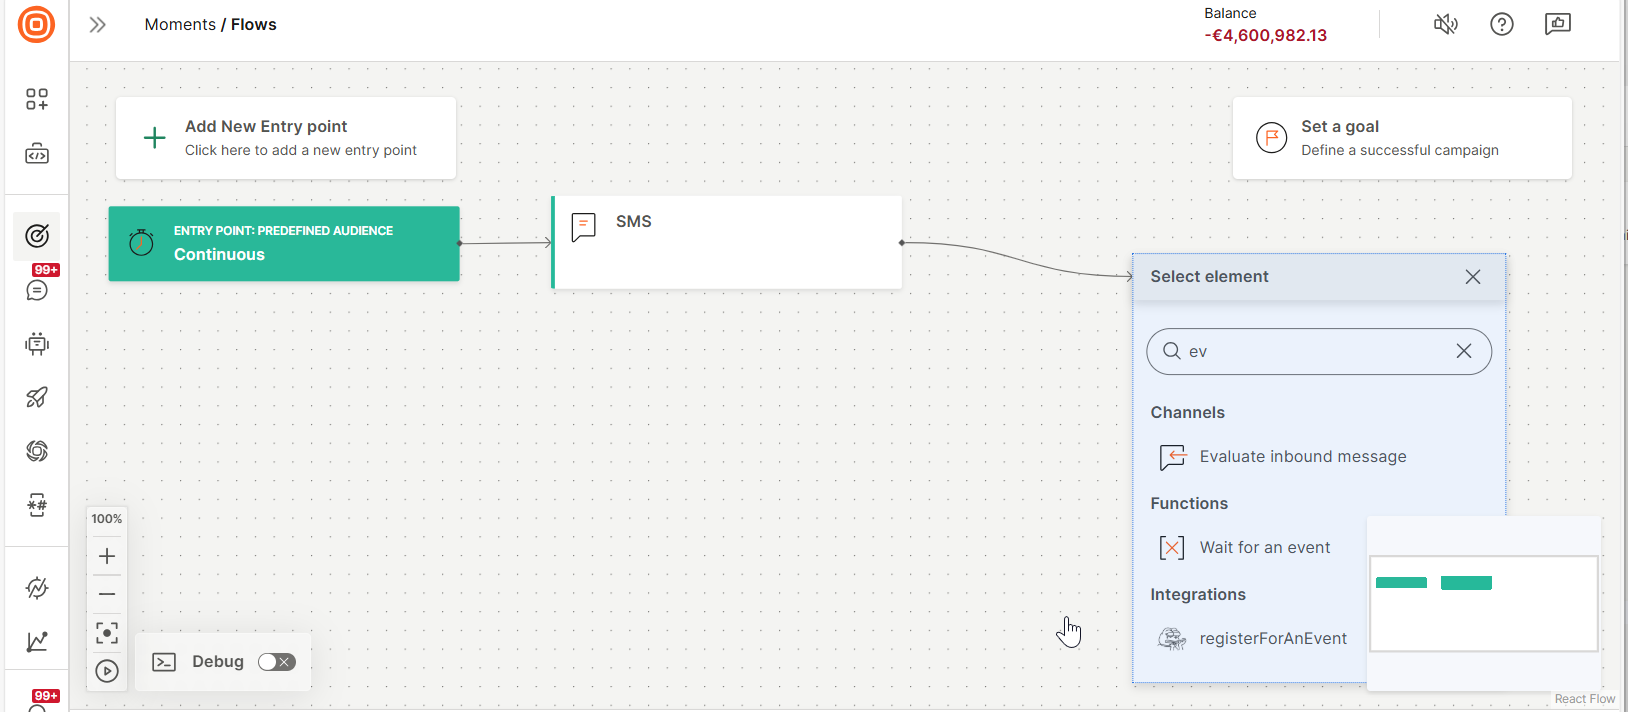
-
Select an element from the list of available ones. You can also search for the required element.
The element is added to the canvas.
Edit or Configure an element [#flow-editor-edit-configure-element]
Select the element to open the Build side panel. You can configure the element in this panel.
Move elements [#flow-editor-move-element]
Move a single element
- Select an element.
- Drag the element on the canvas to move it.
Move multiple elements
- Enable Enhanced controls.
- Select the required elements.
- Drag the elements on the canvas to move them.
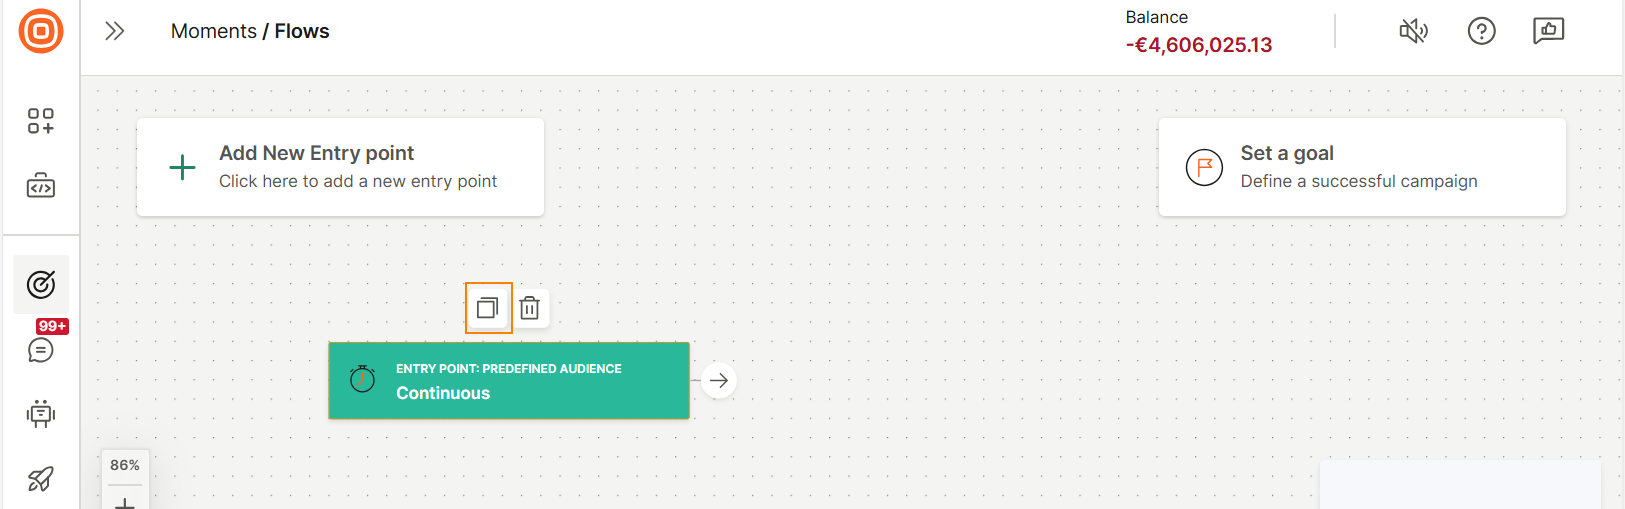
Duplicate an element [#flow-editor-duplicate-element]
Select the required element and then select the Duplicate icon above it.
Delete elements [#flow-editor-delete-element]
Delete a single element
- Select an element.
- Select the Delete icon above the element.
Delete multiple elements
- Enable Enhanced controls.
- Select the required elements.
- Select the Delete icon above the elements.

Add a new entry point [#flow-editor-add-entry-point]
By default, the flow contains the entry point that you selected when creating the flow. If you want to add more entry points, select Add entry point and select the required option.

Validate and troubleshoot [#flow-editor-validate-troubleshoot]
Validate and identify errors in the flow.
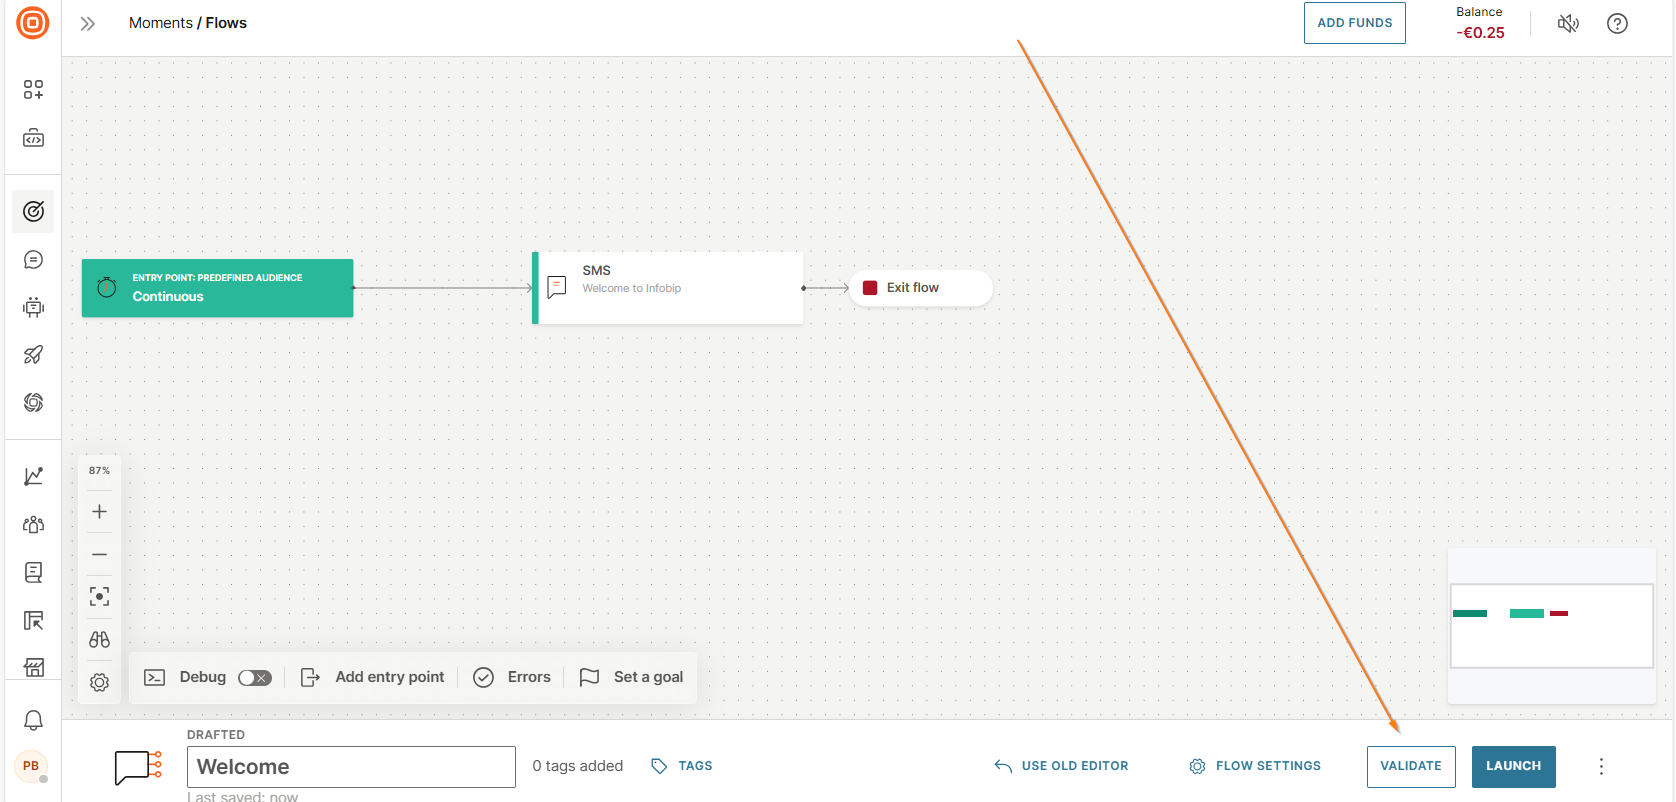
Validate the flow [#flow-editor-validate-flow]
Select Validate to validate the flow.
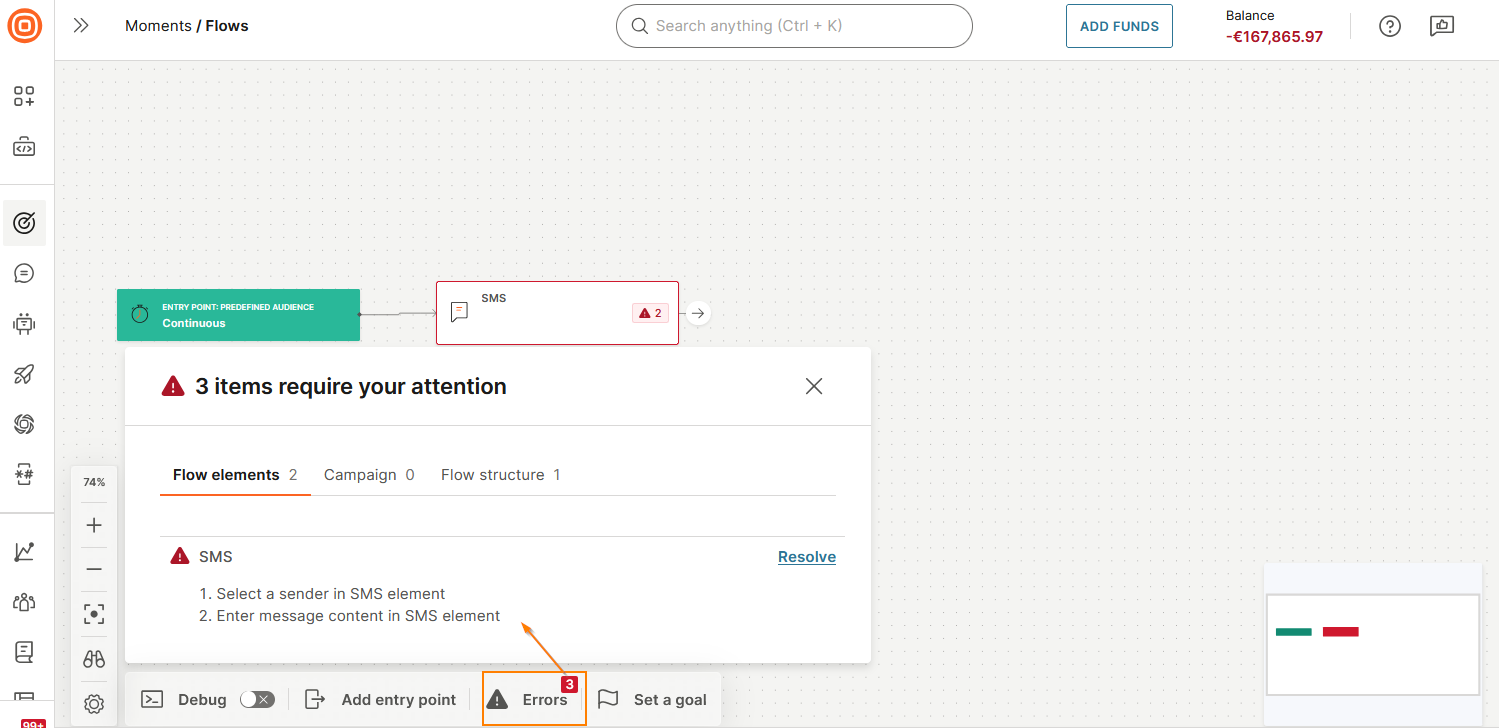
View a list of errors in the flow [#flow-editor-view-errors]
Select Errors to see a list of all the errors in the flow.
The errors are categorized into the following tabs:
- Flow elements: Errors that are specific to flow elements. Example: The following image shows that there are errors in the SMS element.
- Campaign: Errors that could cause the campaign to fail
- Flow structure: Errors in the structure of the flow. Example: The flow shown in the following image does not have an Exit element.
The following image shows that there are errors in the flow elements and flow structure.
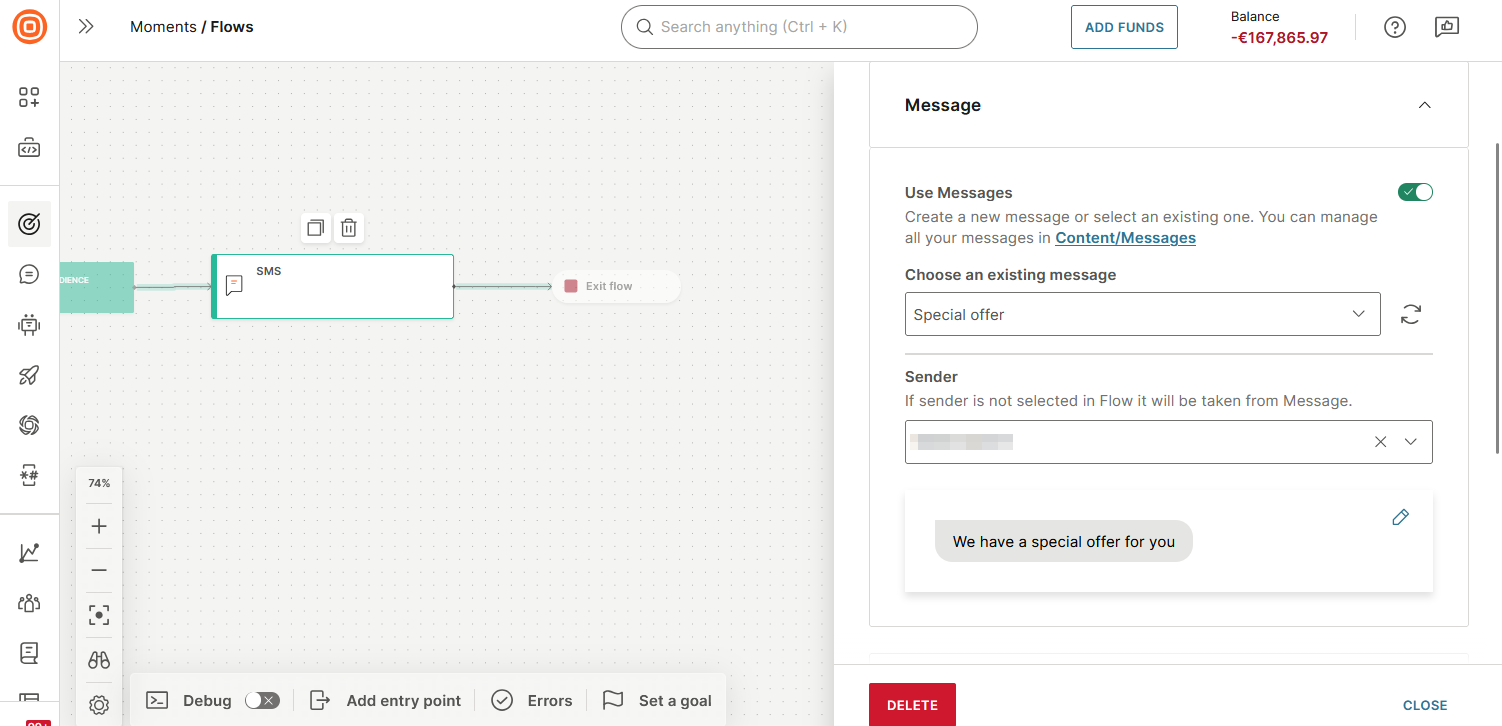
View errors in a flow element [#flow-editor-view-list-of-errors]
On the canvas, the error icon in an element shows that the element has errors that need to be resolved. Select the element to view its errors in the Build side panel.
The following image shows that there are errors in the SMS element.
Debug to view element ID [#flow-editor-debug-id]
Select Debug in the footer. The element ID is displayed above each element.
You can select the ID to copy it.

Flow navigation and layout [#flow-editor-navigation-layout]
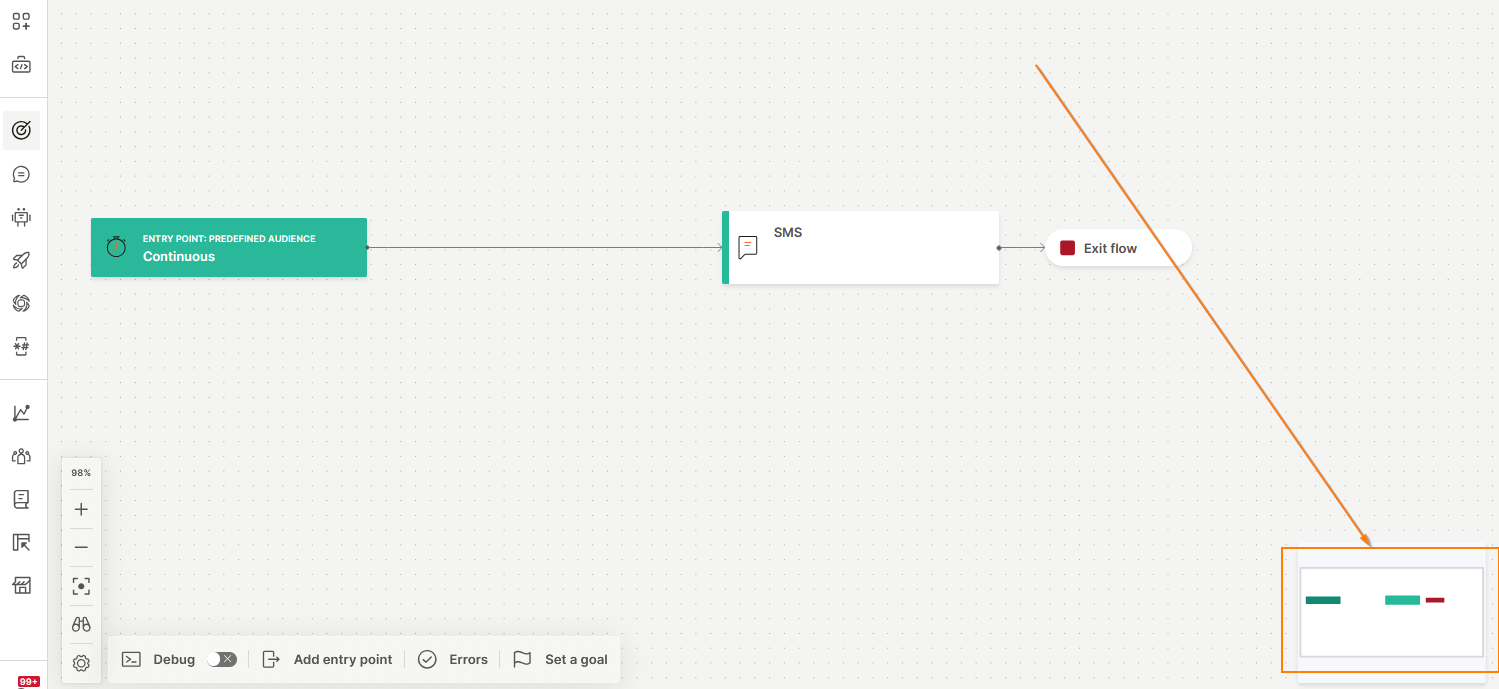
Use the mini map to navigate [#flow-editor-mini-map]
Use the mini map to navigate across the canvas. Drag the mini map to go to specific sections or elements.
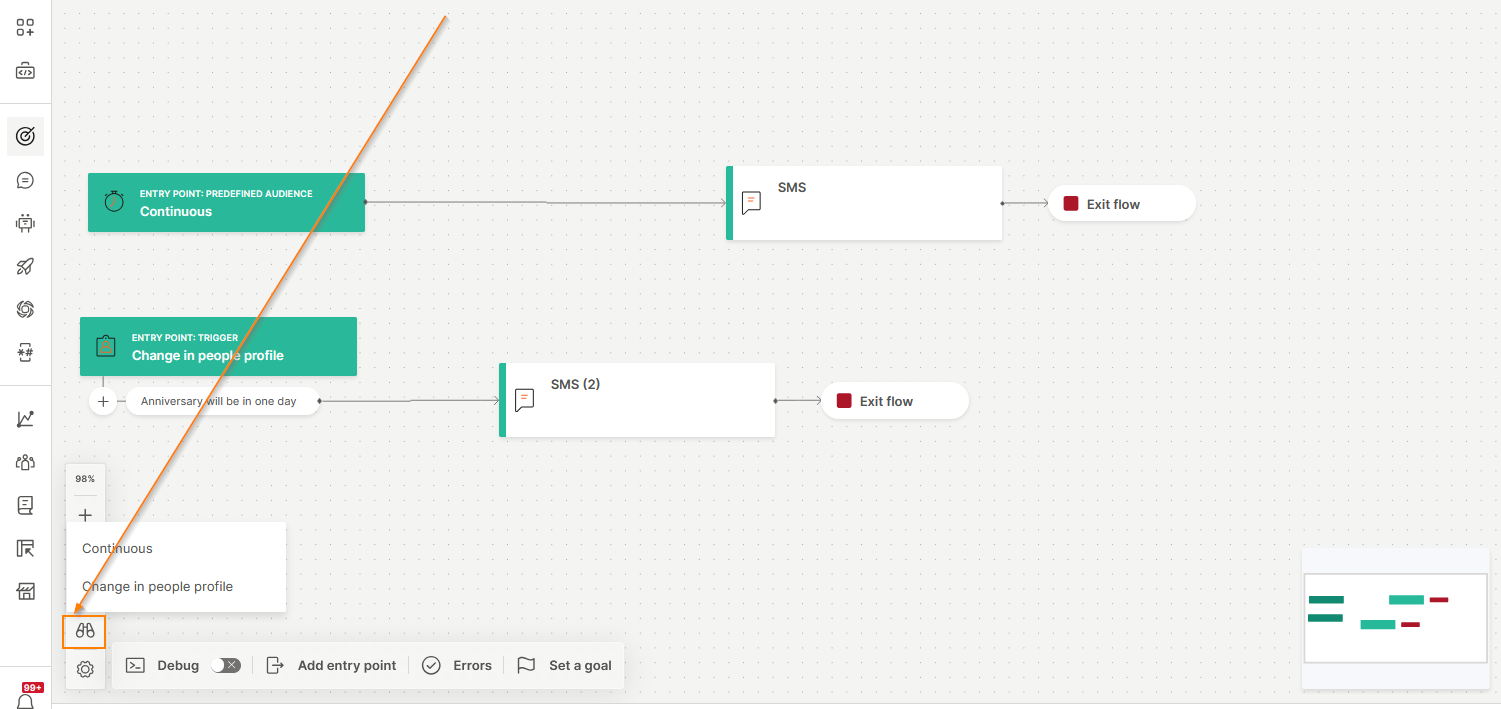
Go to an entry point [#flow-editor-go-to-entry-point]
To go to a specific entry point in the flow, select the icon and then select the required entry point.
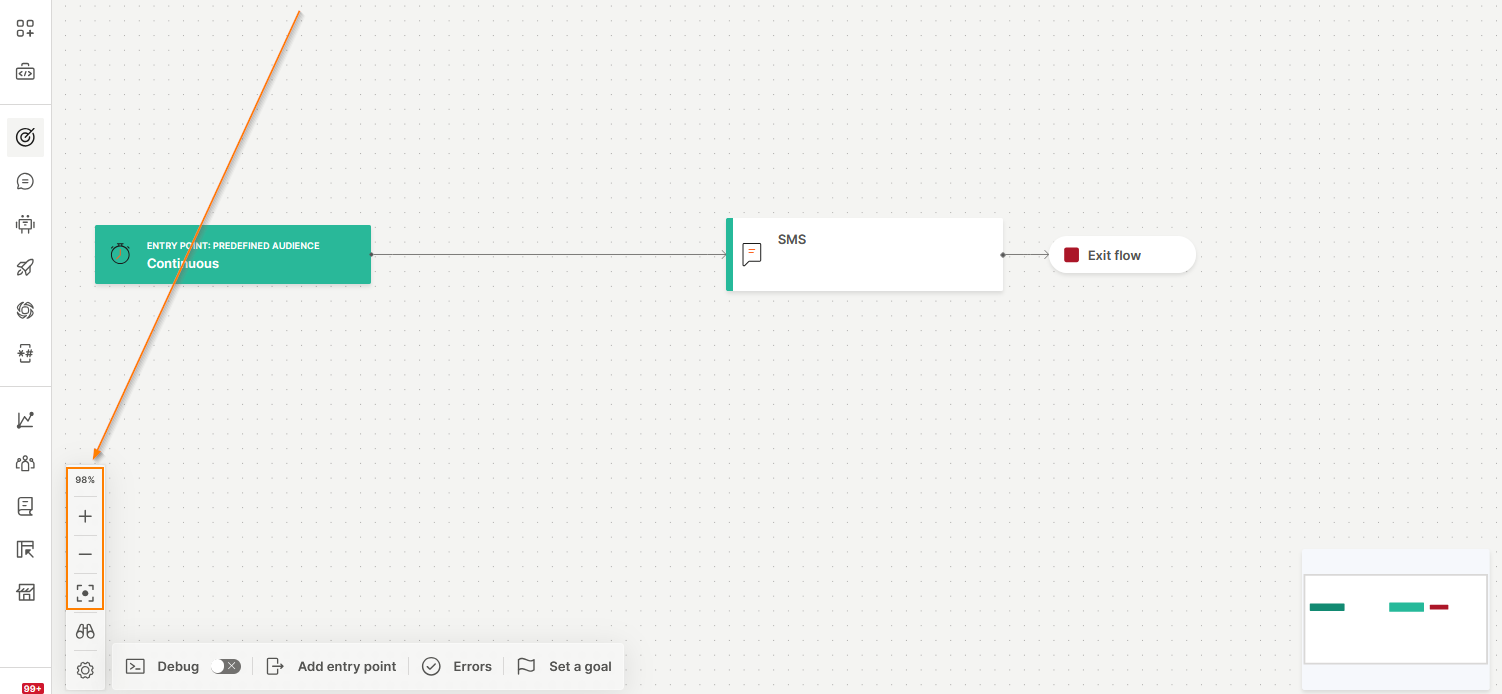
Use zoom controls [#flow-editor-zoom-controls]
Use the zoom controls for better visibility. You can zoom in and out, reset the zoom, or fit the view to the canvas.
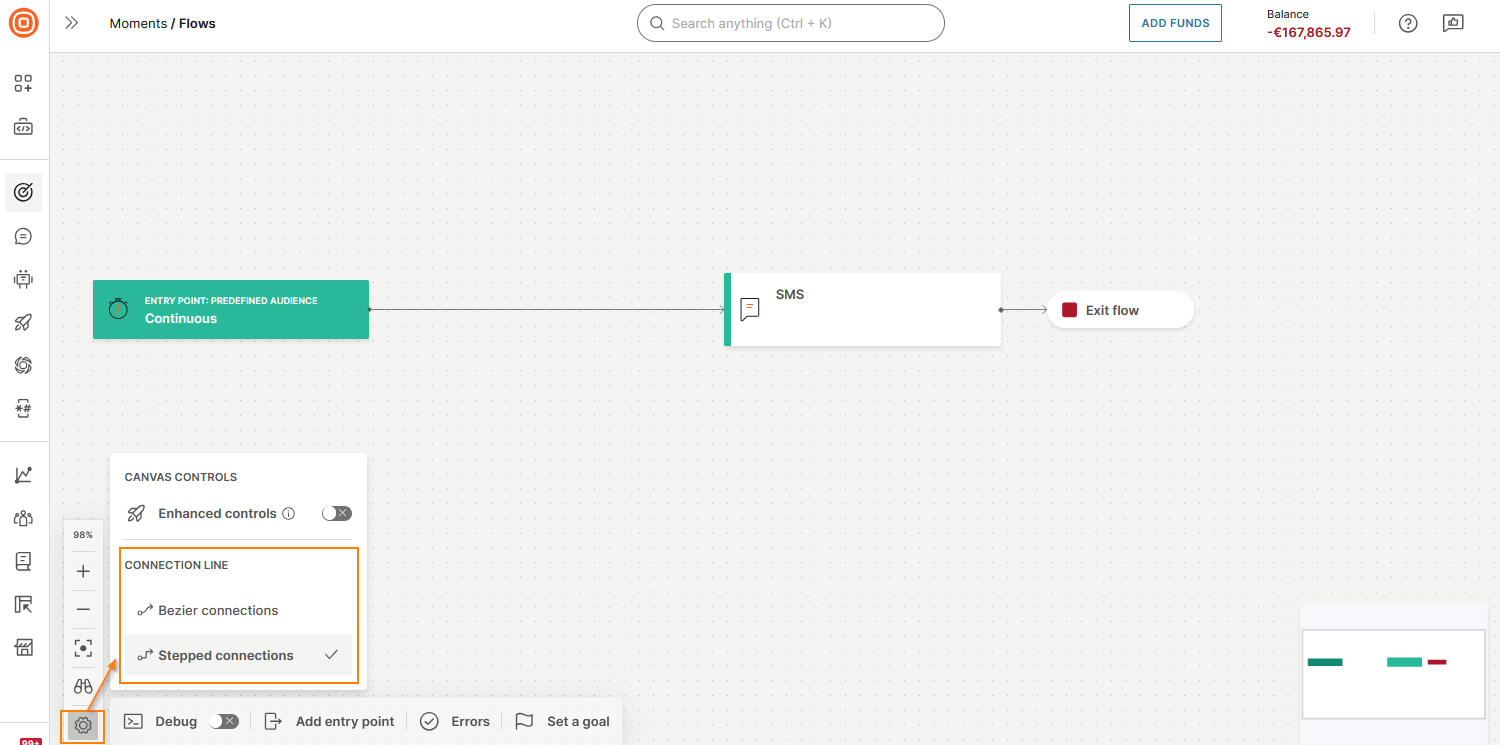
Change the appearance of connection lines [#flow-editor-connector-lines-appearance]
Customize the appearance of connection lines (lines between elements).
The following options are available:
- Bezier: Smooth, curved lines
- Stepped: Angular, right-angled lines
To access these options, select the Settings icon and then select an option.
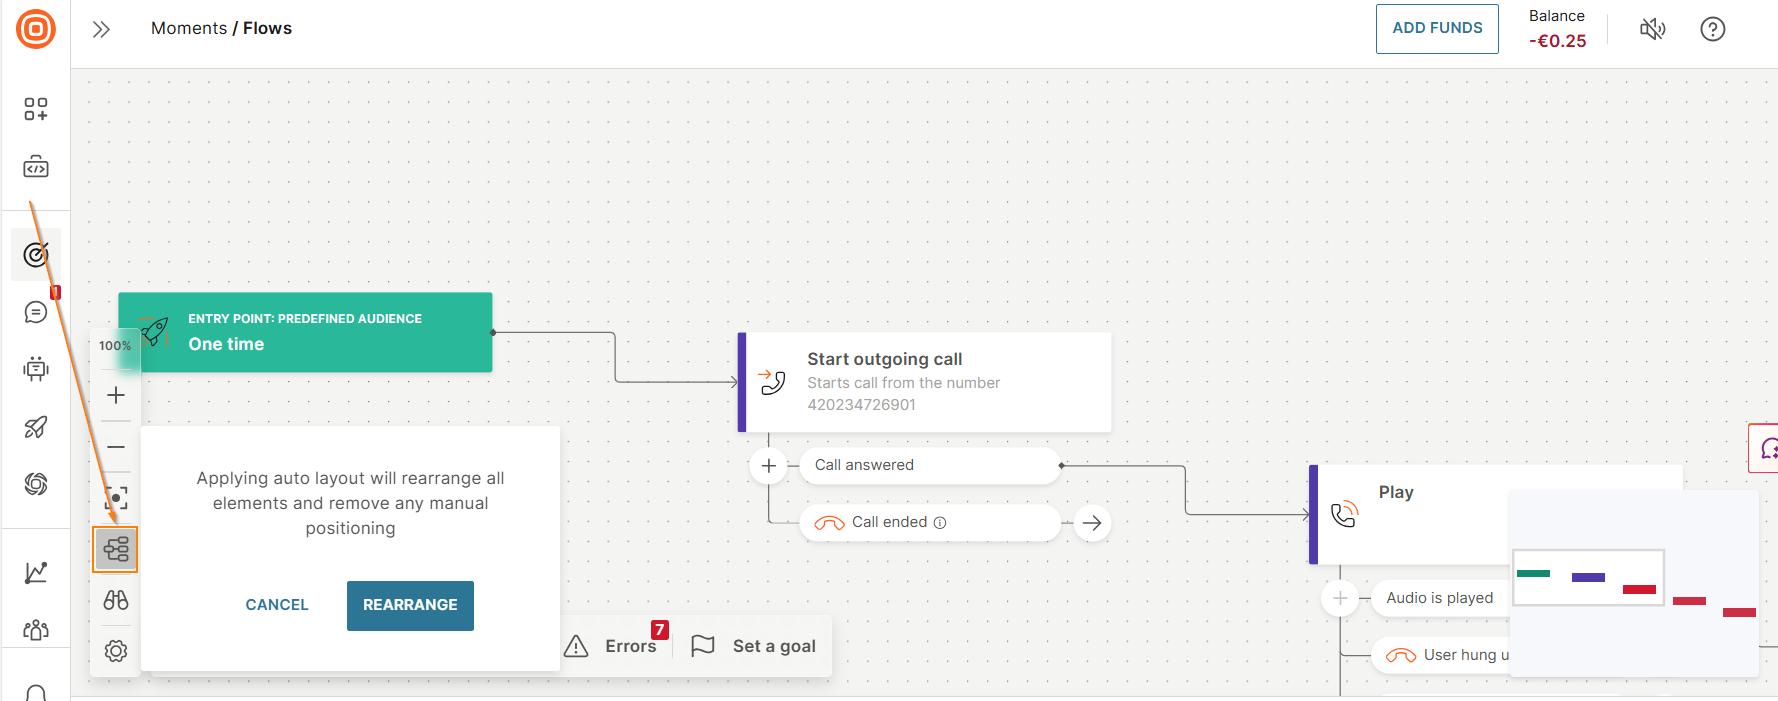
Auto‑arrange flow elements (Auto layout) [#flow-editor-auto-layout]
Use Auto layout to automatically organize all elements in the flow. This improves readability and ensures consistent spacing.
Auto layout removes any manual positioning that you previously applied.
You can continue manually arranging elements even after using Auto layout.
Auto layout affects only the visual arrangement and does not change the logic of your flow.
To apply Auto layout, select the Auto layout icon.
The editor automatically repositions and evenly spaces all flow elements.
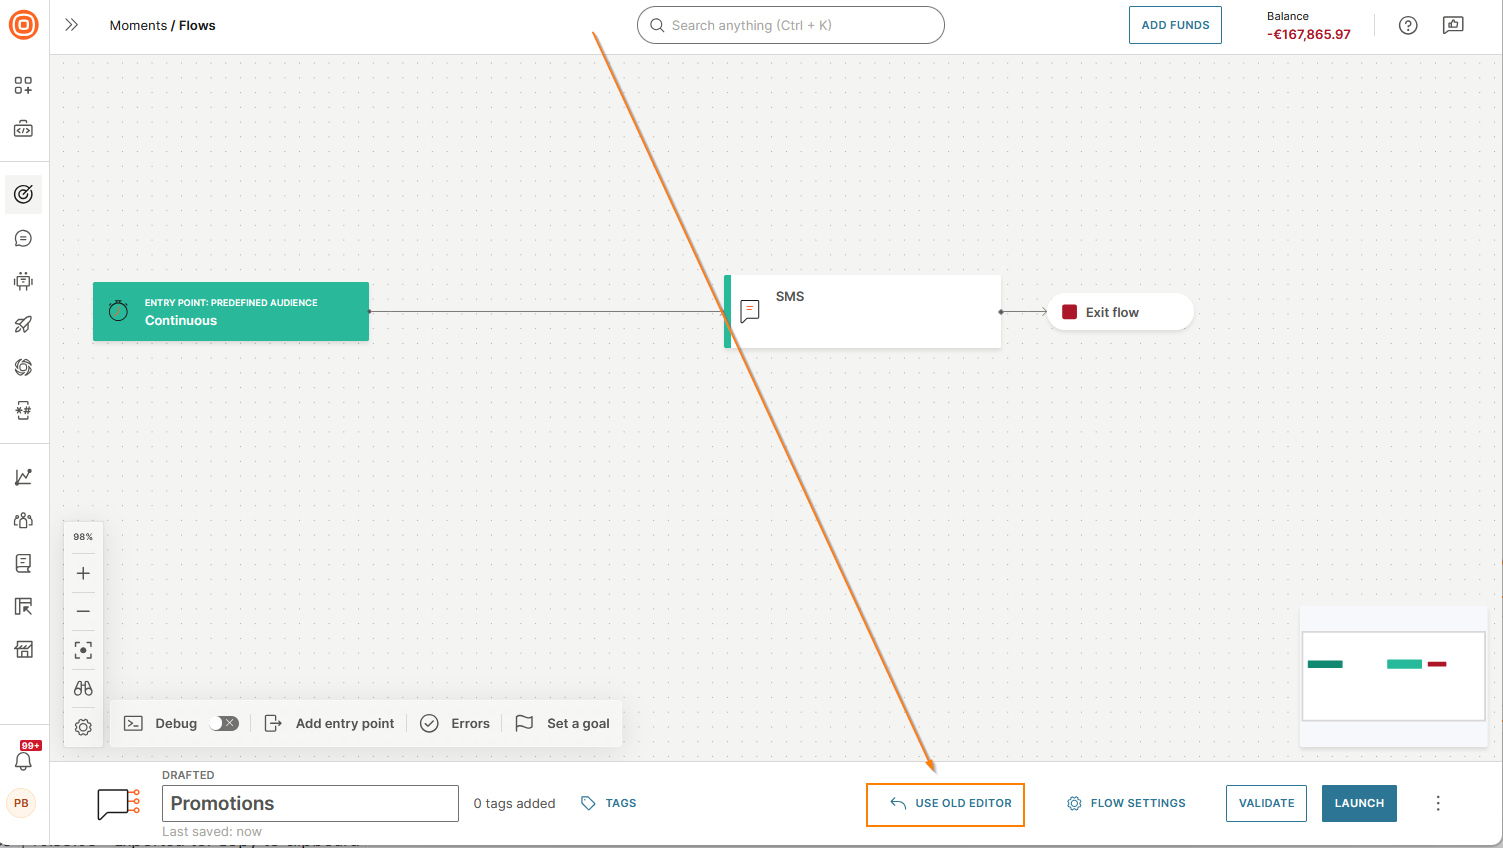
Use old editor [#flow-editor-use-old-editor]
Select Use old editor in the footer to use the previous version of the Flow editor.
Flow configuration [#flow-editor-flow-configuration]
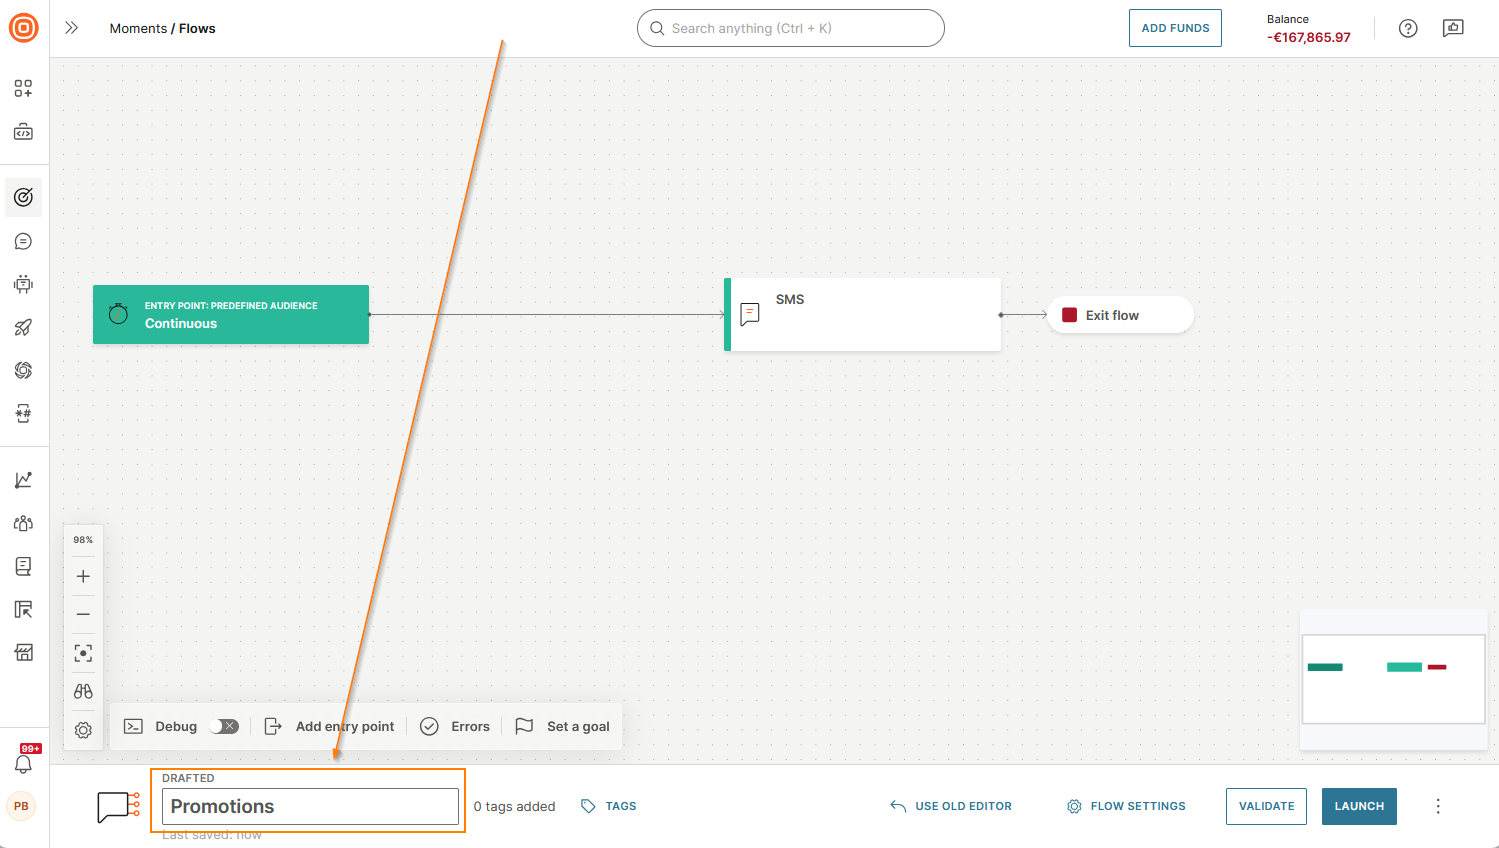
Name the flow [#flow-editor-flow-name]
Specify a unique name to identify the flow.
Manage campaign tags [#flow-editor-manage-campaign-tags]
View, add, or remove campaign tags in the flow.
Set a goal [#flow-editor-flow-goal]
Set a goal for the flow.
Configure Flow settings [#flow-editor-flow-settings]
Configure the flow settings.
Manage the flow [#flow-editor-manage-flow]
Save the flow as a template [#flow-editor-save-flow-as-template]
To save the flow as a template, select the three dots in the footer and then select Save as template.

Duplicate the flow [#flow-editor-duplicate-flow]
To duplicate the flow, select the three dots in the footer and then select Duplicate.

Delete the flow [#flow-editor-delete-flow]
To delete the flow, select the three dots in the footer and then select Delete.
