Get started with Moments
Your first move towards highly customized communication via the Infobip platform is to create an account and sign in to our web interface.
To set up and organize your account, check out Account settings, Manage users, and Manage roles.
The last step would be to enable channels you are interested in and start importing customer information to the People platform. The data platform will supply every communication that you design with the necessary data.
Import your audience
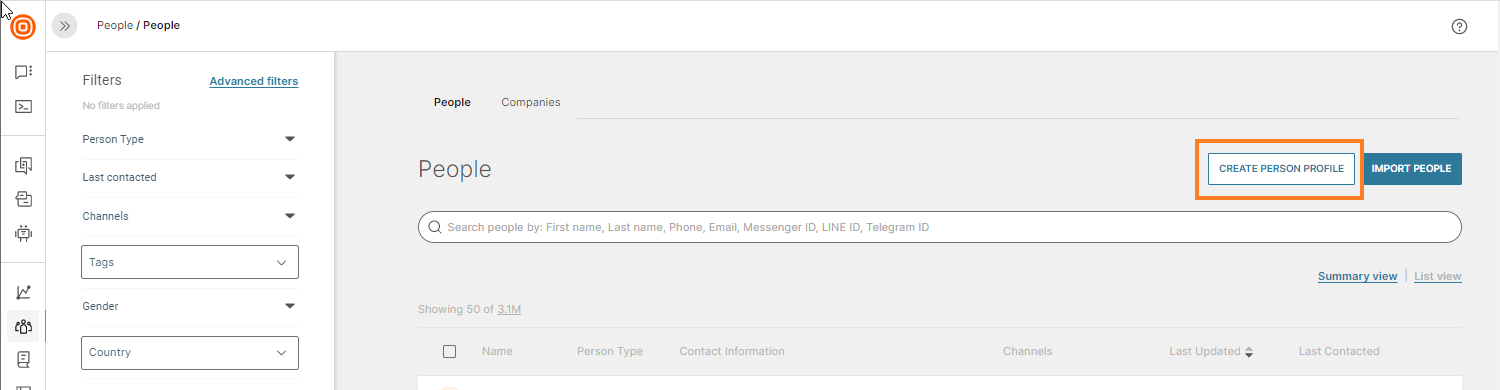
When you visit People platform, try creating a customer profile just to get a better idea about how it works:
- Select the Create person profile button.
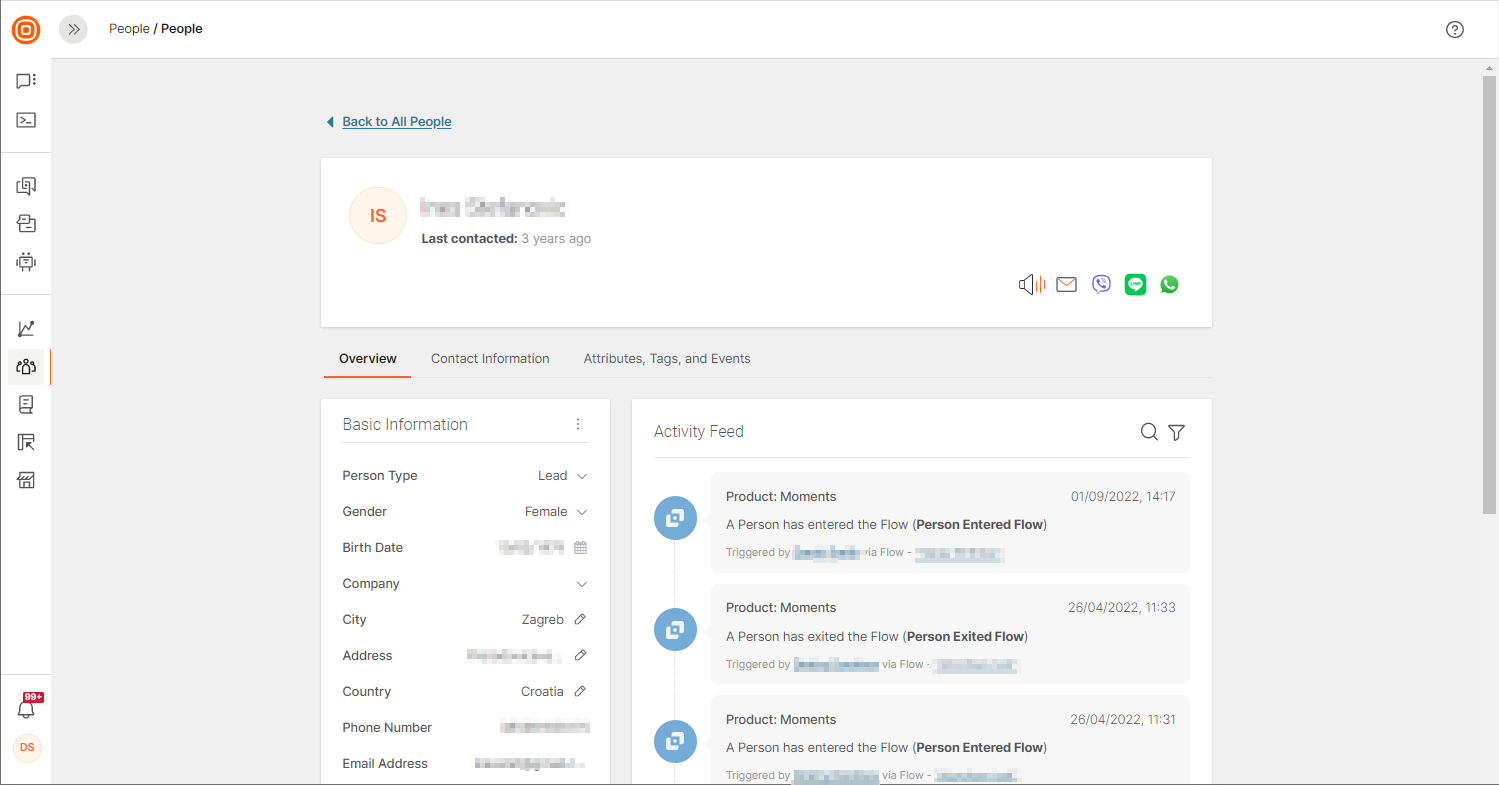
- You will land on the Person profile page.
- Here you can add information that you would like to have stored, including some standard attributes (country, city, date of birth), but also personal preferences like items bought, shoe size, contract expiration dates, or payment due dates.
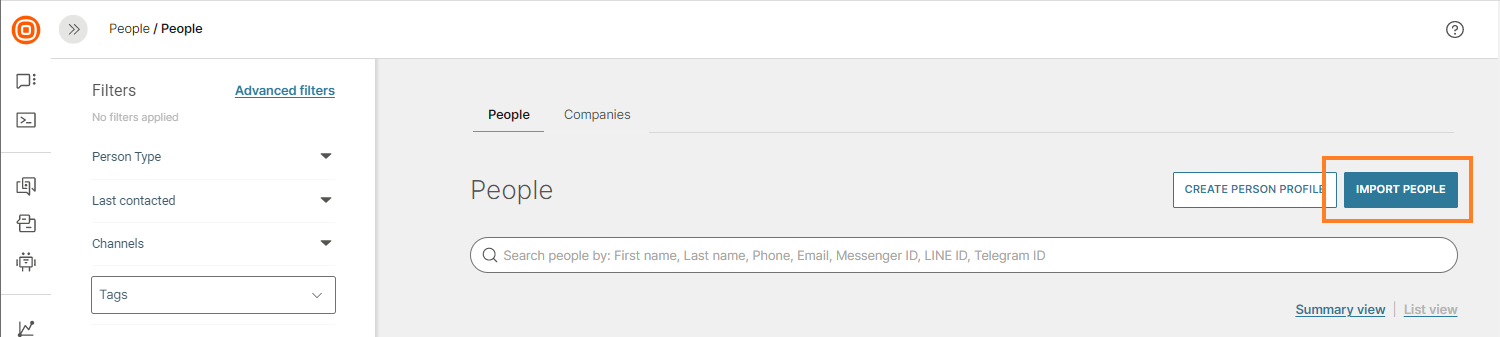
- To upload a number of profiles at once, use File import (as shown below) or API.
The information contained in customer profiles will be stored and then continuously updated on the platform. This will allow you to set up automatically triggered communication campaigns based on the profile data and updates, and customer actions which we call events.
Profiles stored on the Infobip data platform can include attributes, contact information, tags, and events.
Start with events
Events are created and activated through our data platform. These are customer actions such as purchasing products, installing apps, registering on a website, opening messages, or browsing for pricing information.
The People platform registers these user actions and the communication flow is triggered based on them.
Check out the Events page in People to see events or create new custom events.
By default, events are available for various communication scenarios. Take a look at Channel events to learn more.
Some events are predefined, such as standard profile information and interactions with different communication channels (internal events).
If your communication requires a custom event, you will first need to:
- Create a New event definition.
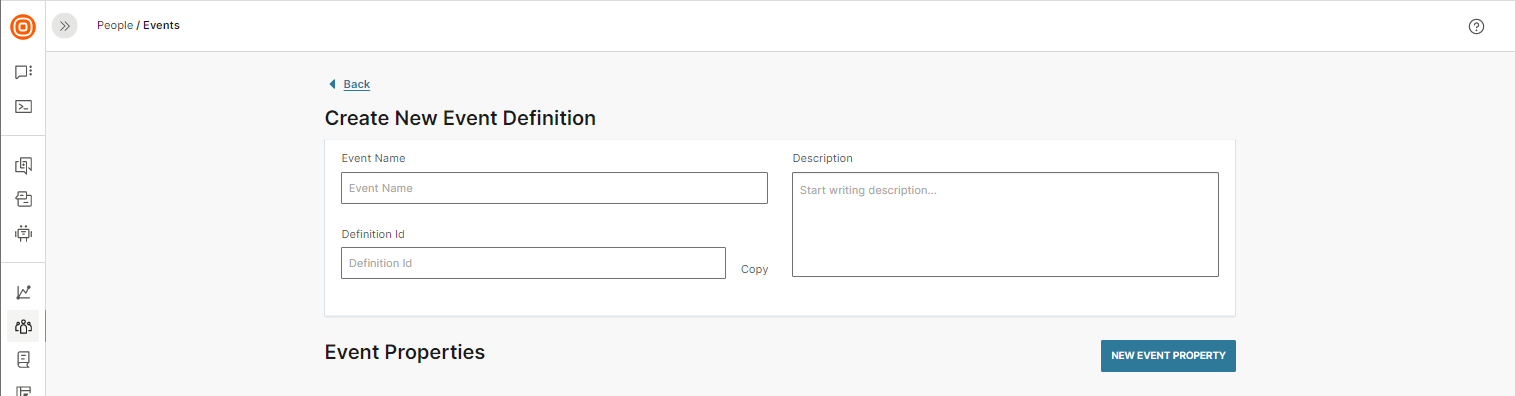
- Once you have created it, think about the method you want to use to track user actions on your web or mobile app: API, web or mobile SDK.
- When these prerequisites have been set up, start building a campaign in Flow with either these custom events or the predefined ones.
Create your first flow
If you want to base your communication on very specific customer behavior, design it using our visual builder. Say you want to send birthday wishes and special gifts to customers.
These few quick steps will help get you there:
- Log in to your Infobip account.
- Go to Moments > Flows > Create flow > Start from scratch.
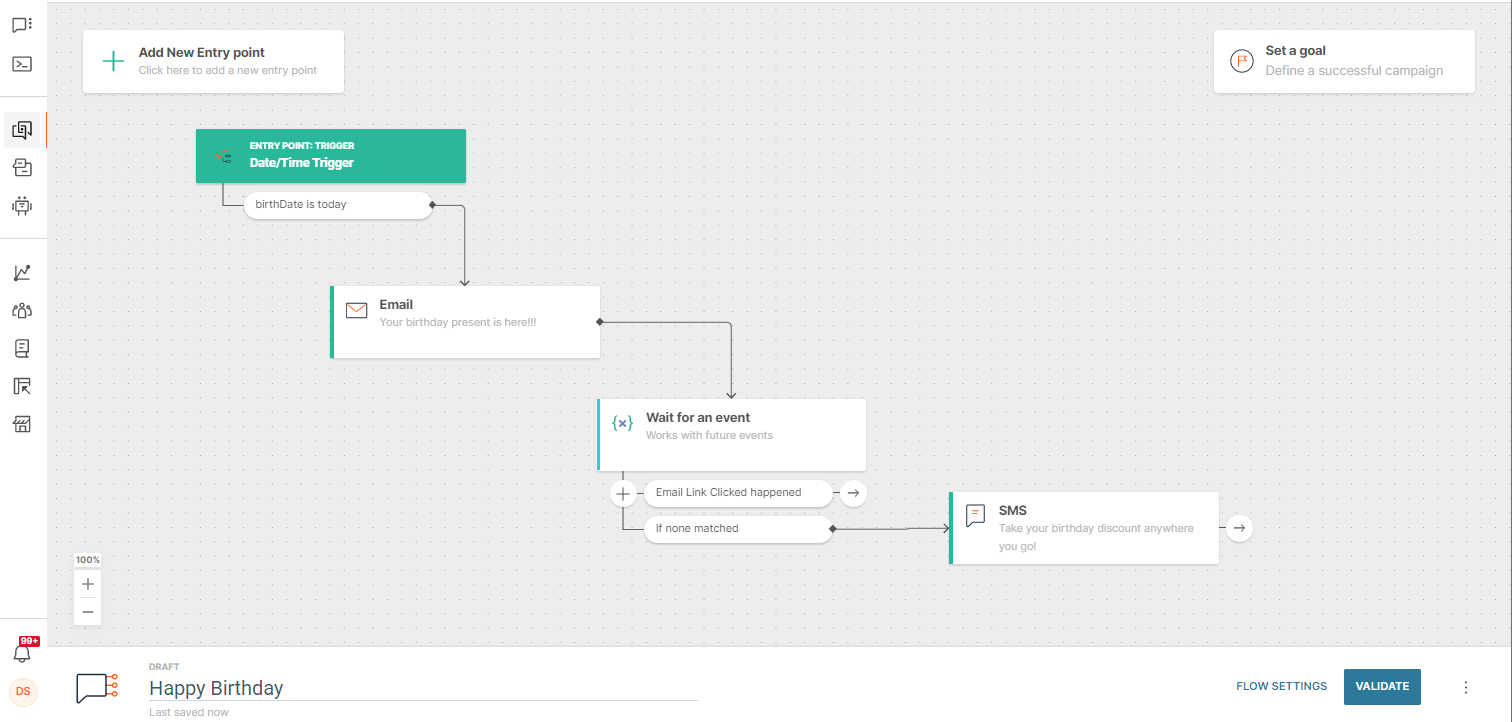
- Select the Date or Time trigger to start communication. The information that will trigger the flow (date of birth) is stored in the person profile.
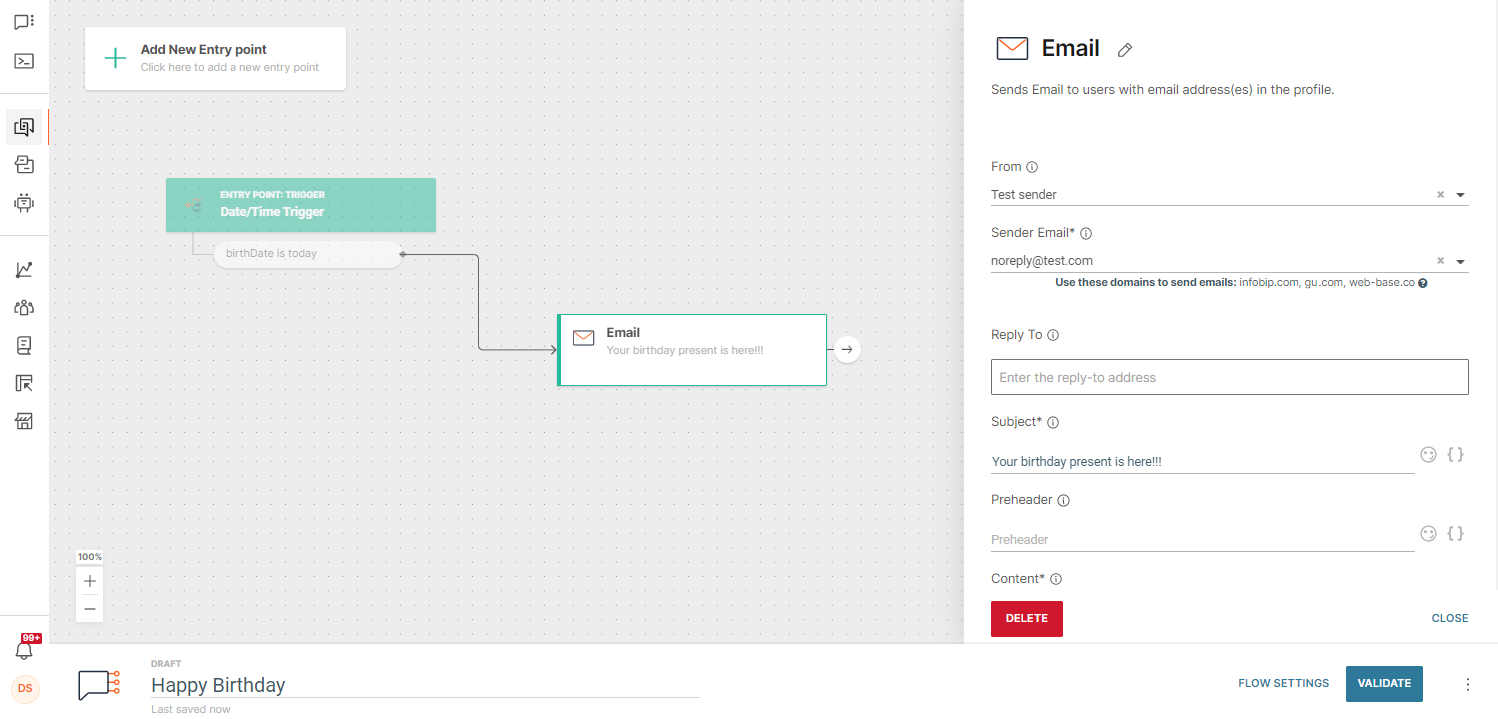
- Select Send Email.
- In the side panel fill out the required fields.
- Create your personalized content inside the Design editor.
- Add Wait for an Event element. The event you want to choose here is “Email Link Clicked”.

- In the same side panel, remember to select how long you want to wait for the user's reaction before sending another message. For example, wait one day, and then send an SMS with a very special discount code.
Analyze results
For an active or finished flow, you will see the number of users to whom the email has been sent, the percentage of total engagements for the specific element (in this case, email), and the number of sent messages.
When it comes to users` engagement, the data for email or some other communication block will show both the number of users that have been engaged with that block and rates pertaining to those who went through the entire flow.
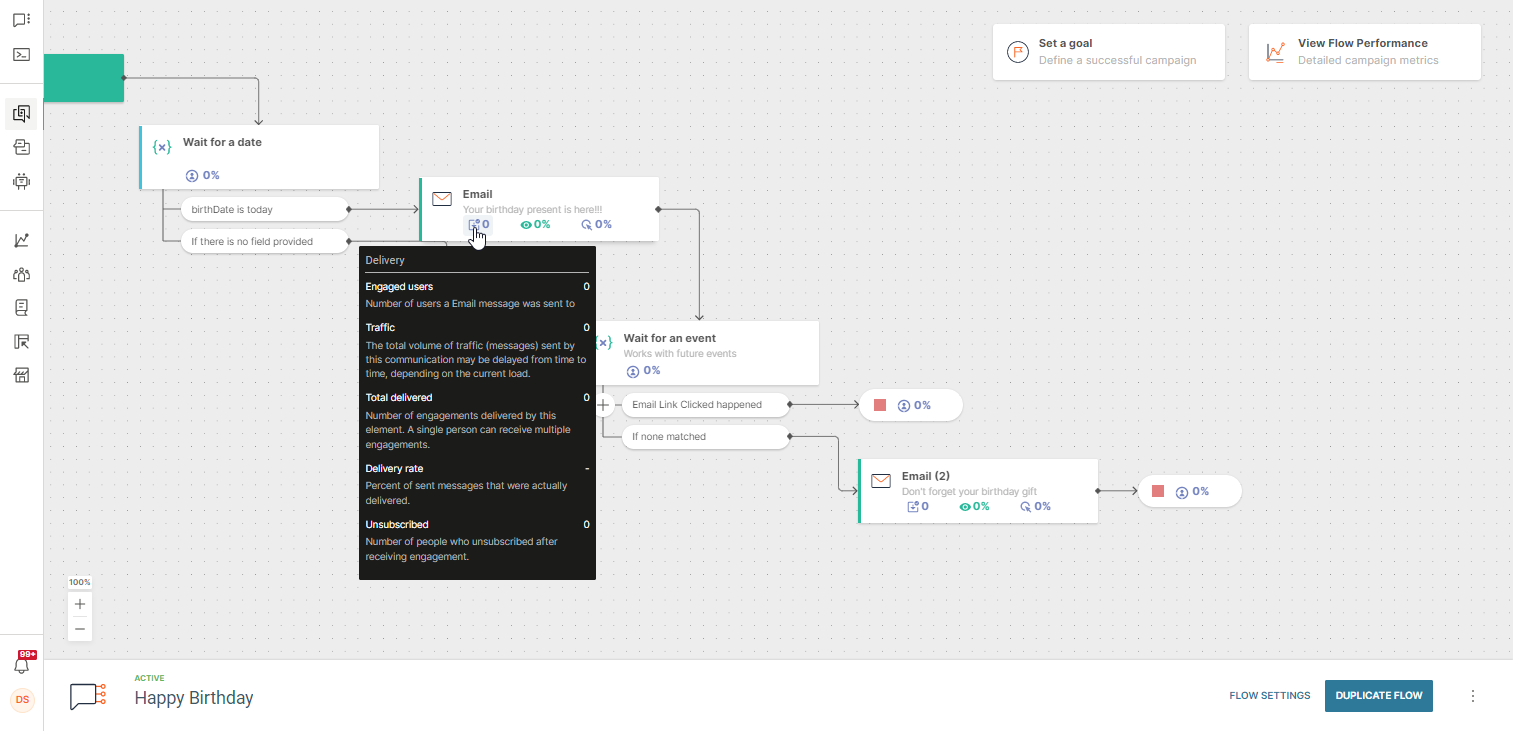
Any time you are ready to dig deeper into the numbers, click the Flow Performance element in the right upper corner of your flow.
Next steps
You are now ready to go ahead and learn more about how to manage flow and get into specifics about each of the explained features and actions.