Enable your Viber configuration
To enable Viber for your configuration, you must obtain approval from Viber to use your channel for business messages. Additionally, you need to register in the Infobip backend to use Viber in the web interface and through the API.
- Sending bulk messages using the Viber Bots standalone API is available only after end users have opted in.
- Templates are applicable only for Russia, Belarus, and Ukraine.
- Location messages are not native to Viber Business Messages. To send Location messages, use a workaround in Answers.
Enablement flow
The following outlines the registration and enablement process for adding Viber as a communication channel:

Enablement request
To request Viber enablement:
- In the web interface, go to Channels and Numbers > Channels > Viber for Business > Overview.
- Select the Send request option.
- Provide your email address so Infobip support can contact you to initiate Viber activation.
Before proceeding, download the Warranty Letter and Service Qualification Form, and prepare them for submission. Familiarize yourself with the Compliance and guidelines for business messages.
Viber approval
Submit the completed Warranty Letter and Service Qualification Form to Infobip.
You can choose the communication type (one-way or two-way) through the Service Qualification Form. To modify the communication type later, refer to the Update communication type section.
Viber will review and approve your application within 2–3 days, assigning you a unique Service ID number.
In addition to the forms, the following details are required for approval:
- Six logos in .png format with the following resolutions:
- 50 x 50 pixels
- 65 x 65 pixels
- 100 x 100 pixels
- 130 x 130 pixels
- 256 x 256 pixels
- 360 x 280 pixels
- Service name in both the native language and English
- Service website
- Service description
- Service registered country or location
- Service industry type
- Monthly expected message volume
- Service integration type (one-way or two-way)
- Destinations or countries where messages will be sent
- Type of messages being sent (promotional or transactional)
- Example of an introductory message (non-promotional)
- Estimated service launch date
Introductory messages sent to customers must not be promotional. Below are examples of promotional versus non-promotional messages.
| One-way message | Two-way message | |
|---|---|---|
| Transactional | Dear Miss {name}, your order has now arrived at our shop and is ready for you to collect. | Dear Mr. {name}, your appointment with Dr. Smith has been scheduled for January 10th at 12:00 PM at our clinic on 125th Lincoln Street. Please make sure to bring all relevant documents with you. To change your appointment time or cancel, please reply to this message to contact the appointment center. |
| Promotional | Dear Ms. {name}, thank you for choosing to fly with {company name}. We have a mileage program that you might be interested in. Find out more {link or button}. | Last day of our special summer sale! Discounts for all online store purchases! Reply with a #SummerSale to receive a coupon code. |
If it is necessary to set DLR-forwarding to your system using HTTP, provide the URL with information for the Service Qualification Form.
Registration at Infobip
After Viber approval, you must sign the Messaging Services Agreement (MSA) or the MSA Addendum to include Viber if you are already using other Infobip services. Infobip will then complete the integration process and enable the Viber service.
Once the integration is complete, you can start using the approved sender.
Test sender
While waiting for Viber's approval, you can use the demo sender to test the service in Broadcast.
Request test sender [#request-test-sender-test-sender]
To request a test sender, reach out to your Account Manager / Client Growth Executive and ask them to enable it, or contact our Support.
Upload options [#upload-options-test-sender]
Import data [#import-data-upload-options-test-sender]
You can import the data for the test broadcast from a file, template or an existing broadcast.
-
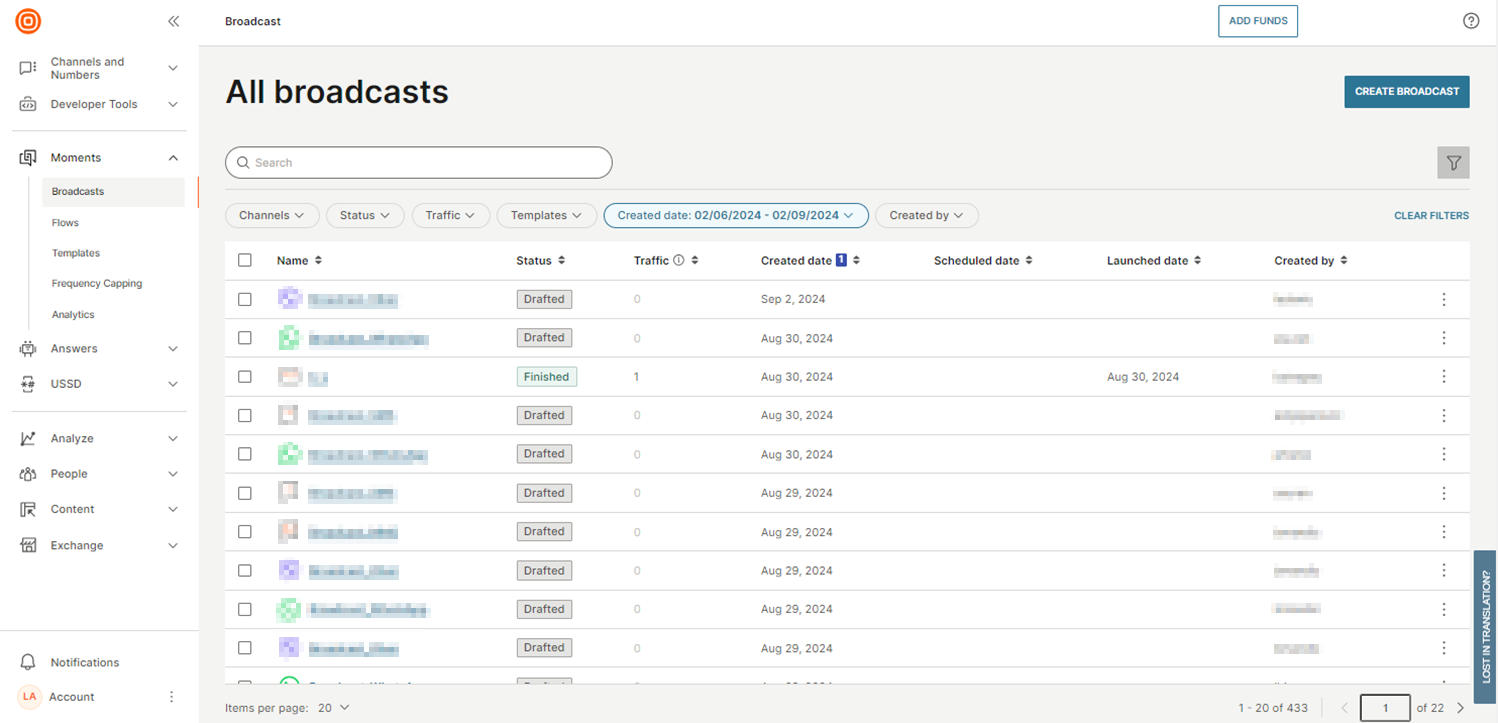
In the Infobip web interface, go to Moments > Broadcasts (or Campaigns > Broadcasts, if you do not have Moments activated) > Create broadcast.
-
Select Viber as the preferred channel and then Import content.
-
Select one of these options:
- Templates: Using a template will overwrite all fields except Recipients.
- Existing broadcasts: Using an existing broadcast will overwrite all fields.
-
Select Continue to preview.
-
Preview your message and, if you want to edit the message further, select select Back to settings.
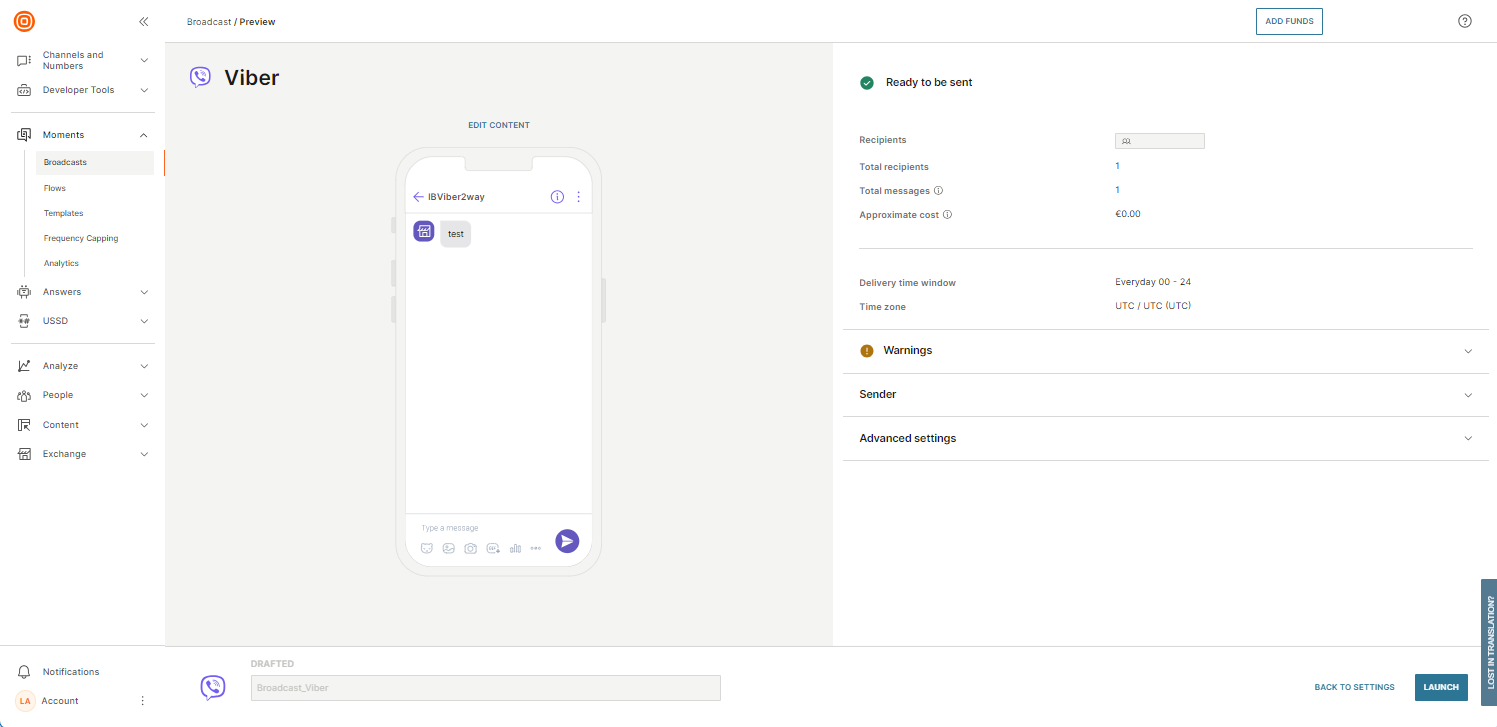
-
If everything looks correct, select Launch.
Enter data manually [#enter-data-manually-upload-options-test-sender]
-
In the Infobip web interface, go to Moments > Broadcasts (or Campaigns > Broadcasts, if you do not have Moments activated) > Create broadcast.
-
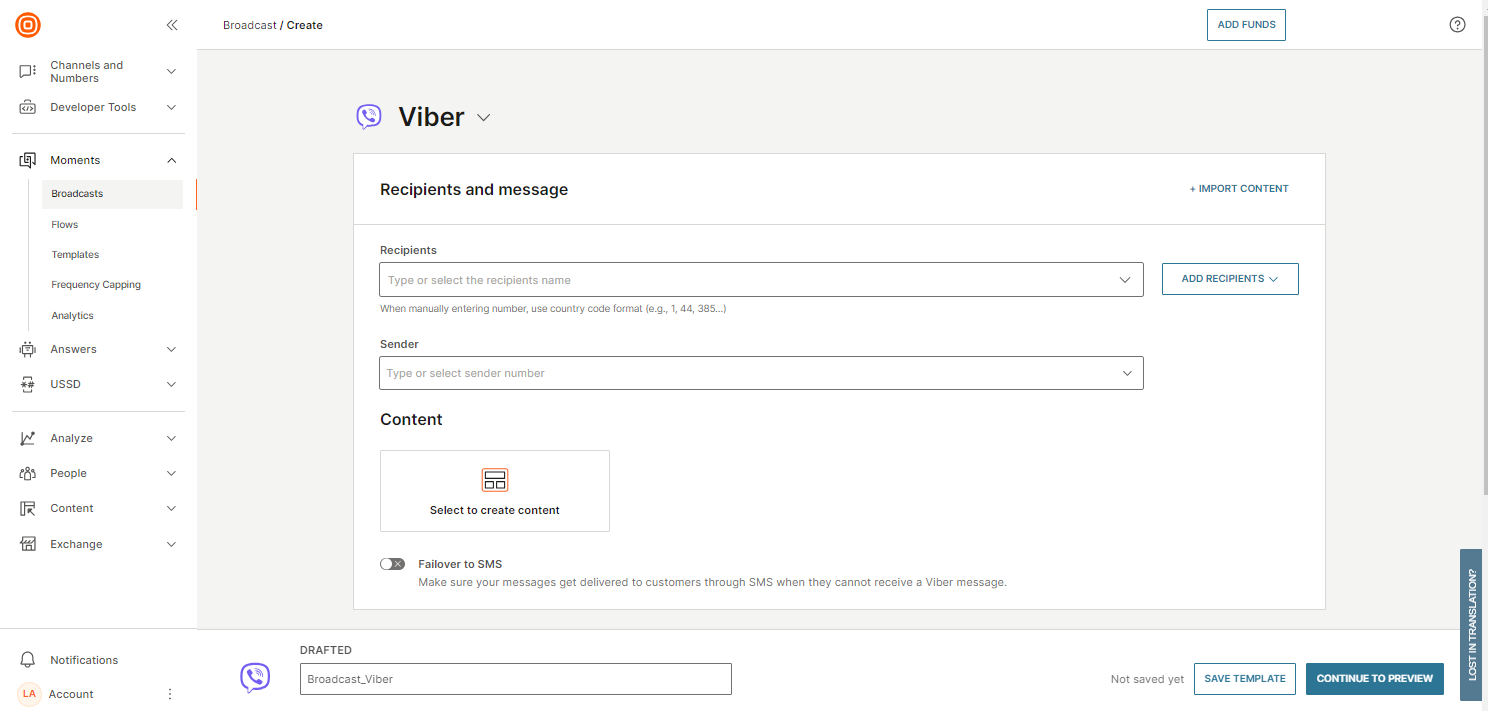
Select Viber as your preferred channel and enter data for the following fields:
- Recipients: Add or select the contact information of the recipients. You can also import the data by selecting Add recipients and then Upload from a file or Add from People.
- Sender: Choose from a list of senders or type their phone number.
-
Under Content, click Select to create content to open the content editor. You can send the following message types:
- Text
- Image
- Video
- File
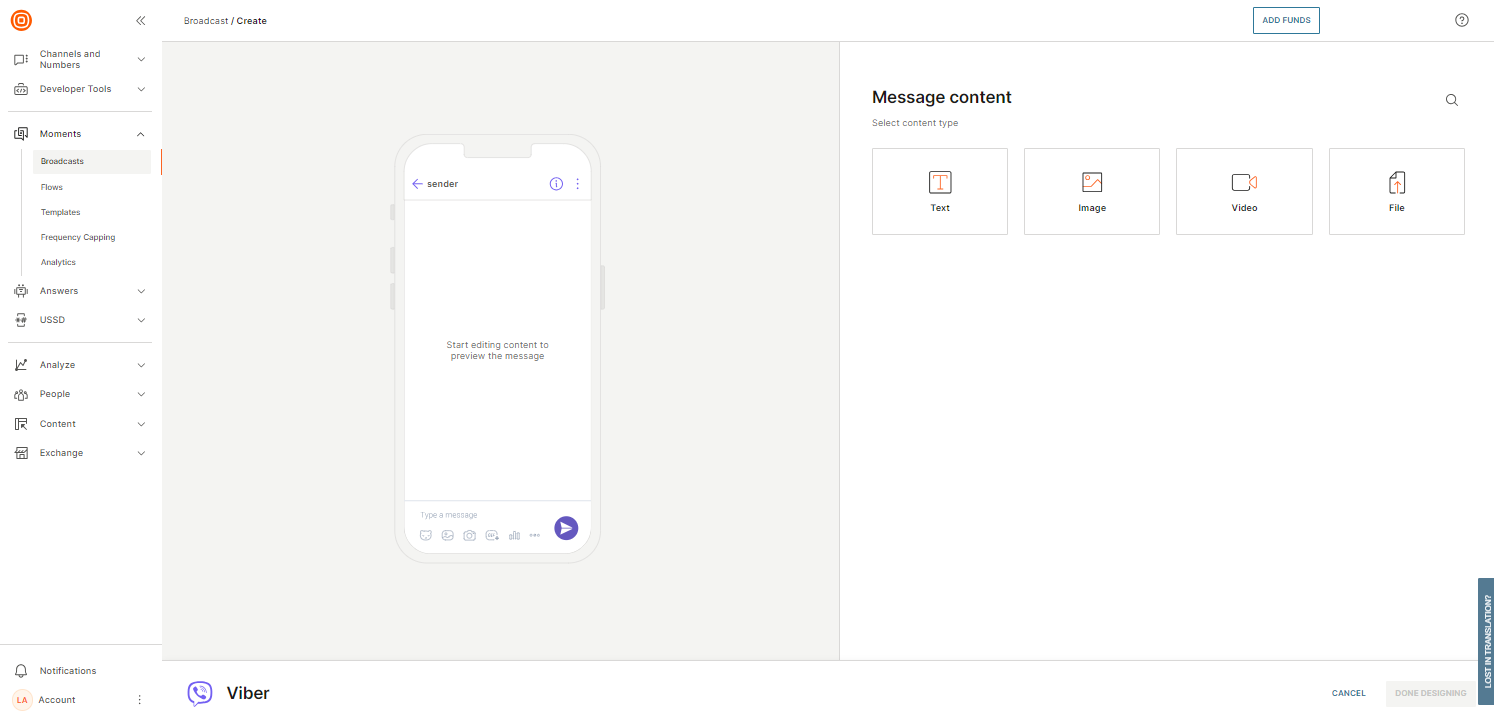
-
Create your message and, when you are happy with how it looks, select Done designing.
You can also edit optional features and add them to your message:
-
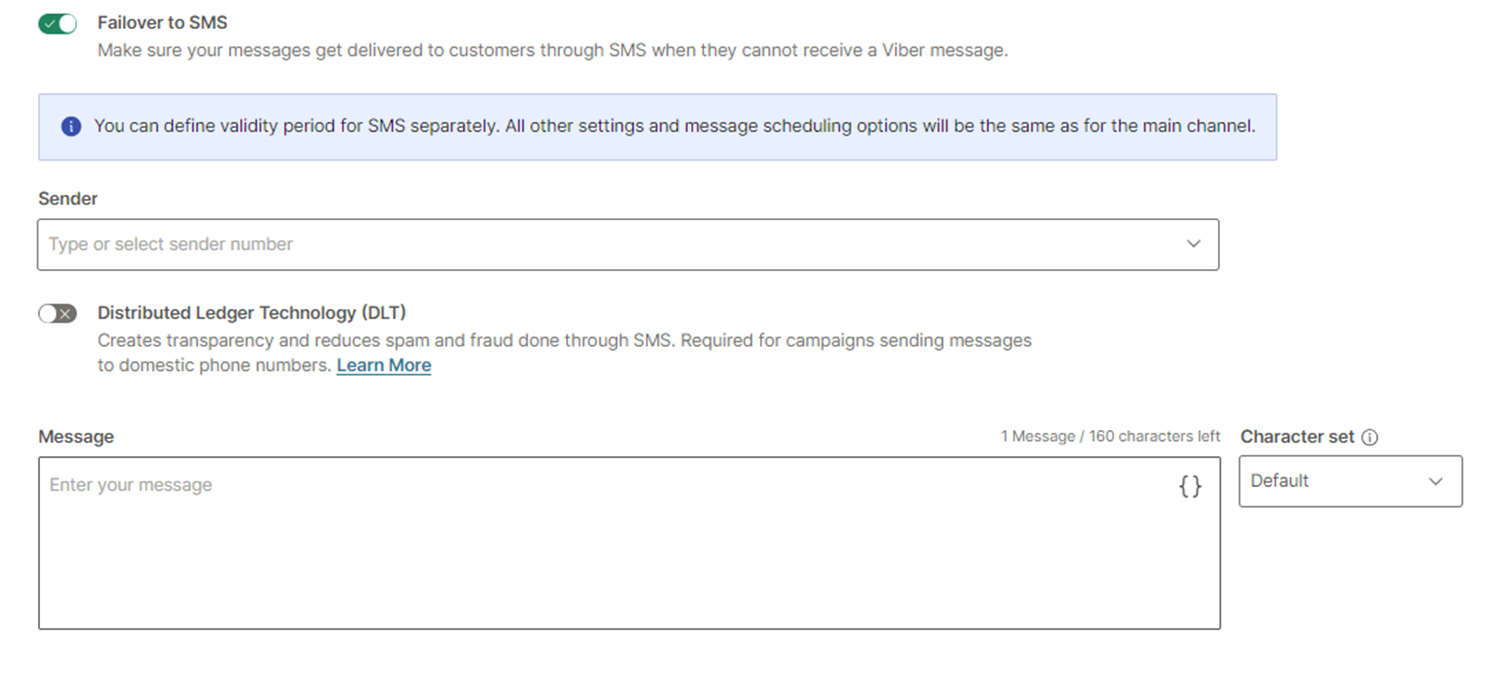
Failover to SMS: Enable this field to add SMS as the fallback option in case message sending fails over Viber. Settings and scheduling options from Viber will apply to the SMS failover. Enter the following information:
- Sender: Choose from a list of senders or type the sender's phone number.
- Message: Type the message to send to the recipients.
- Character set: Choose from the list to add special characters from selected languages.
-
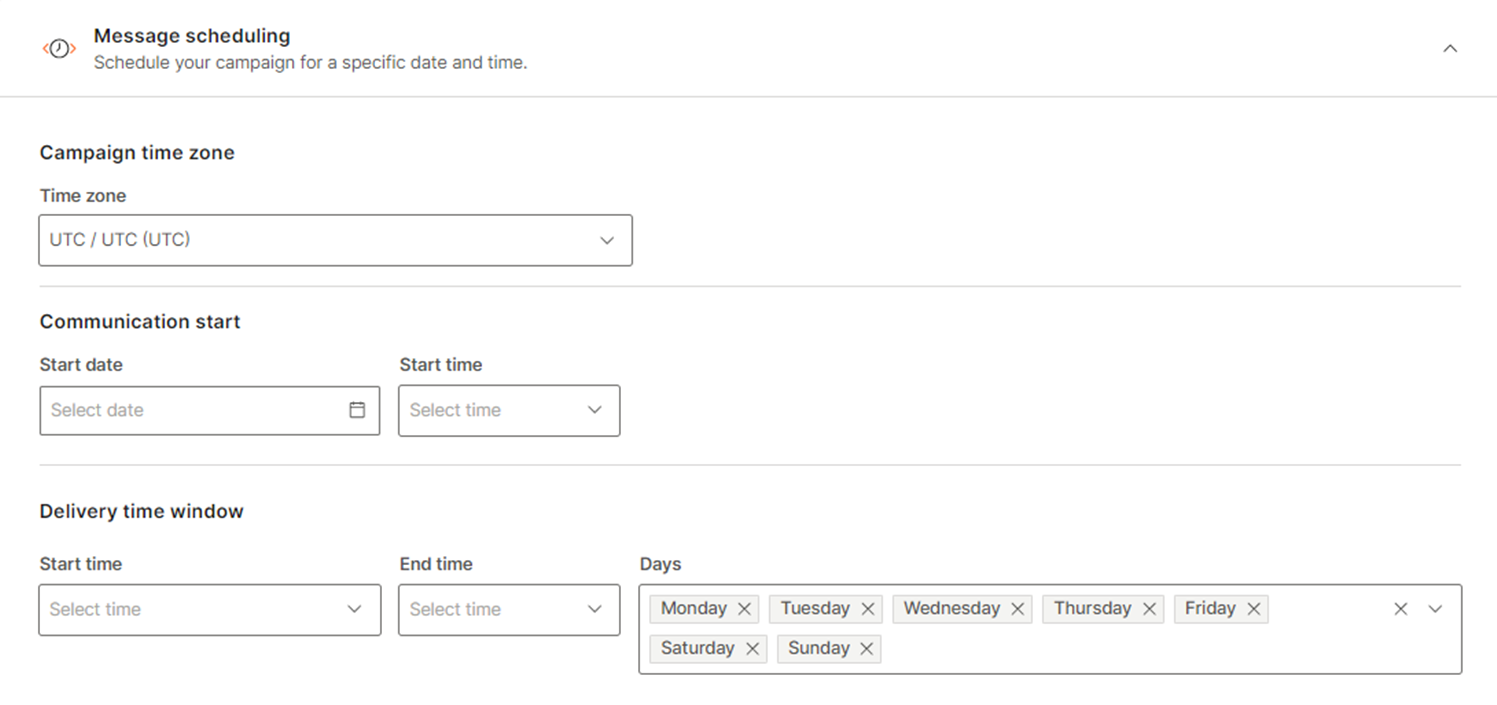
Message scheduling: Schedule your message.
- Time zone: Choose the time zone for the communication and message delivery times
- Communication start: Choose the date and time when the communication process should start.
- Delivery time window: Choose the days when the message should be sent and the start and end times to send the messages.
-
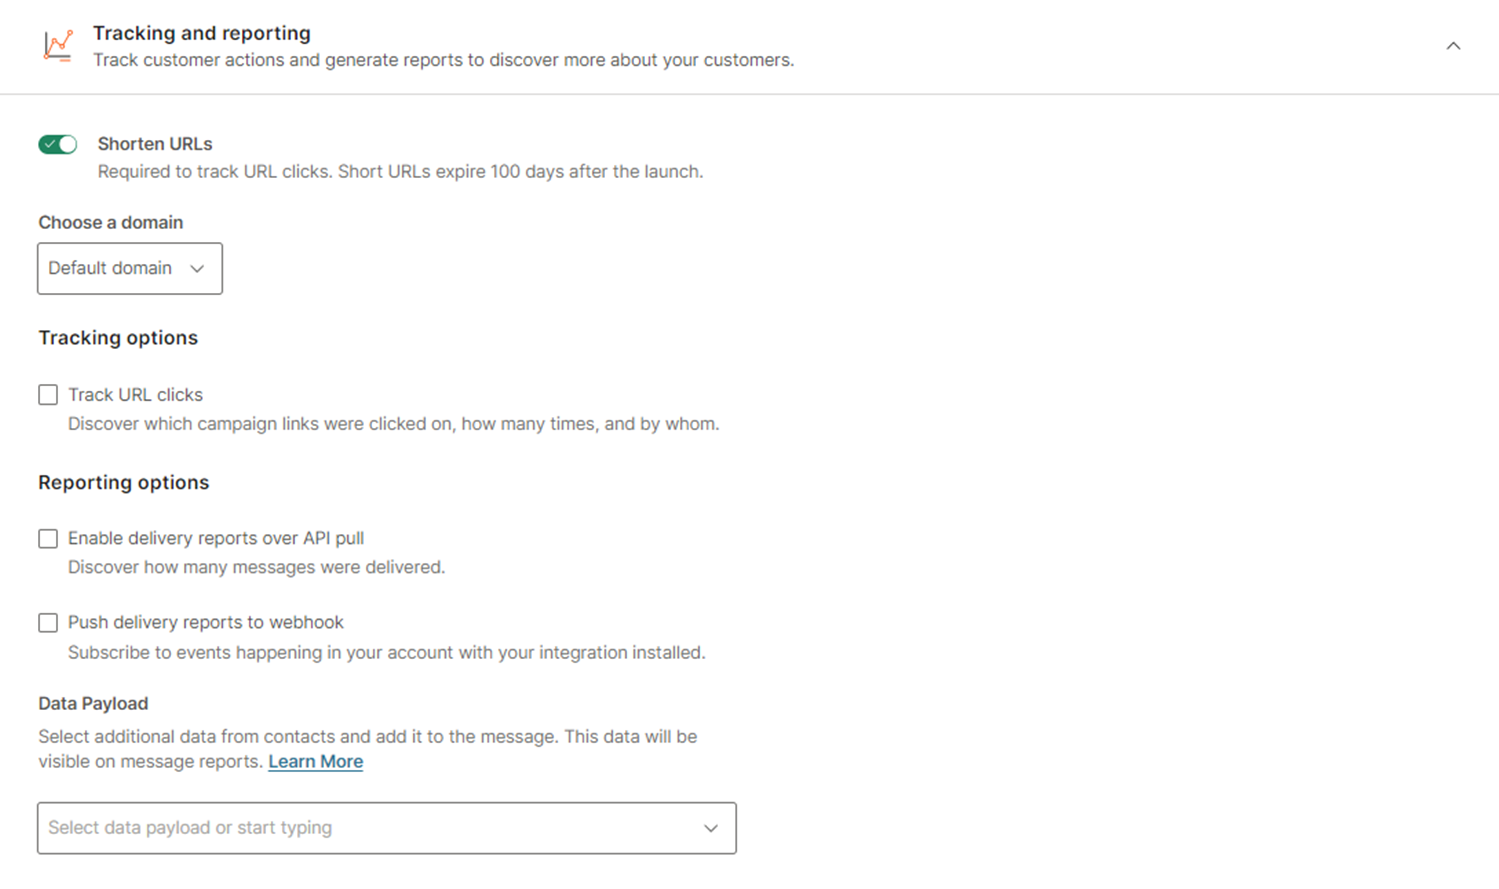
Tracking and reporting: Monitor campaign performance by tracking URL clicks and receiving delivery reports through API or webhooks.
- Shorten URLs: Enable this field to reduce the length of URLs. For more information, refer to the URL Shortening and Tracking section.
- Track URL clicks: Enable this field to identify which campaign links were clicked, how many times, and by whom. If you enable URL tracking, URL shortening is enabled automatically. If you deactivate URL shortening, URL tracking is disabled automatically.
- Enable delivery reports over API pull: Enable this field to forward delivery reports to a defined endpoint.
- Push delivery reports to webhook: Choose this option to have delivery reports pushed directly to a specified webhook.
- Data payload: Add additional information such as name and address. Choose from the available data
-
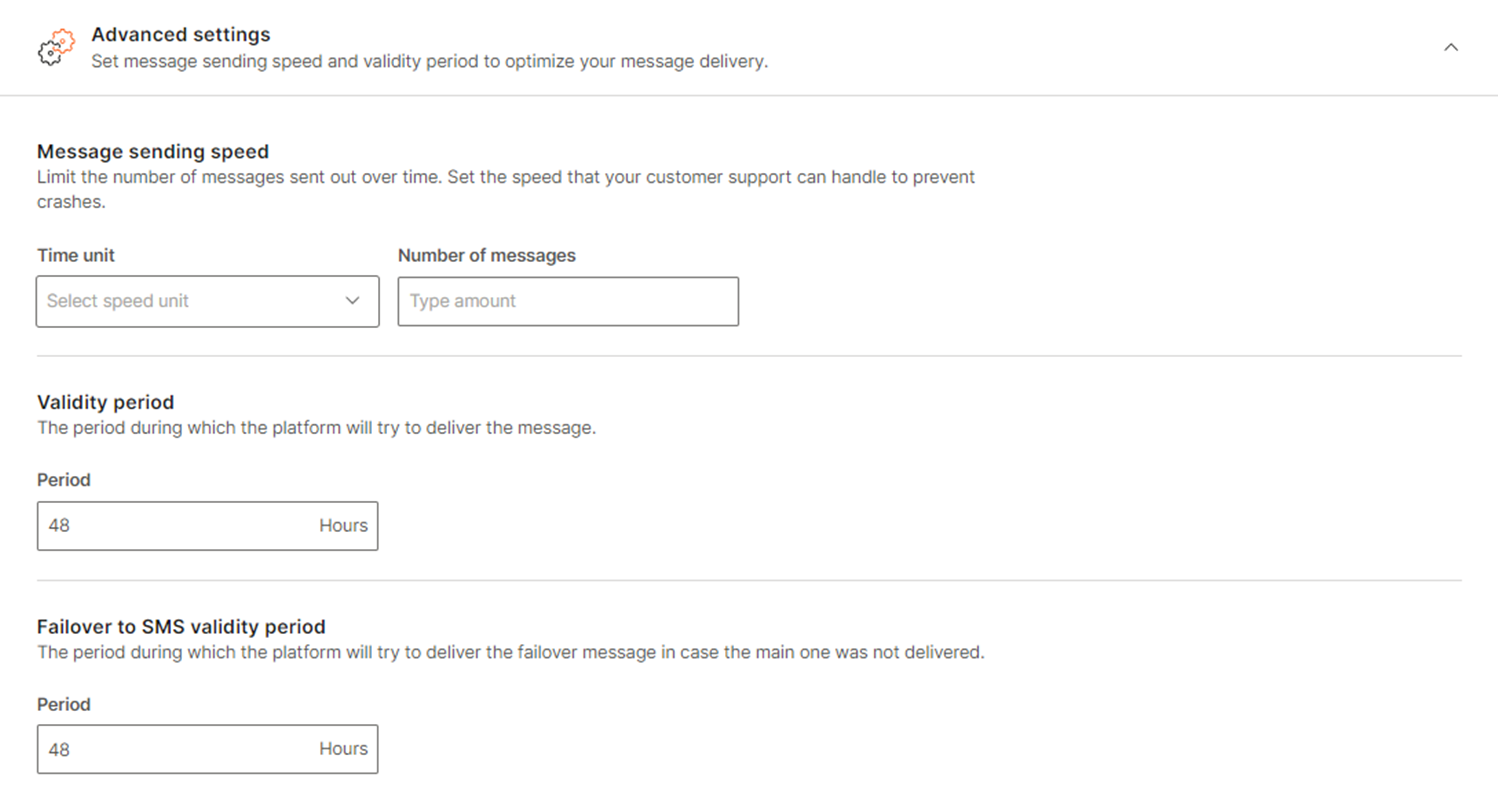
Advanced settings:
- Message sending speed: Specify the rate at which messages are sent, choosing the number of messages to be delivered per second, minute, hour, or day.
- Validity period: Define how long the broadcast remains valid by entering the duration in hours. Messages will only be sent within this timeframe.
- Failover to SMS validity period: Set the validity period for the SMS failover option, specifying how long the system should attempt to send SMS messages if Viber delivery fails.
Configure inbound actions and keywords
Configure actions and keywords for inbound Viber messages to automate message processing and reduce manual handling. You can set up keyword-based actions and configure messages to be forwarded to HTTP endpoints or marked as "No action" if no automated response is needed.
To configure inbound actions and keywords for Viber, follow the steps below:
-
In the web interface, go to Channels and Numbers > Channels.
-
Select Viber and navigate to the Senders tab.
-
Choose the sender, then select the three dots menu > Edit configuration. Configure the inbound actions and keywords as needed.
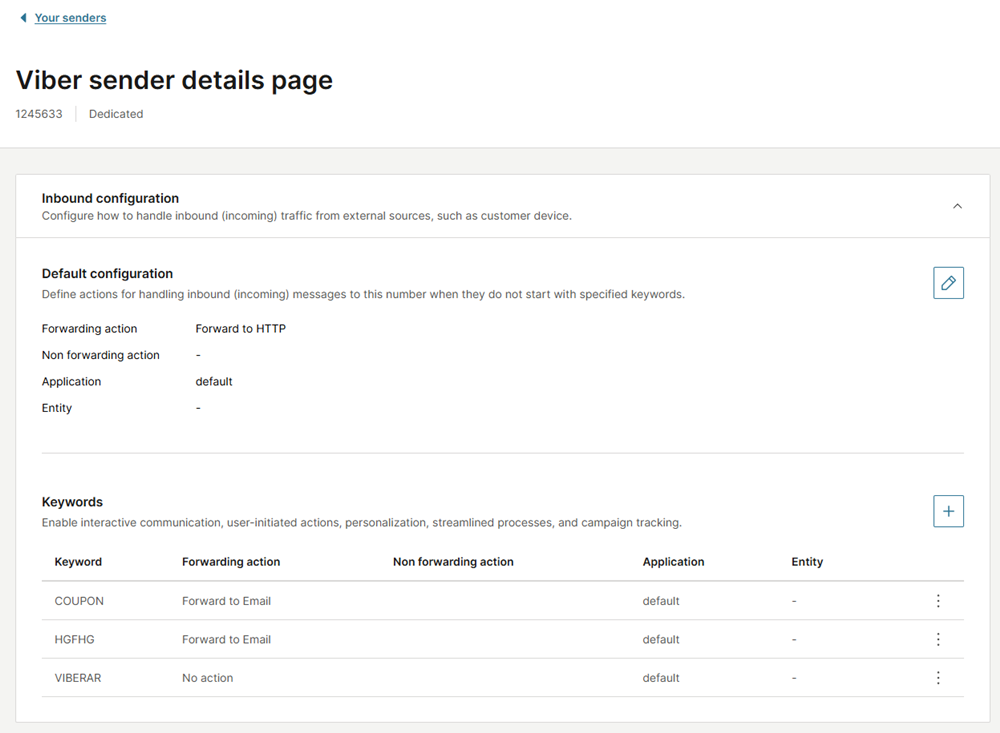
Supported actions for Viber:
- Forwarding actions: Forwarding to HTTP, No action
- Non-forwarding actions: Conversations, Auto response, Blocking action
For more information, refer to Messaging actions and Keywords sections.