Creatio messaging
 SMS
SMS
This integration lets you send messages to your Creatio contacts using SMS as the communication channel.
What you will need
- An Infobip account. If you do not have one you can create one.
- An SMS sender. For more information, see Senders and numbers.
- A Viber sender. To get a dedicated sender, you can send a Viber registration request.
Installation and configuration
To install the Infobip Connector for Creatio app, go to the Creatio Marketplace.
Before configuring your account, you need to create new workplace. This new workplace must contain two sections:
- Account Configuration
- Infobip Bulk SMS
Next, you must enable the new workplace:
- Go to the System designer and under Set up view, click Workplace setup.
- Create a New user workplace, and type General.
- Add a workplace Name.
- Add the two sections:
- Infobip Configuration
- Infobip Bulk SMS
- Add the User groups that are allowed to access and use these resources.
- Click Save, and then refresh to make the workplace visible.
After creating a new workplace, and once you have an Infobip account, use the following steps to link the Infobip account to Creatio.
- Go to Infobip workspace and then to Account Configuration.
- Give your account configuration a name and insert your Infobip API Key.
- Check the box for the channels that you want to use.
Now you're ready to start using the app.
Templates and personalization
Templates and personalization are features available in every SMS or Viber component. They simplify the definition of messages that can be reused and tweaked a little, depending on the engagement.
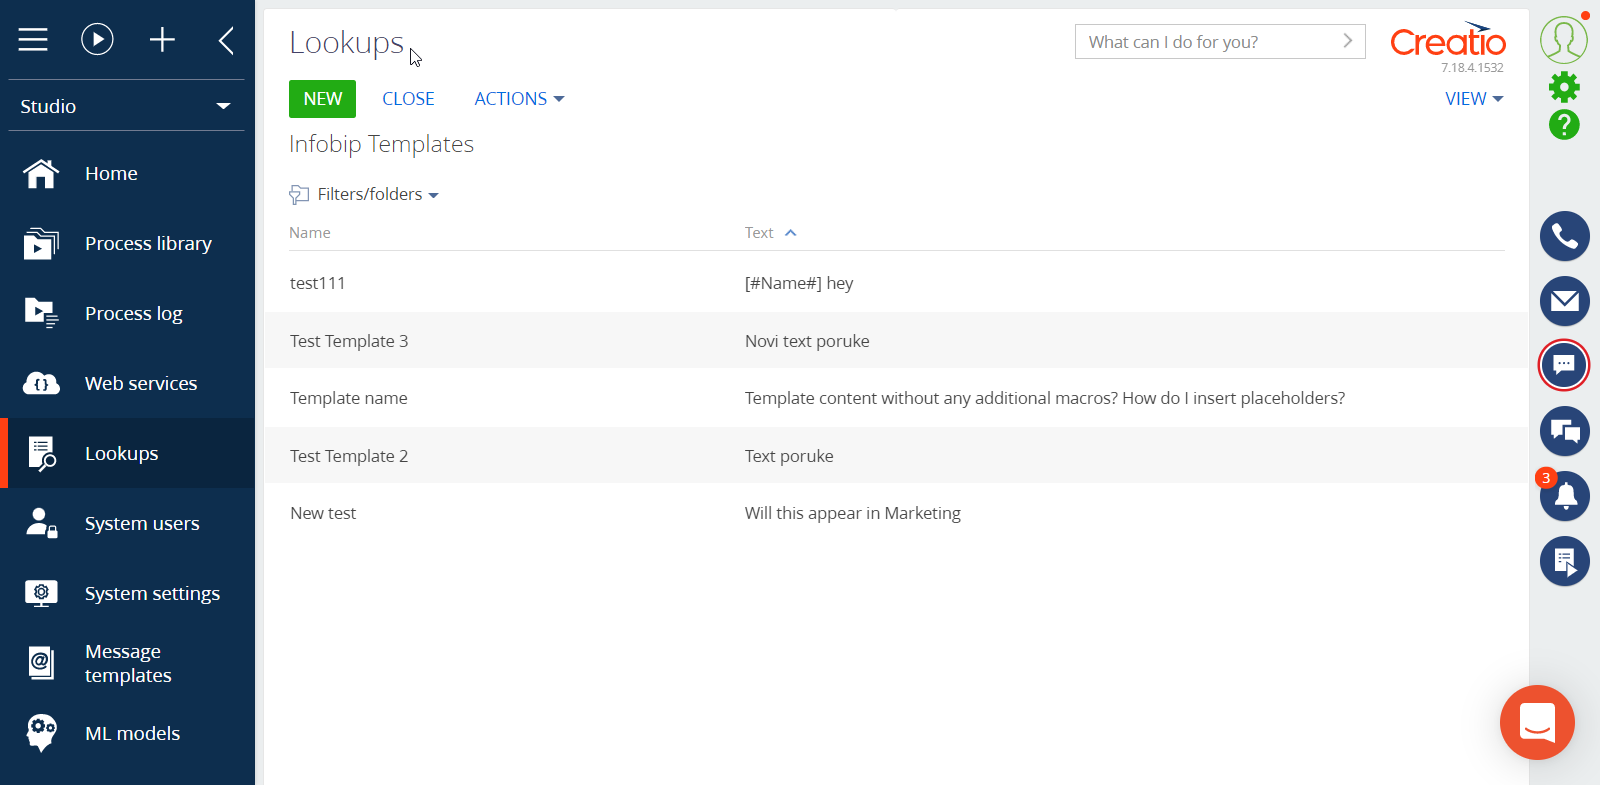
To create templates:
- Go to the System Designer and under System setup, click Lookups.
- Click on Infobip Templates.
- Click New.
- Add a template name and the content.
- Under Object, search for Infobip Message Templateand select it.
- Click Save.
Templates currently support hard-coded text only, which means that you cannot add personalization parameters in the template itself. You can add them after the template has been loaded as a message.
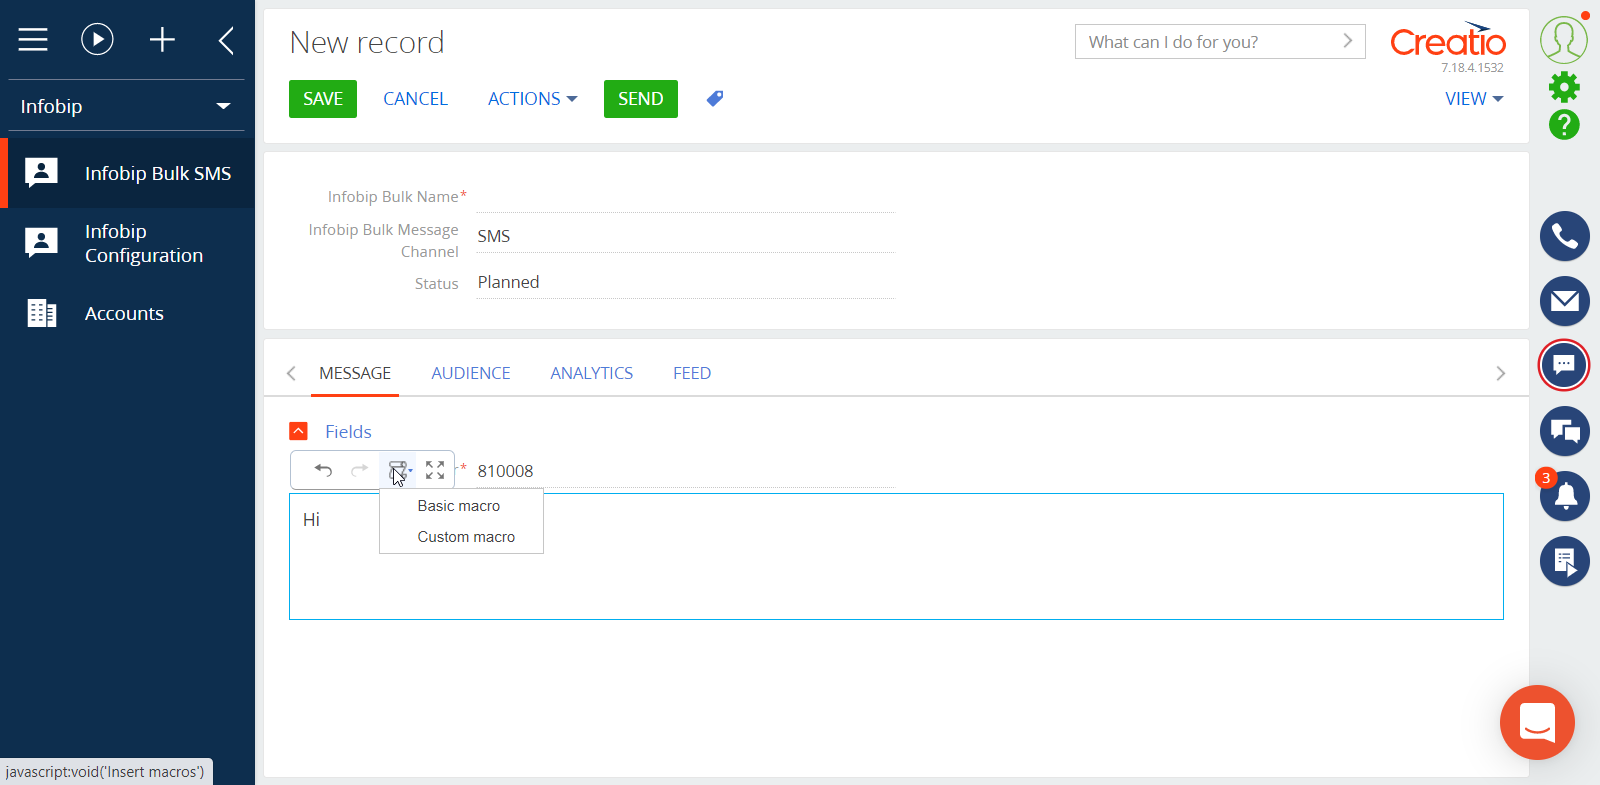
Personalization is available in every SMS or Viber component as a dropdown list where you can find Macro values, such as first name, last name, e-mail, and so on.
To use personalization, go to either the Bulk messaging component for SMS or Viber, or the SMS component in Sales. Next to the message content, you can find a dropdown list with the available customer data. By clicking on customer data, it is added to the message as a token. When the message has been sent, it is replaced by actual customer data.
Bulk messaging
Bulk Messaging is available for both SMS and Viber.
To send bulk messages, go to the Infobip workspace and then to Bulk messages. To create either SMS or Viber bulk messages, click on New SMS or New Viber Bulk.
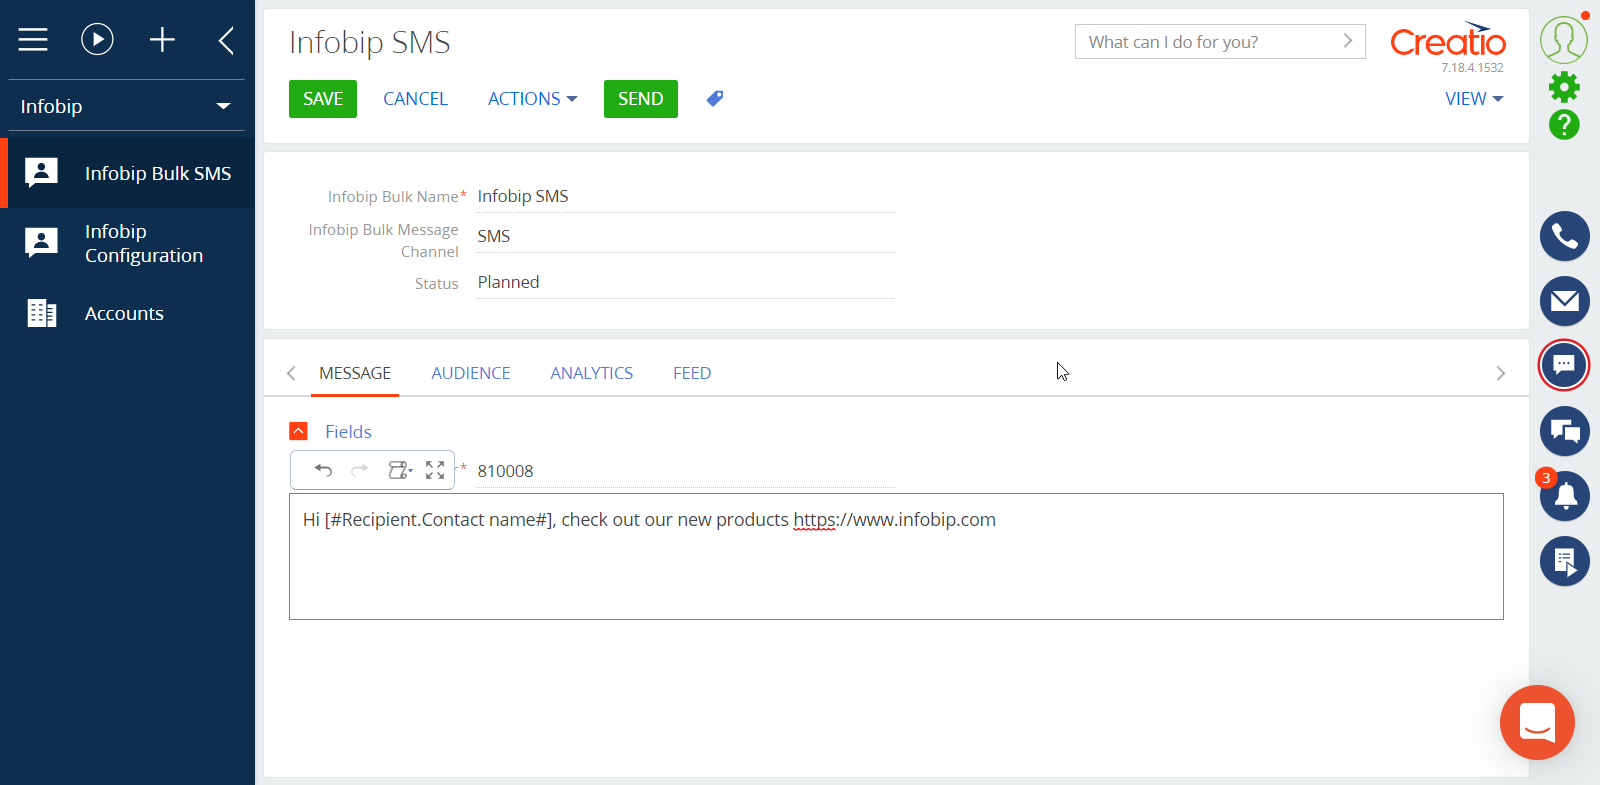
You need to provide content for both types of message. You can use templates for text and personalization for better engagement. For Viber, you have the option to combine text with the image and button.
Once you define the content of the message, you need to select the audience for your campaign. You can select either Contact(s) or Account(s).
Once you're ready to send out your campaign, click Send. After couple of minutes, check the Analytics tab to check the performance of the Campaign.
Send SMS from Sales
To send a message from Sales:
- Go to either a contact, a lead, or an account, and click on the SMS icon. A form opens where you provide the message content that is sent out to recipients.
- Select Choose Sender to choose your sender.
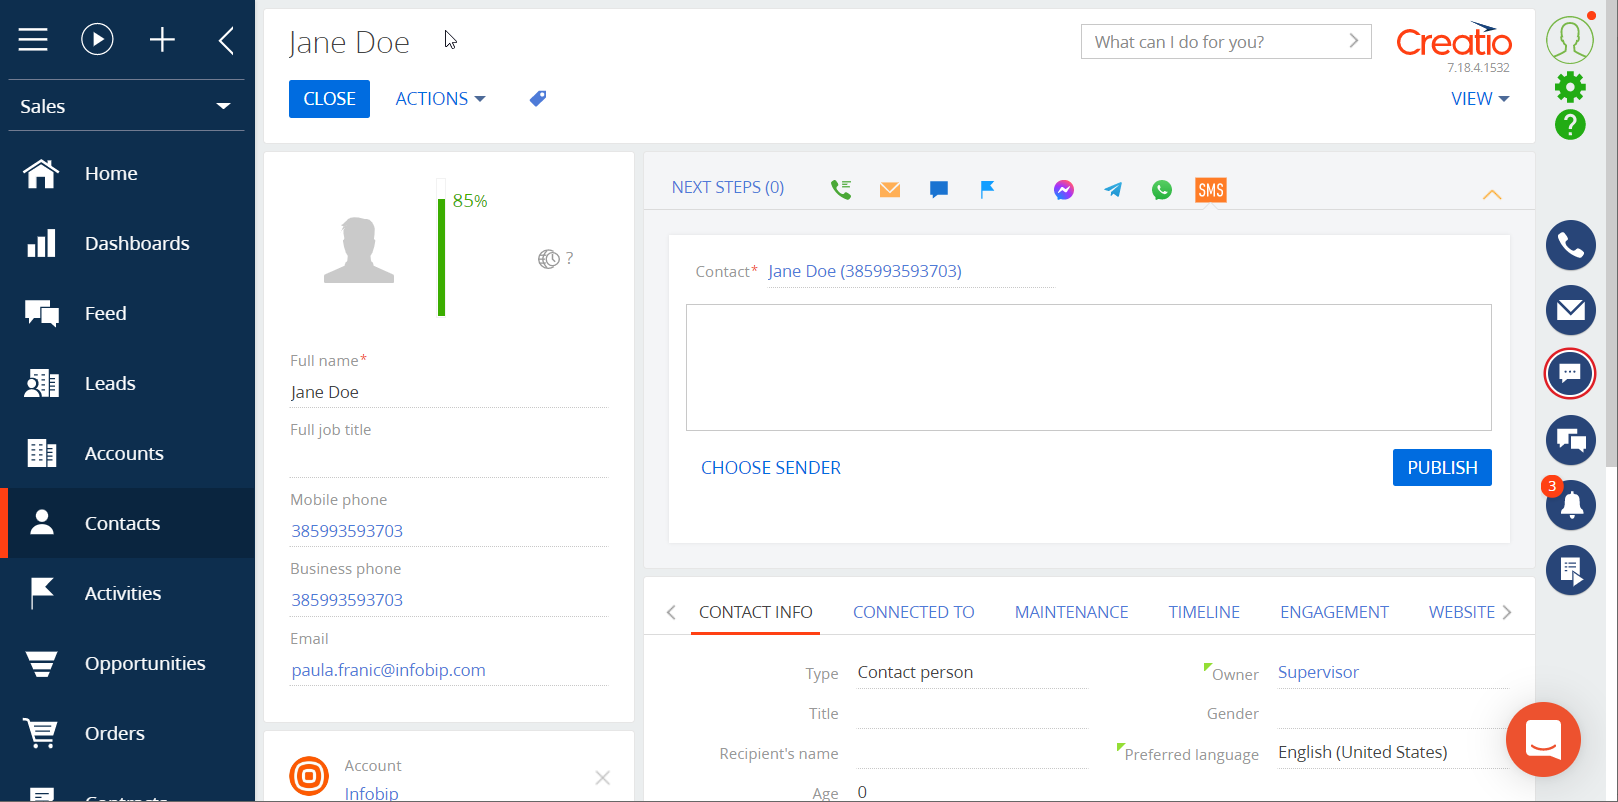
If the Mobile phone attribute does not contain a value, the Contact field is empty.
Once you send the SMS, you receive a notification that the message was sent successfully.
You can see the message status available in the Timeline activity.
Send SMS from Studio
To send a message from Studio:
- Go to the Process libraryand click on the New Process button. A business process designer opens.
- Delete the Terminate icon, and then drag and drop Infobip SMS Task from the User actions.
- Connect the Simple icon with the Infobip SMS Task action with the Add flow arrow.
To configure the business process:
- Click Infobip SMS Task. A form opens with details you need to select, such as Contact, Sender, and Text.
- In the Contact section, select the Lookup value to choose the person you want to reach out to. When you click Sender and select the Lookup value from the drop-down menu, you can then select a dedicated Infobip Sender.
- In the Text field, enter the message content that is sent to recipients or you can use templates to customize the message by clicking on From Template.
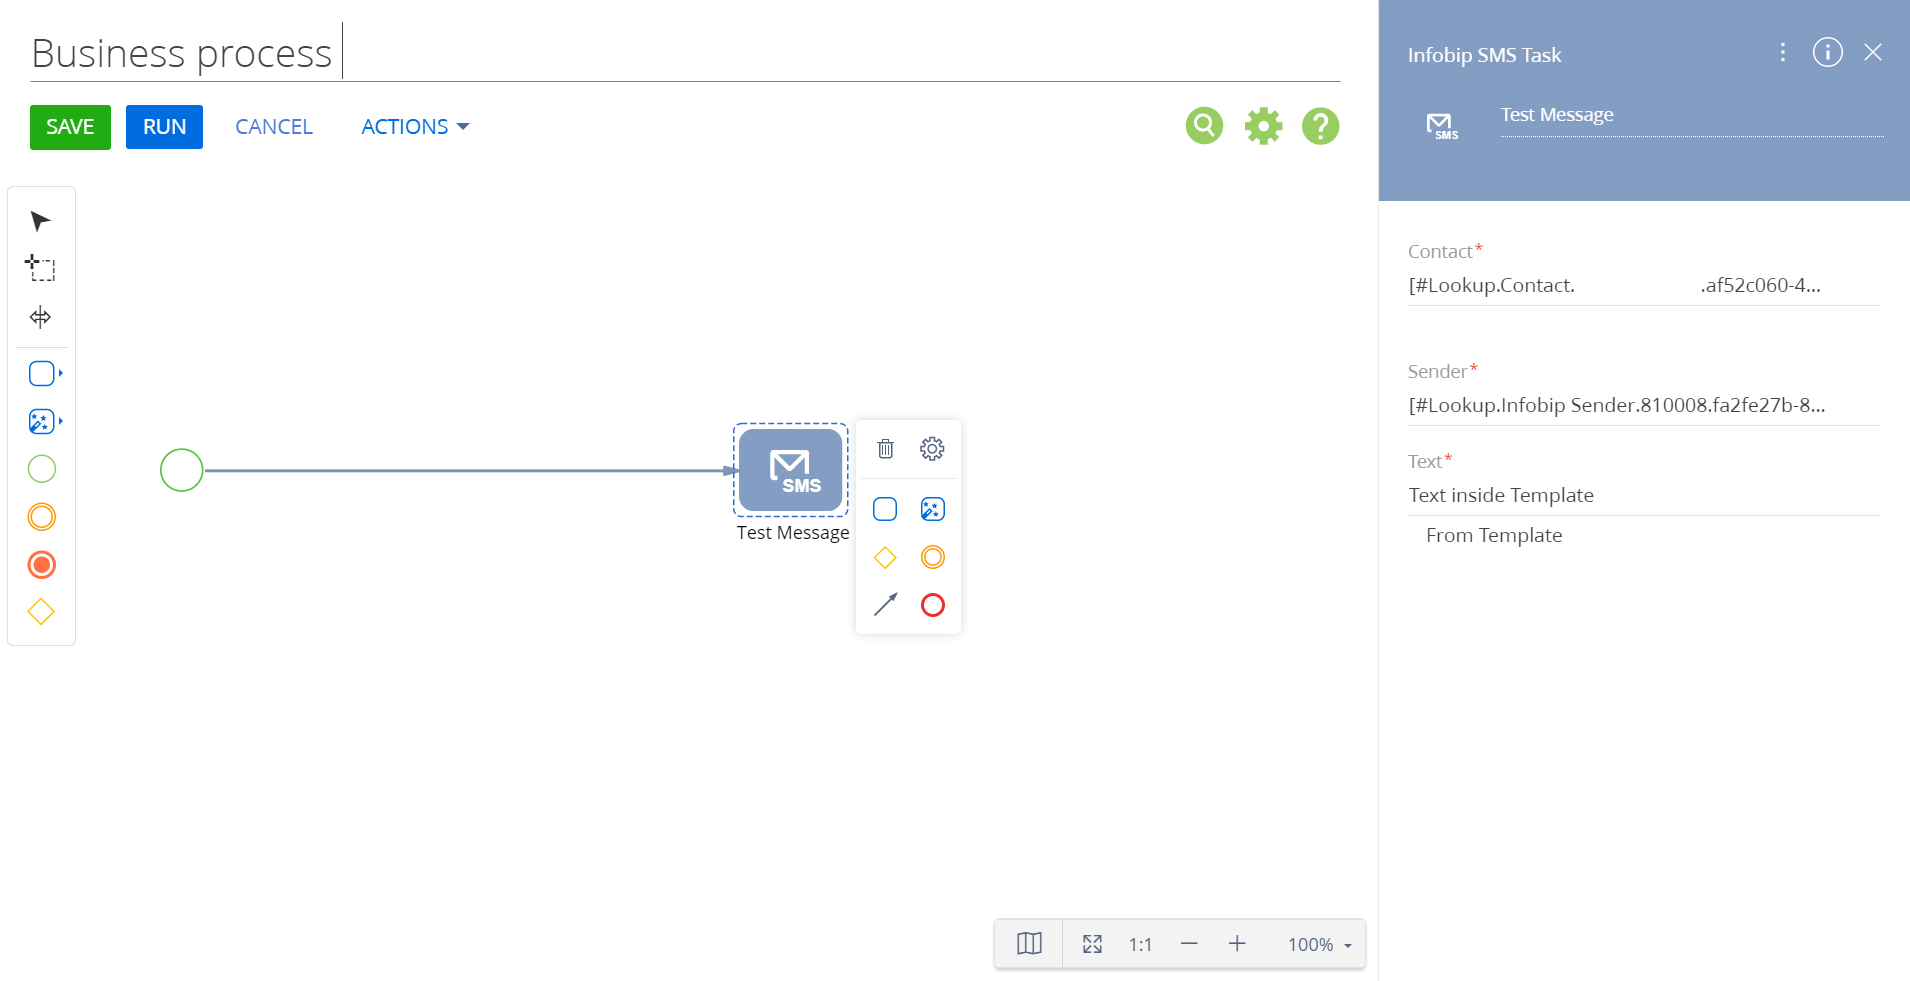
- After entering all fields, click Save to save the business process.
- Click Run to start the campaign, and you receive a confirmation to indicate that the campaign has started successfully.