Zapier messaging
 SMS
SMS
 Voice
Voice
The Zapier platform lets you automate tasks across a wide array of applications. If you currently use "Zaps" (automated Zapier workflows), you can integrate these with Infobip SMS, Voice, Viber, and WhatsApp channels.
This guide explains how to integrate the Zapier and Infobip platforms.
What you will need
- An Infobip account. If you do not have an account, you can create one.
- A Zapier account
- A phone number enabled for SMS, Voice, Viber, or WhatsApp
- An API key for your Zapier account
See Create an Account for more information on Infobip accounts.
About zaps, triggers, and actions
An automated Zapier workflow is called a zap. A zap is initiated by a trigger, which is an event like the receipt of an SMS or Viber message. A zap's response to a trigger is an action. For example, an SMS message sent to one system could trigger a voice call action from Infobip.
The Zapier-Infobip integration supports these triggers and actions:
- Triggers
- New SMS message
- New Viber message
- Actions
- Send an SMS message
- Send a Viber message
- Call Phone
Integration
Once you have your Infobip account and have verified your phone number, you are given free test SMS, Viber, Voice, and WhatsApp senders. To view your senders, log into the Infobip web interface and go to Channels and Numbers > Numbers.
- How to buy and configure SMS numbers
- How to buy and configure Voice numbers
- How to buy and configure Viber number
- How to buy and configure WhatsApp number
NOTE: To see the available triggers and actions, log into your Infobip account and search for "Infobip." Unless you are given other instructions, always use the latest version of the Infobip integration.
Create or connect your Infobip account
One of the sections that you repeat several times is Choose account. This displays a drop-down with all existing connections to Infobip. You can add multiple accounts if different team members have different responsibilities inside your team, but usually, you use one account.
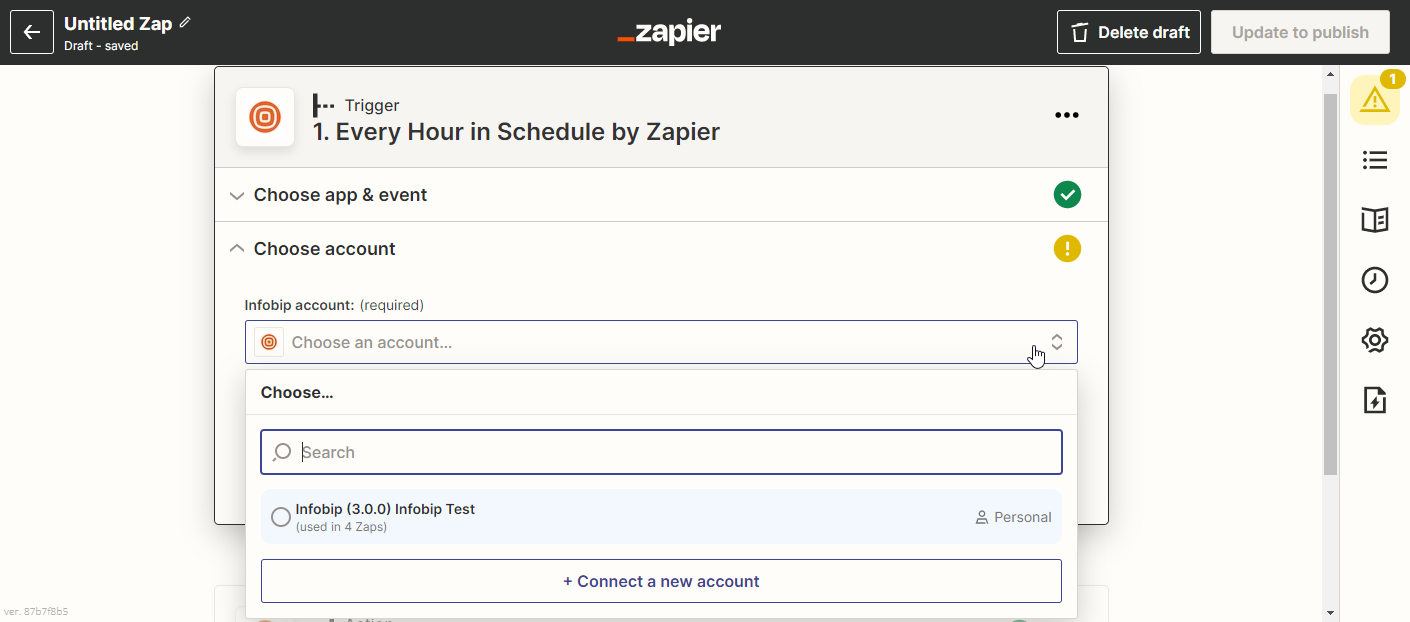
To enable your account to authenticate with Infobip, select Connect a new account. This opens a pop-up in which you can enter:
- A display name – This is a simple visual indicator to differentiate accounts and has no effect on the rest of the application.
- API key – This is required for authentication. The key is stored securely within the Zapier system.
To create an API key, log into the Infobip web interface and go to My Account and then to API Keys Management.
When testing actions, see the Response status and error codes documentation for a list of Infobip error codes you may see.
Create an SMS trigger
To create an SMS trigger:
- Log into Zapier.
- Click Create Zap and select Infobip from the drop-down menu.
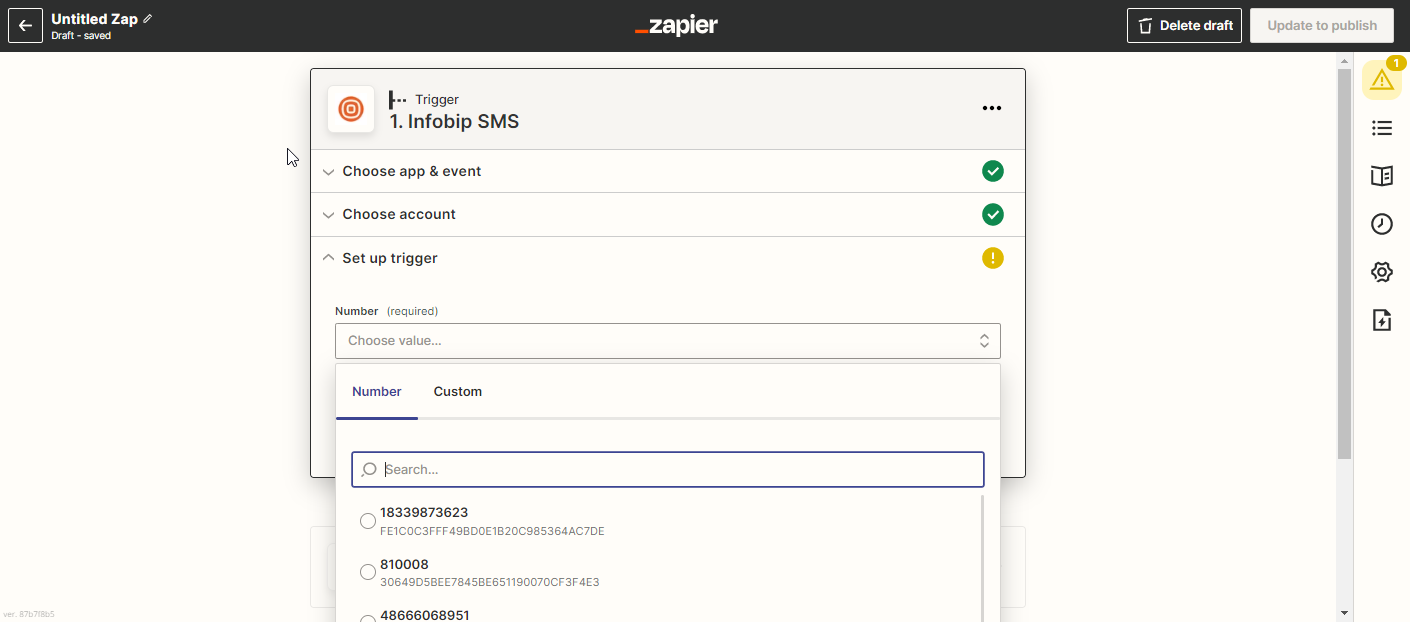
- Select New SMS Message from the Trigger Event drop-down and click Continue. This trigger is instant, meaning there is no delay between receiving an SMS message and triggering your Zap.
- Choose a connected Infobip account. If you don't have a connected Infobip account, sign in with the username and API key. (If you need to create a new key, see Create or Connect Your Zapier Account.)
- Select the number from the number drop-down. The message received on this number triggers the action created in the next steps. All available numbers for your Infobip account are listed in the Infobip portal.
- To finish the trigger setup, click Test trigger.
Create a Viber trigger
Infobip can receive both text and file messages via Viber.
- Click Create Zap and select Infobip from the drop-down menu.
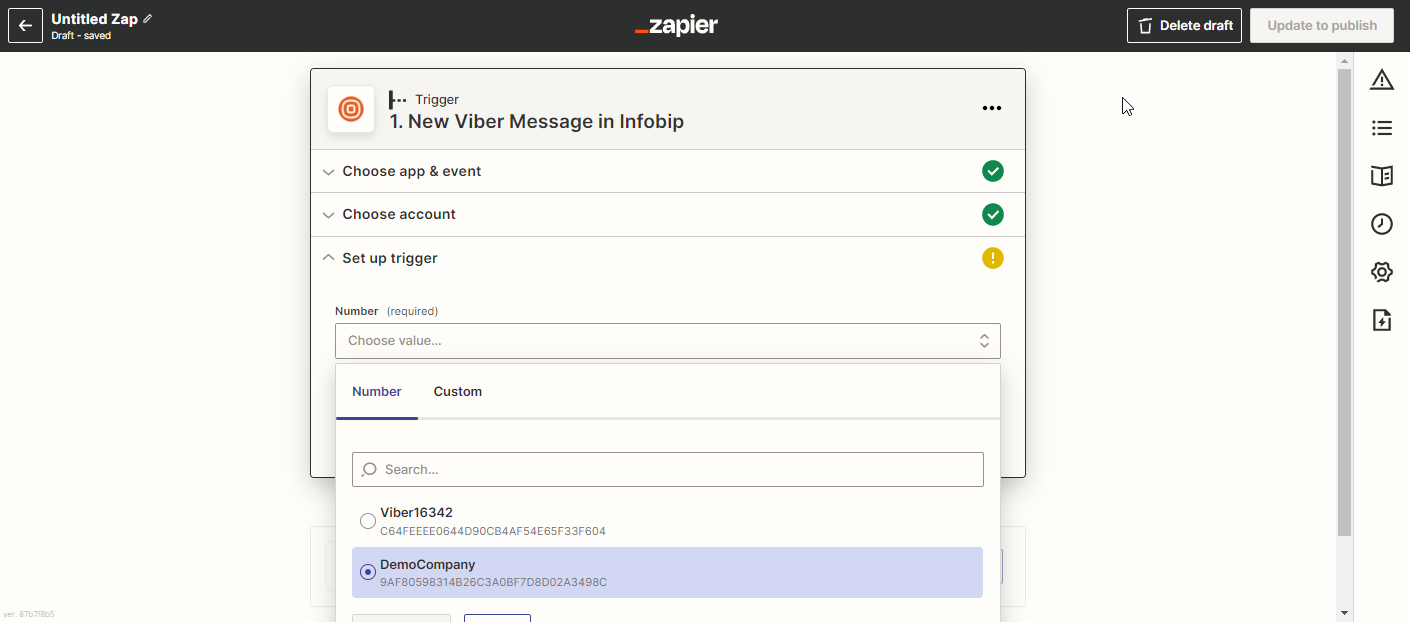
- Select New Viber Message from the Trigger Event drop-down and click Continue. This trigger is Instant, meaning, there is no delay between receiving a Viber message and triggering your Zap.
- Choose a connected Infobip account. If you don't have a connected Infobip account, sign in with the username and API key. (If you need to create a new key, see Create or Connect Your Zapier Account.)
- Select the number from the number drop-down. The message received on this number triggers the action created in the next steps. All available numbers for your Infobip account are listed in the Infobip portal.
- To finish the trigger setup, click Test trigger.
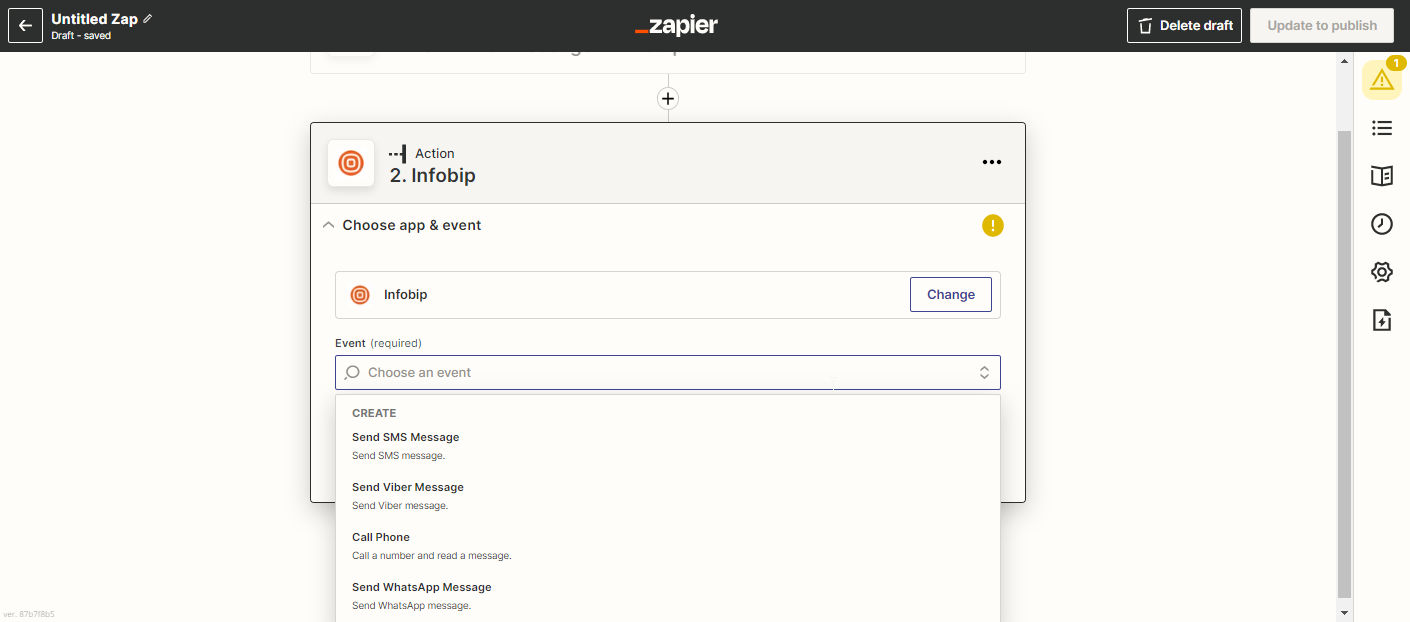
Create an SMS action
Before creating an SMS action, make sure that you have set up the associated trigger.
- Select New SMS Message from the Action Event drop-down and click Continue.
- Choose a connected Infobip account. If you don't have a connected Infobip account, sign in with the username and API key. (If you need to create a new key, see Create or Connect Your Zapier Account.)
- Select the From number. This is the number that is the sender after the trigger event occurs. (Go to Channels and Numbers → Numbers.)
- The To numbers are Destination numbers that receive SMS messages (such as 4916716453908). It can be a single message or a bulk message to a list of recipients. In the Text field, you can either add hardcoded text to be sent or you can use a placeholder from your previous triggers or actions.
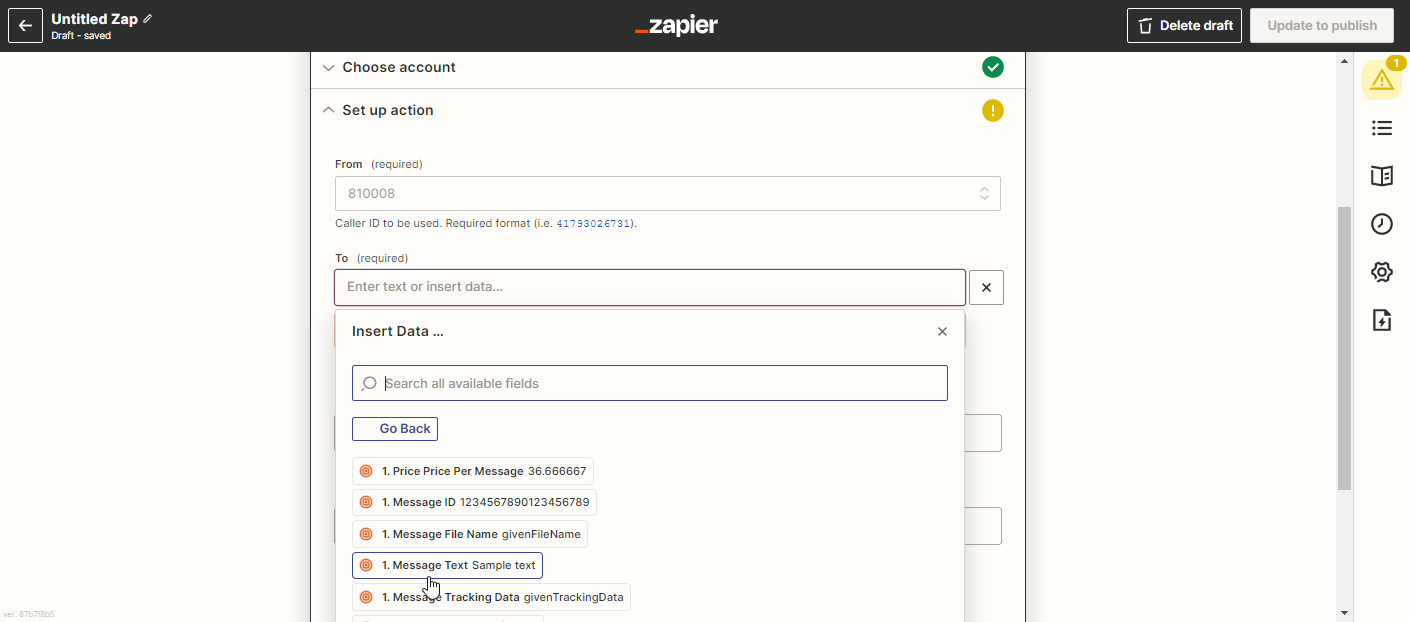
- Enter the SMS text. In the text input, you can either add a hardcoded text to be sent or you can use a placeholder from your previous triggers or actions.
NOTE: You can also shorten and track URLs for SMS. Add an endpoint where you wish to receive click receipts to the Notify URL field.
After setting up the action, all that’s left is to test the integration. Click Test and Continue and if everything worked, you should see the response and that the action was successful.
Create a call phone action
Before creating a call phone action, make sure that you have set up the associated trigger.
- Select Call Phone from the Action Event drop-down and click Continue. This is the number that is used as a sender after the trigger event occurs. (Go to Channels and Numbers →Numbers.)
- Choose a connected Infobip account. If you don't have connected Infobip account, you should sign in with the username and API key. (If you need to create a new key, see Create or Connect Your Zapier Account.)
- Select From number. This is the number that is used as a sender after the trigger event occurs. (Go to Channels and Numbers →Numbers.)
- To numbers are Destination numbers to receive Voice calls (such as 4916716453908). It can be a single message or a bulk message to a list of recipients. In the text input, you can either add a hardcoded text to be sent or you can use a placeholder from your previous triggers or actions.
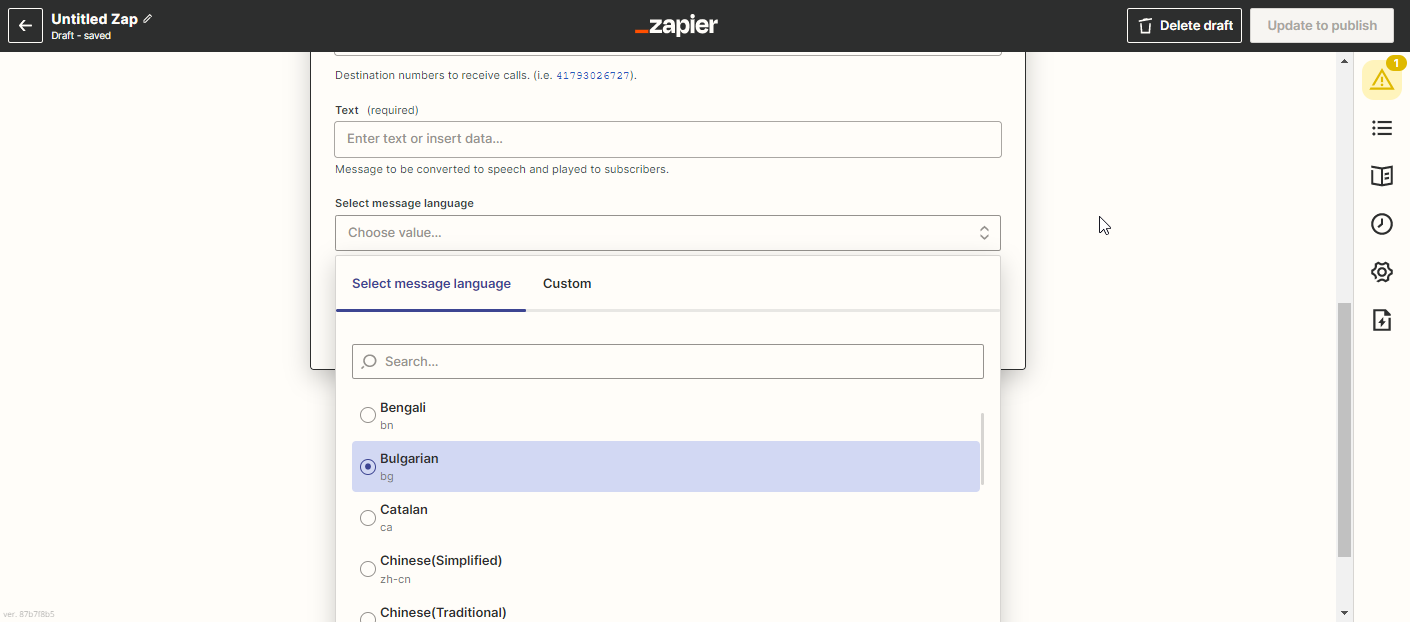
- Enter the call text. In the text input, you can either add hardcoded text or you can use a placeholder from your previous triggers or actions.
- Select a language from the drop-down list.
After setting up the action, the last step is to test the integration. Click Test and Continue and if everything worked you should see the response and that the action was successful.
Create a Viber action
Before creating the Viber action, make sure that you have set up the associated trigger.
- Select Send a Viber Message from the Action Event drop-down and click Continue.
- Choose a connected Infobip account. If you don't have connected Infobip account, you should sign in with the username and API key. (If you need to create a new key, see Create or Connect Your Zapier Account.)
- Select From number. This is the number that is used as a sender after the trigger event occurs. (Go to Channels and Numbers →Numbers.)
- To numbers are Destination numbers to receive Viber messages (such as 4916716453908). It can be a single message or a bulk message to a list of recipients. In the text input, you can either add hardcoded text to be sent or you can use a placeholder from your previous triggers or actions.
- Enter the Viber message text. In the text input, you can either add a hardcoded text or you can use a placeholder from your previous triggers or actions.
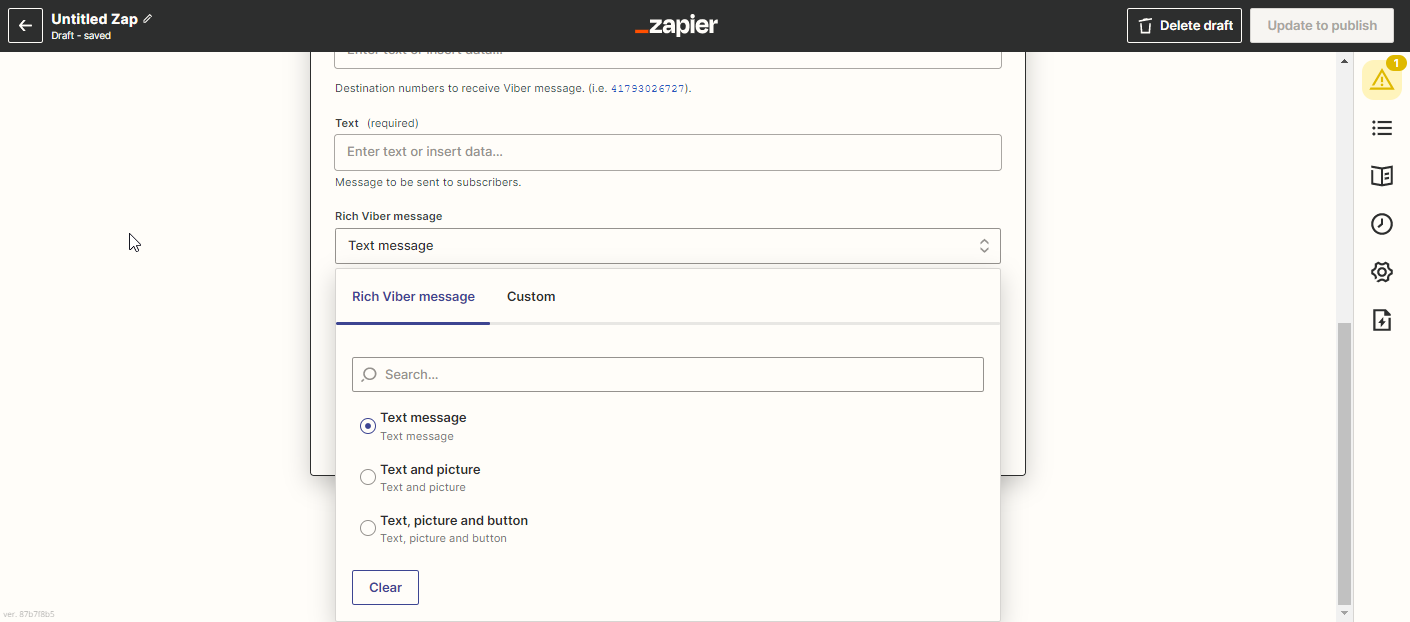
The rich message is optional. You can select from these options:
- Text message
- Text and picture
- Text and button
- Text, picture and button
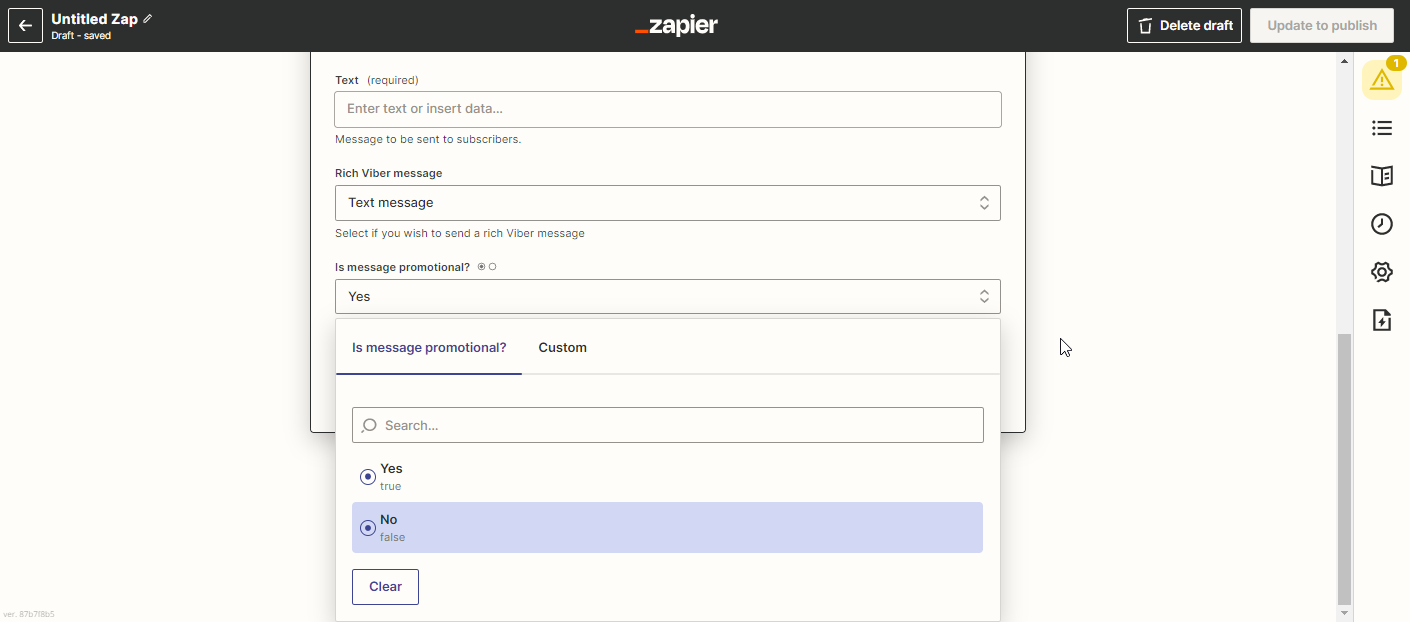
Select if the message is promotional or transactional:
After setting up the action, the last step is to test the integration. Click Test and Continue and if everything worked you should see the response and that the action was successful.
Create a WhatsApp action
Before creating the WhatsApp action, make sure that you have set up the associated trigger.
- Select Send a WhatsApp Message from the Action Event drop-down, and click Continue.
- Choose a connected Infobip account. If you don't have connected Infobip account, sign in with the username and API key. (If you need to create a new key, see Create or Connect Your Zapier Account.)
- Select From number. This is the number that is used as a sender after the trigger event occurs. (Go to Channels and Numbers →Numbers.)
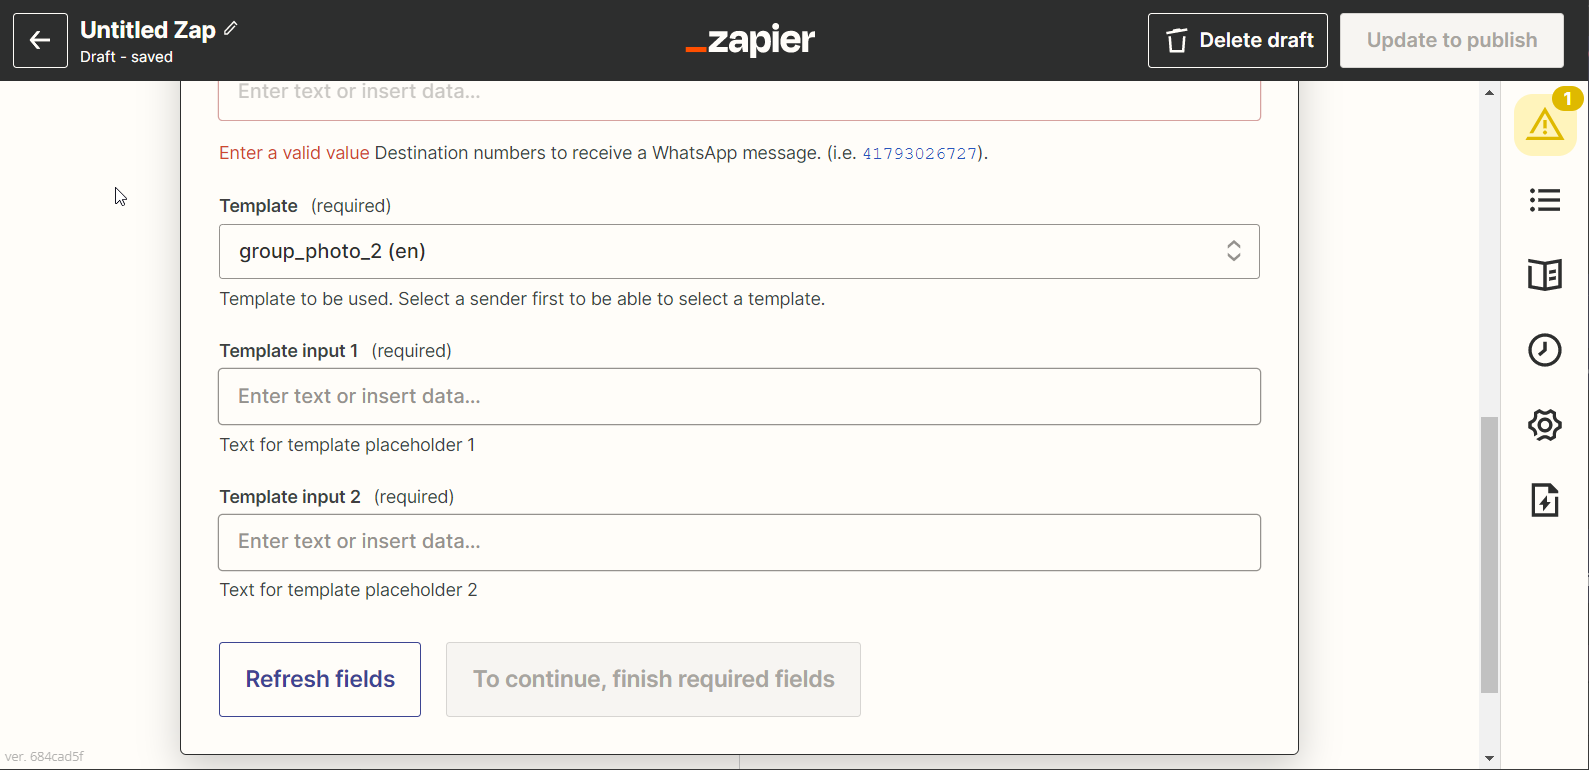
- Enter a To number. To numbers are destination numbers to receive WhatsApp messages (for example, 4916716453908). It can be a single message or a bulk message to a list of recipients. In the text input, you can add either hardcoded text to be sent or a placeholder from your previous triggers or actions.
- Select the WhatsApp template you want to send to your users. This integration supports text and media templates. For more information see WhatsApp Message Templates.
After setting up the action, the last step is to test the integration. Click Test and Continue and you should see the response that the action was successful.
If you experience any issues with your integration with Zapier, please contact [email protected].