Shopify
 Conversations
When you connect your Shopify store to Infobip with the Exchange App, you can:
- Sync Shopify data to People. Use the synced data in Infobip applications like Moments, Conversations, and Answers. The integration captures both customer and event data. For example, create campaigns that remind customers about items left in their shopping carts.
- Create Shopify Context Cards in Conversations. Agents can access eCommerce data such as orders and customer details without switching tabs.
What you will need [#what-you-will-need]
- An Infobip account with Integrations Manager permissions. Contact your account manager to request access.
- An OAuth app created in your Shopify store (see Set up authentication)
To create an Infobip account, see Create an account.
To access the integration, log in to Infobip, go to Exchange, and select Shopify.
Set up authentication [#set-up-authentication]
To set up authentication between Infobip and Shopify, create an OAuth (client credentials grant) app in Shopify. Then use the credentials to authenticate with Infobip.
Create an OAuth (client credentials grant) app in Shopify [#create-an-oauth-app-in-shopify]
- Go to the Shopify Dev Dashboard.
- Open the Apps tab and select Create app.
- In the Start from Dev Dashboard section, enter an app name (for example, Infobip) and select Create. The app version creation page opens.
- Leave the App URL field as the default value.
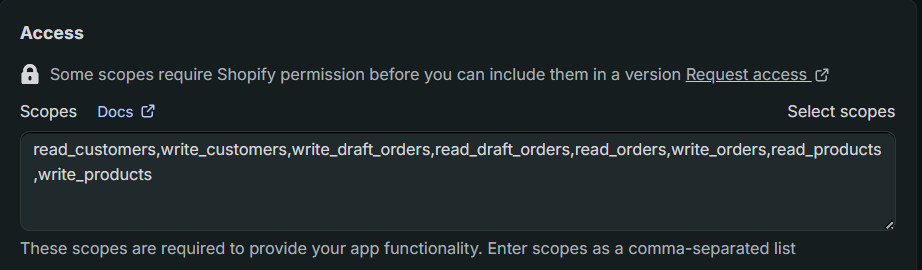
- In the Access window, add the following scopes as a comma-separated list:
read_customerswrite_customersread_draft_orderswrite_draft_ordersread_orderswrite_ordersread_productswrite_products
- Select Release.
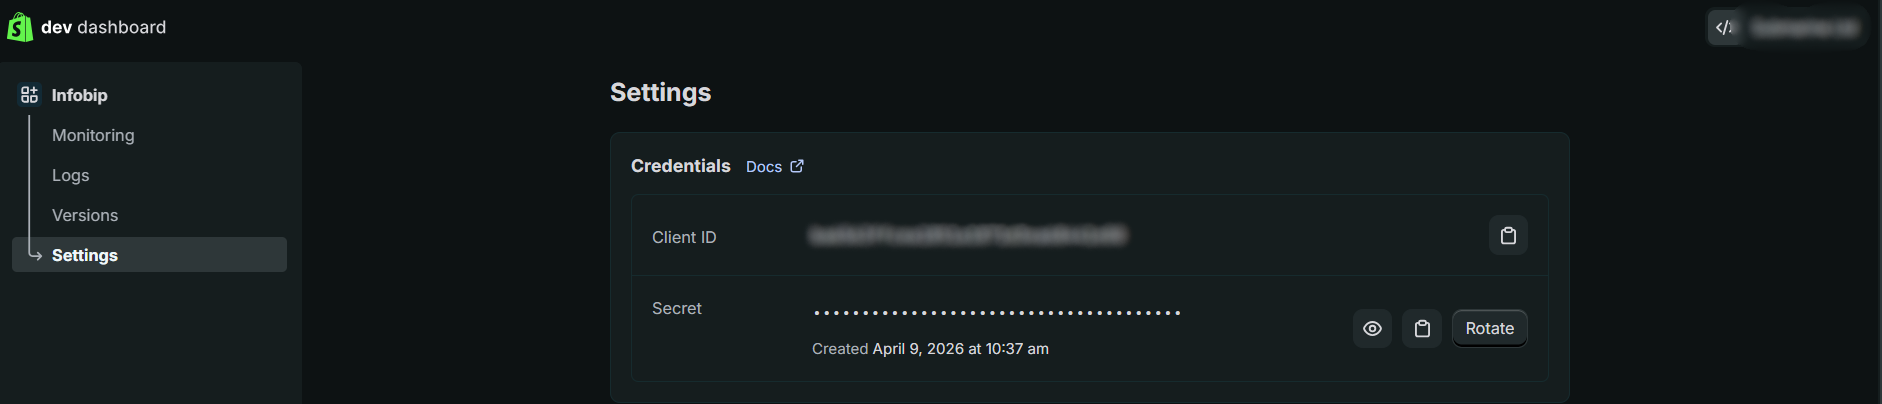
- Select the Settings tab. Under Credentials, note the Client ID and Client Secret. You need these values to complete the connection with Infobip.
- Select your app name (for example, Infobip).
- Next to the Installs section, select Install app.
- Verify that the list includes all required scopes and select Install.
- Go to Partner Dashboard Apps and select your app.
- Open the Distribution tab.
- Select the Custom distribution option.
- Enter your store URL and select Generate Link.
After completing these steps, add the credentials to Infobip.
If this is the first OAuth-type app in your Shopify store, Infobip does not display previous orders. This is a Shopify OAuth limitation.
Add the credentials to Infobip [#add-the-credentials-to-infobip]
- Log into Infobip and go to Exchange > Shopify.
- Select Add and accept the Exchange Terms and Conditions.
- Select the Credentials tab and select Add Credentials.
- Select OAuth (client credentials grant) as the credential type. Enter the Client ID and Client Secret from the Shopify Dev Dashboard Settings page.
- Optional: Select Verify Credentials to test the connection.
- Select Submit.
Admin API Access Token DEPRECATED [#deprecated-authentication-method]
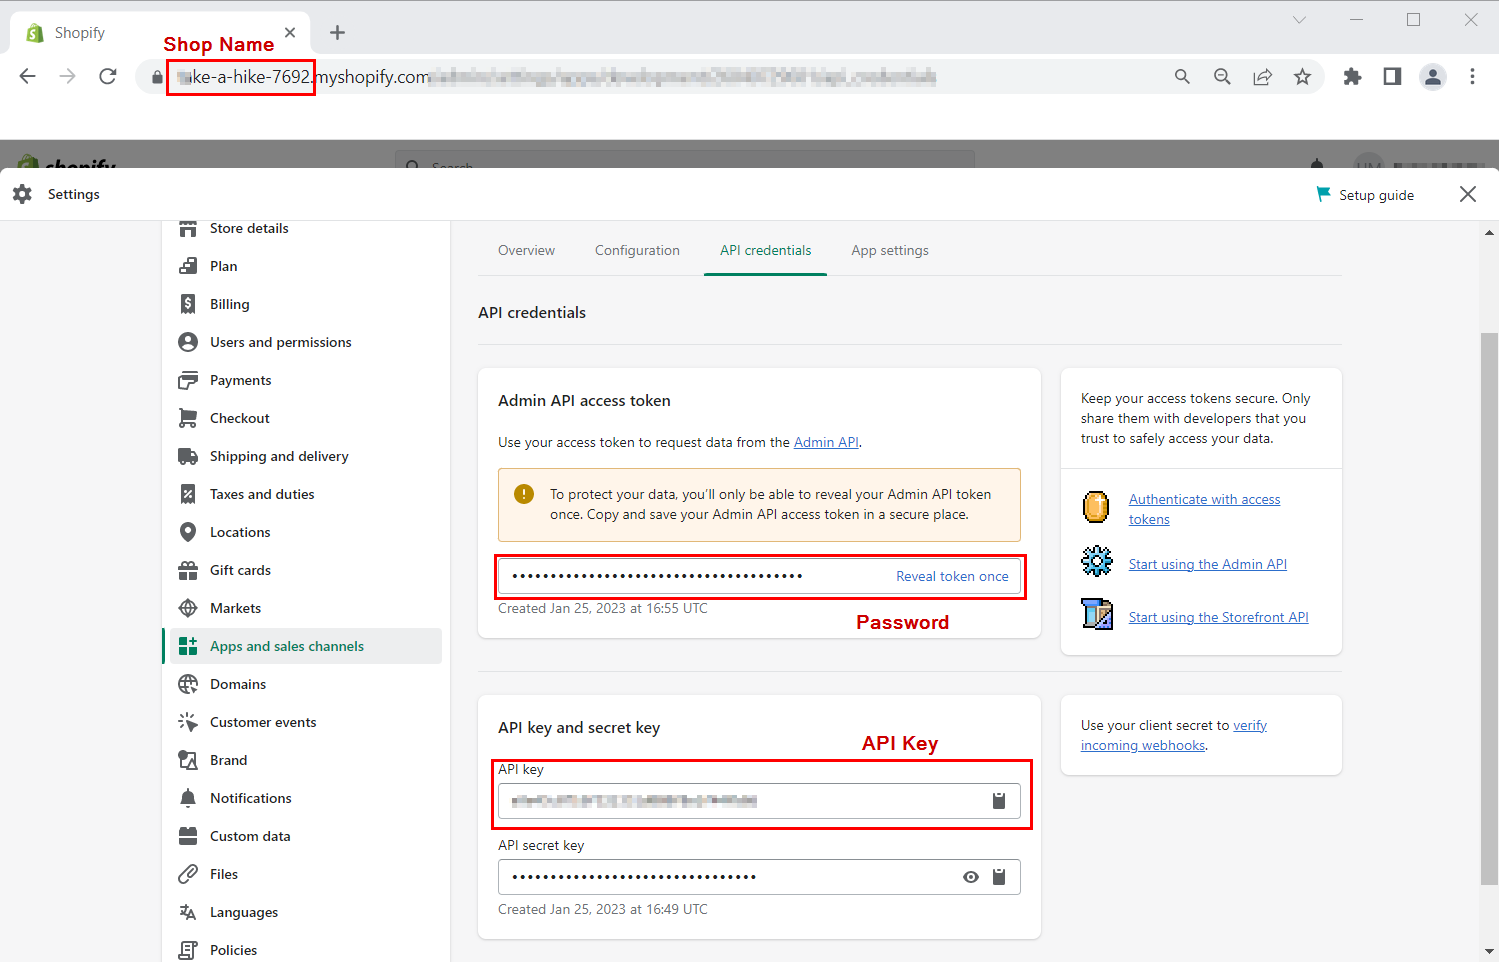
If you configured a custom app in the Shopify Admin before January 1, 2026, you can still use the Admin API Access Token method. To add these credentials to Infobip, follow the Add the credentials to Infobip steps and enter the Shop name, API Key, and Password (same as Admin API Access Token) instead of selecting OAuth.
Create a custom app in Shopify (deprecated steps)
- Access your Shopify account and go to Settings > Apps and sales channels > Develop apps.
- Select Create an App.
- Add a name for the app and select Create App.
- Go to Configuration > Admin API integration and select Configure.
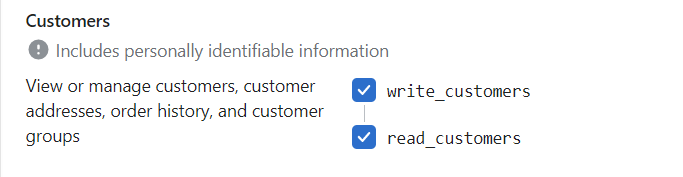
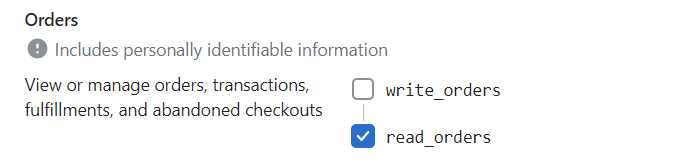
- Add the following scopes:
write_customersread_customersread_ordersread_products
- After adding the scopes, select Save and go to the API credentials tab.
- Under Access tokens, select Install app and confirm the installation. Note the following details:
- Shop name in the URL
- Admin API Access Token
- API Key
Shopify in People [#shopify-in-people]
To integrate Shopify with the People module:
- Authenticate with Infobip using your Shopify credentials. See Set up authentication.
- Choose the sync process to activate. For example, to sync customer data to People:
- Go to the Integrations tab in the Shopify app.
- On Shopify customers to people, select the three-dot menu and then select Set Credentials.
- Map the data. Modify the field mapping so that customer data is stored in the correct People fields.
- Under Shopify customers to people, select Configure. The mapping page opens with a basic initial mapping.
- In the first column, select the Shopify customer fields. In the second column, map them to the corresponding People fields.
- Select Save.
- Activate the integration. Under Shopify customers to people, select the three-dot menu and then select Activate.
In the initial run, the integration syncs all mapped data. After that, it syncs only changed data (for example, customers created or updated in Shopify). The sync runs every 3 minutes. The integration adds Shopify customers to People as they are created.
If you edit the mapping in an active integration, the change applies only to data synced after the update. The integration does not retroactively re-sync records.
People retains stored Shopify data even after you delete it in Shopify or stop the integration. To remove data from People, delete it manually.
Shopify in Conversations [#shopify-in-conversations]
Agents using Conversations can access Shopify store information such as order history and customer details. To use Shopify in Conversations, configure the Shopify Context Card. For more information about Context Cards, see Conversations setup.
The Shopify Context Card supports the following:
- View the full order history
- View customer information for an order
The Conversations panel activates Context Cards by default. You see all available Context Cards, even if you have not configured the fields.
If you have not set up authentication and your preferred field values, you see a Configuration Pending message. Follow the instructions in Set up authentication and configure the Context Card.
Activate the Context Card [#activate-the-context-card]
Before using the Shopify Context Card, activate it and configure the fields.
- Log into Infobip and go to Exchange > All Apps > Shopify.
- Go to the Integrations tab.
- Select the three-dot menu on the Shopify Conversations Block card.
- Select Activate.
- Choose the credentials you want to use.
Configure the Context Card [#configure-the-context-card]
Use the Configuration page to define which details are available to the agent in the Shopify Context Card.
- Go to the Integrations tab.
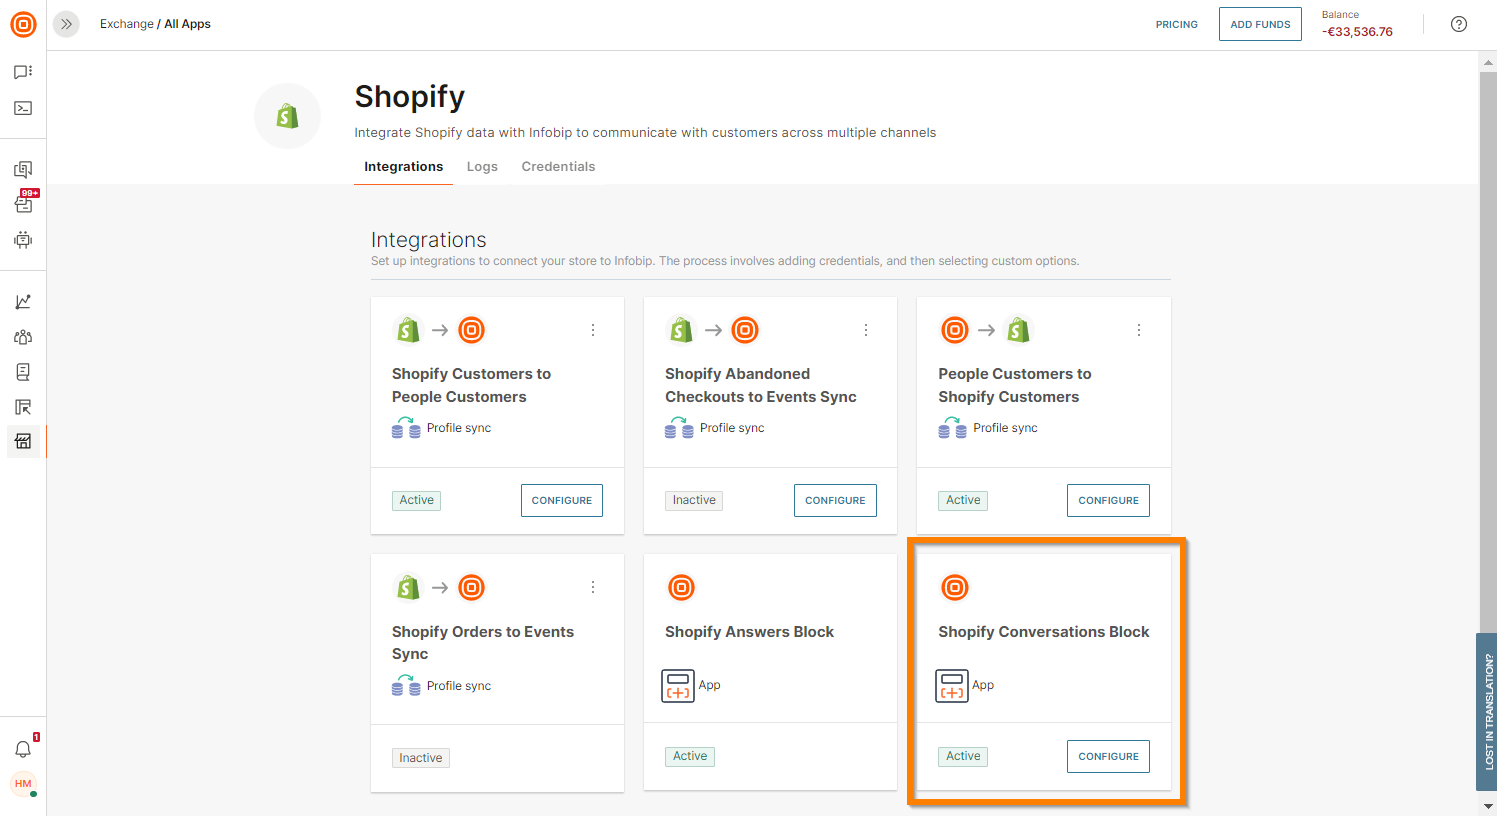
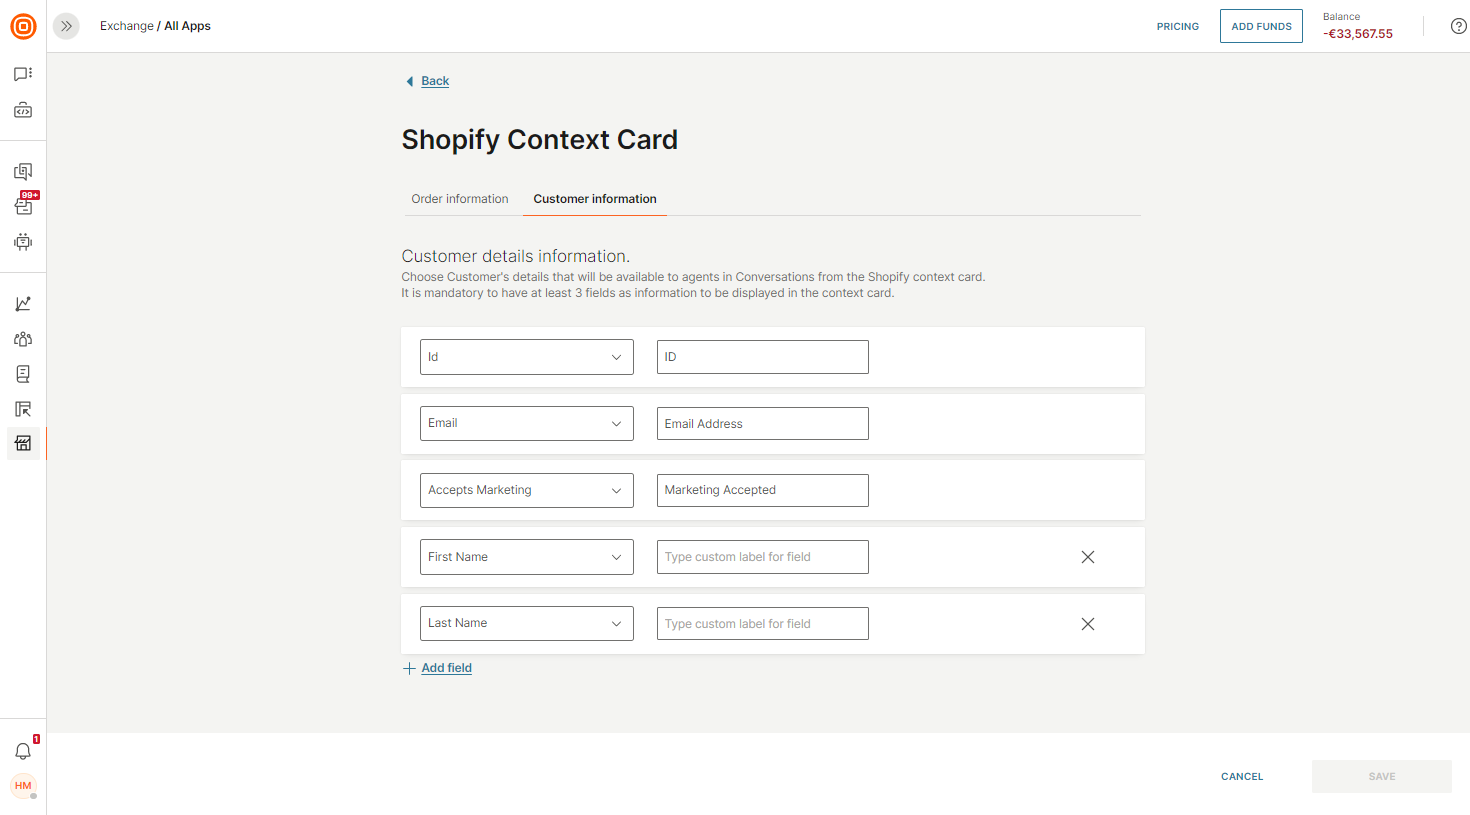
- Select Configure on the Shopify Conversations Block card. The Shopify Context Card fields open. Use the Order information and Customer information tabs to configure the fields.
- Map the fields for order information:
- Order card information: Define the most relevant order information for the agent. You can select a maximum of three fields.
- Order details information: Define the order details for the agent. By default, three fields are required. To add more fields, select Add Field. To remove a field, select the X.
- Map the fields for Customer details information. By default, three fields are required. To add more fields, select Add Field. To remove a field, select the X.
- Select Save.
Supported channels [#supported-channels]
Conversations supports the Shopify Context Card through the following channels:
- SMS
- Voice
- Viber
- Instagram Messaging
- Facebook Messenger