WhatsApp Payments in India
WhatsApp Payments in India enables users to complete purchases directly within a WhatsApp conversation using UPI Intent, payment gateway-based configurations, or payment links.
When a user taps a payment message, the configured payment method is triggered in one of two ways:
- UPI Intent mode
- Opens the user's default UPI app (such as Google Pay) with payment details pre-filled. The user completes the payment in that app and is then redirected back to WhatsApp.
- Payment gateway (PG) deep integration mode
- Opens an embedded payment experience inside WhatsApp, where the user can pay through UPI, cards, wallets, or netbanking, depending on the gateway setup.
- Payments are processed directly within WhatsApp through supported gateways.
After the transaction is complete, the user either returns from their UPI app to WhatsApp or sees the confirmation directly within WhatsApp. The business receives a transaction status update through a webhook notification.
This feature is currently available for the Indian market. It supports flexible models that let businesses connect with multiple payment gateways based on their preferred configuration
Supported payment configuration types
| Configuration type | Integration model | Description |
|---|---|---|
UPI_INTENT | UPI Intent mode | Triggers the UPI Intent protocol and opens the user's UPI app with payment details pre-filled. No configuration in WhatsApp Manager is required. |
PG_RAZORPAY | Payment gateway (PG) deep integration mode | Uses Razorpay as the payment gateway (PG). Payments are completed within WhatsApp through the embedded Razorpay checkout experience, supporting both UPI and card payments. Requires payment configuration in WhatsApp Manager. |
PG_PAYU | Payment gateway (PG) deep integration mode | Uses PayU as the payment gateway (PG). Payments are completed within WhatsApp through the embedded PayU checkout experience, supporting both UPI and card payments. Requires payment configuration in WhatsApp Manager. |
The selected configuration determines how the transaction is initiated and which gateway processes the payment.
Set up WhatsApp Payments with UPI Intent
UPI Intent is a payment protocol that allows apps like WhatsApp to trigger a UPI-compatible payment application installed on a user's device.
When the user selects a payment message, their UPI app opens with all payment details pre-filled. The user completes the transaction in that UPI app, and the business receives a webhook notification with the transaction status once the customer returns to WhatsApp.
No configuration in WhatsApp Manager is required for UPI Intent.
You must use the UPI payment link or payment ID provided by your chosen payment provider. Include this link or ID in the API request or order details message so the correct provider can process the UPI transaction.
Set up WhatsApp Payments with payment gateways
The WhatsApp Payments integration for non-UPI Intent configuration includes the following steps:
- Configure payments in WhatsApp Manager (required only if you are using payment gateways).
- (Optional) Add products to your Meta catalog.
- Send payment messages using Infobip API or Infobip web interface.
If you are using UPI_INTENT instead of a payment gateway (PG) mode, you do not need to add any configuration in WhatsApp Manager. Simply include the payment link from your provider in the API request or order details message in the web interface.
Configure the payment gateway in WhatsApp Manager [#configure-payment-gateway-set-up-whatsapp-payments]
If you plan to use a payment gateway (PG) integration (PayU or Razorpay), configure it in WhatsApp Manager.
- In the WhatsApp Manager, go to Payment configurations > India.
- In the Set up your account to accept payment on WhatsApp dialog, select Get started.
NOTE
When you select Get started, you automatically accept WhatsApp's Privacy Policy and the Payments Addendum to the WhatsApp Business Terms of Service. You cannot continue with the configuration unless you agree to these terms.
- Choose a payment gateway (PG): Razorpay or PayU.
- Enter the payment configuration name and your merchant category code (MCC).
- In the Payment configurations screen, select the new configuration. The status appears as Needs connecting.
- In the Connect configuration and gateway screen, select Connect now to authenticate with the chosen payment gateway, then select Next.
- Alternatively, if another user manages the payment account (for example, an administrator or a BSP), select Someone else will connect later to send them a connection request or an email notification.
- After connection, the status changes to Needs testing.
- Select Test to trigger Meta's validation process.
- Once validation succeeds, the status changes to Active.
(Optional) Add products to your Meta catalog
Before sending a payment message, ensure your products are defined and added to your Meta catalog. Payment messages must be linked to products in your catalog to generate order details.
To set up your catalog and add products, see Enable Meta catalog for product-based messaging.
Send payment messages
Once your payment configuration is active, you can send payment messages using the Infobip API or the Infobip web interface.
Send payment messages using Infobip API [#send-using-api-payment-messages]
-
Send an order details message
The first step is to send an interactive order details message.
This message acts as an invoice and includes the order summary, amount, and the selected payment configuration type, which determines both the payment method and the gateway.
The selected configuration controls how the transaction is initiated and which gateway processes the payment.
-
The user completes the payment
- UPI Intent mode: The user taps the message in WhatsApp, which opens their default UPI application (such as Google Pay) with pre-filled payment details. After completing the payment, the user is redirected back to WhatsApp.
- Payment gateway deep integration mode: The user completes the payment within WhatsApp through the embedded payment gateway experience, which supports both UPI and card payments.
-
Receive webhook notification
Set up your webhook so your backend system can receive a notification from the payment gateway with the status of the transaction (success or failure).
IMPORTANTMake sure your webhook endpoint is active and tested before sending live payment messages.
-
Send order status message
Based on the webhook result, send an order status message to confirm the transaction outcome to the user in the same WhatsApp thread.
NOTEUse
UPI_INTENTto keep your integration flexible and compatible with any supported payment gateway.
Send payment messages using Infobip web interface [#send-using-web-interface-payment-messages]
To send payment messages using the Infobip web interface, you must first register template messages for order details and order status.
Once ready, you can:
- send the order details message,
- wait for the user to complete the purchase,
- and then send them an order status message.
Register payment templates
-
Log in to web interface and go to Channels and Numbers > Channels.
-
Select WhatsApp and open the Senders tab.
-
Find your desired sender and select Register template.
-
Choose Utility template as the template category.
- If you are registering an order details template, it is also available under Marketing template category.
-
Select either:
- Order details: For templates that contain product and payment information.
- Order status: For templates that provide transaction updates.
-
Enter the template name and language, and design the template in the editor. Use the preview section to check how the message will look.
NOTETemplate names can contain only lowercase letters, numbers, or underscores. White spaces and special characters are not allowed. When creating Order details template, the button fields will already be pre-filled in.
Order details template example

Order status template example

-
When you finish the design, select Register template and await approval. On the Templates tab, you can monitor the state of your template to see if it is Approved, Pending, or Rejected.
Once your templates are approved, you can start sending your users order details and order status messages.
To ensure template approval, follow the guidelines stated on the Message template compliance page.
Send payment templates over Broadcast
You can use Broadcast to send order details and order status messages with predefined templates.
To send payment messages over Broadcast, follow the steps below:
-
Log in to the web interface and go to Moments > Broadcast.
-
Select Create broadcast and choose WhatsApp as the channel.
-
Define your audience:
- Add recipients from People,
- Upload a file with your audience, or
- Use an existing file.
For file uploads, see File requirements section.
-
Choose your sender and continue to the message setup.
-
In the Select to add content field, browse available templates.
-
Choose the order details or order status template you want to use and select Use.
Order details broadcast
-
Enter product information, including product type (digital or physical goods), product name, retailer ID, quantity, and amount.
NOTEBefore sending a payment message, you must have products defined and added to your Meta catalog.
-
Configure payment details by selecting the payment type (PG PayU, PG Razorpay, or UPI Intent) and entering the payment ID.
-
(Optional) Add beneficiary details, callback data, discounts, shipping information, expiration time, or additional order details.
-
Select Done designing to finalize the message.
-
Configure additional broadcast settings, such as message scheduling, tracking and reporting, or advanced settings.
-
Select Continue to preview, review the settings and launch your Broadcast message.
Order status broadcast
- Select the order status: Canceled, Completed, Partially shipped, Pending, Processing, or Shipped.
- (Optional) Add a description.
- Select the payment type (PG PayU, PG Razorpay, or UPI Intent) and enter the payment ID.
- Select Done designing to finalize the message.
- Configure additional broadcast settings, such as message scheduling, tracking and reporting, or advanced settings.
- Select Continue to preview, review the settings and launch your Broadcast message.
To learn more about available options, see Broadcast.
For details on tracking results and measuring performance, see Analyze dashboard.
Send payment messages over Moments
In Moments, you can send order details and order status messages as part of your automated flows.
To send payments messages in Moments:
-
Follow steps 1–5 described in WhatsApp over Moments.
-
Choose the appropriate order message template.
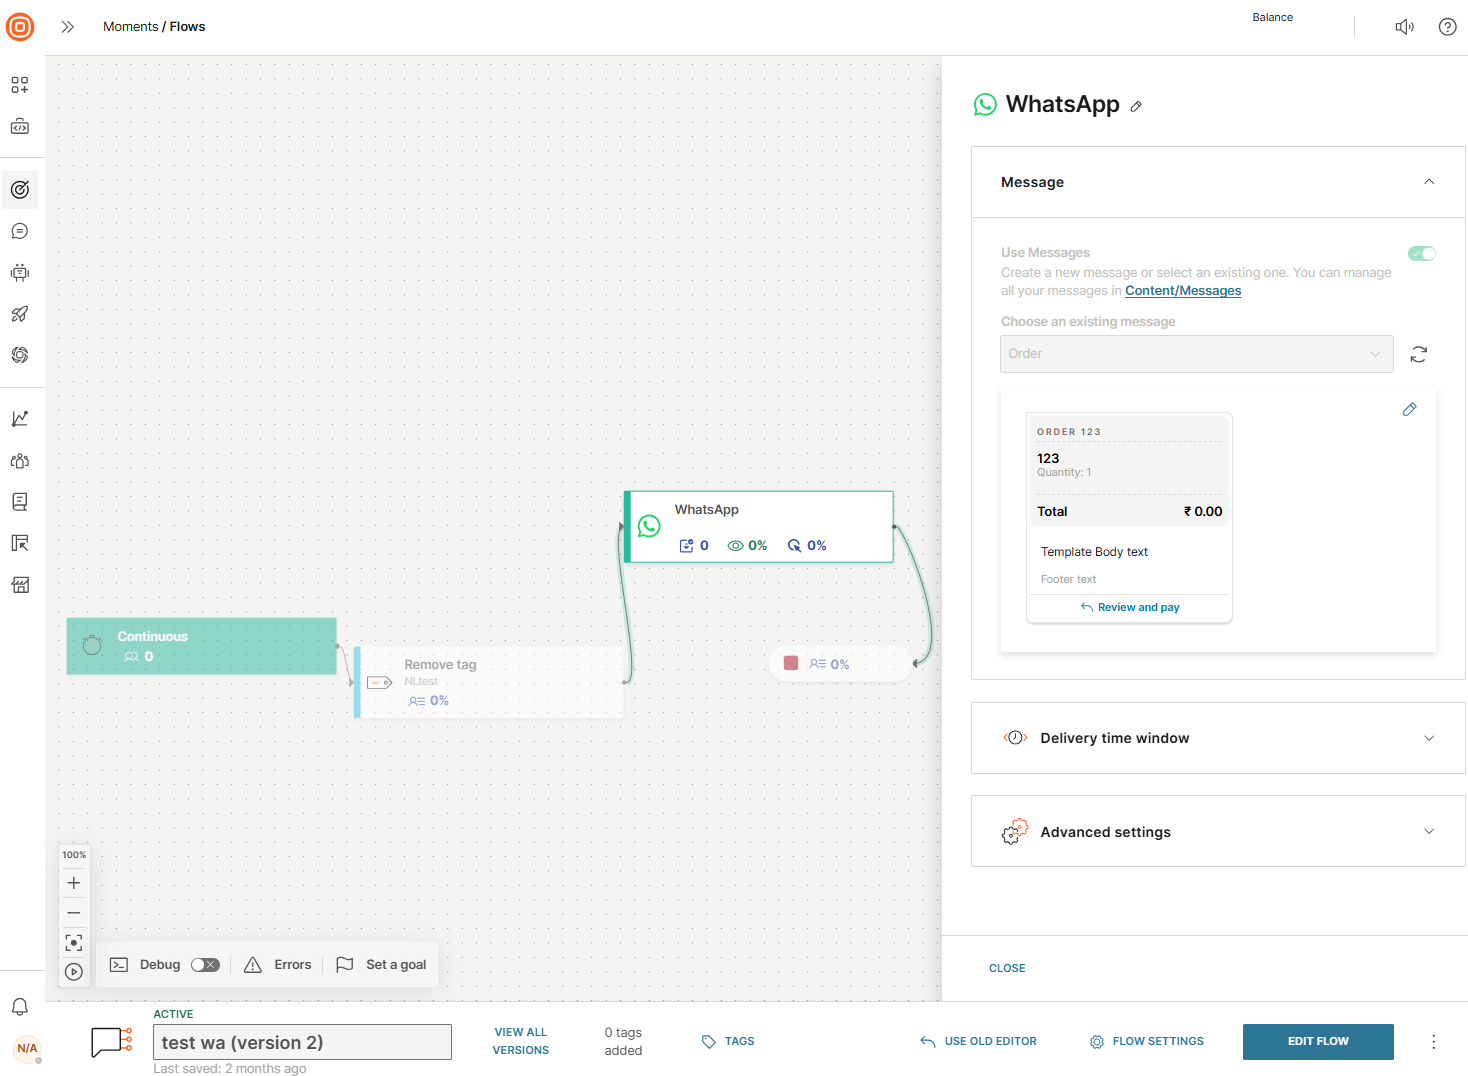
-
Continue building, validating, and launching your flow as described in WhatsApp over Moments.
To learn more about what our customer engagement solution offers, see Moments.