Create emails with templates
You can create emails with predefined or custom templates in Broadcast or Flow. This makes it easy to start from a ready-made design or use your own template for greater flexibility.
To create an email from a template:
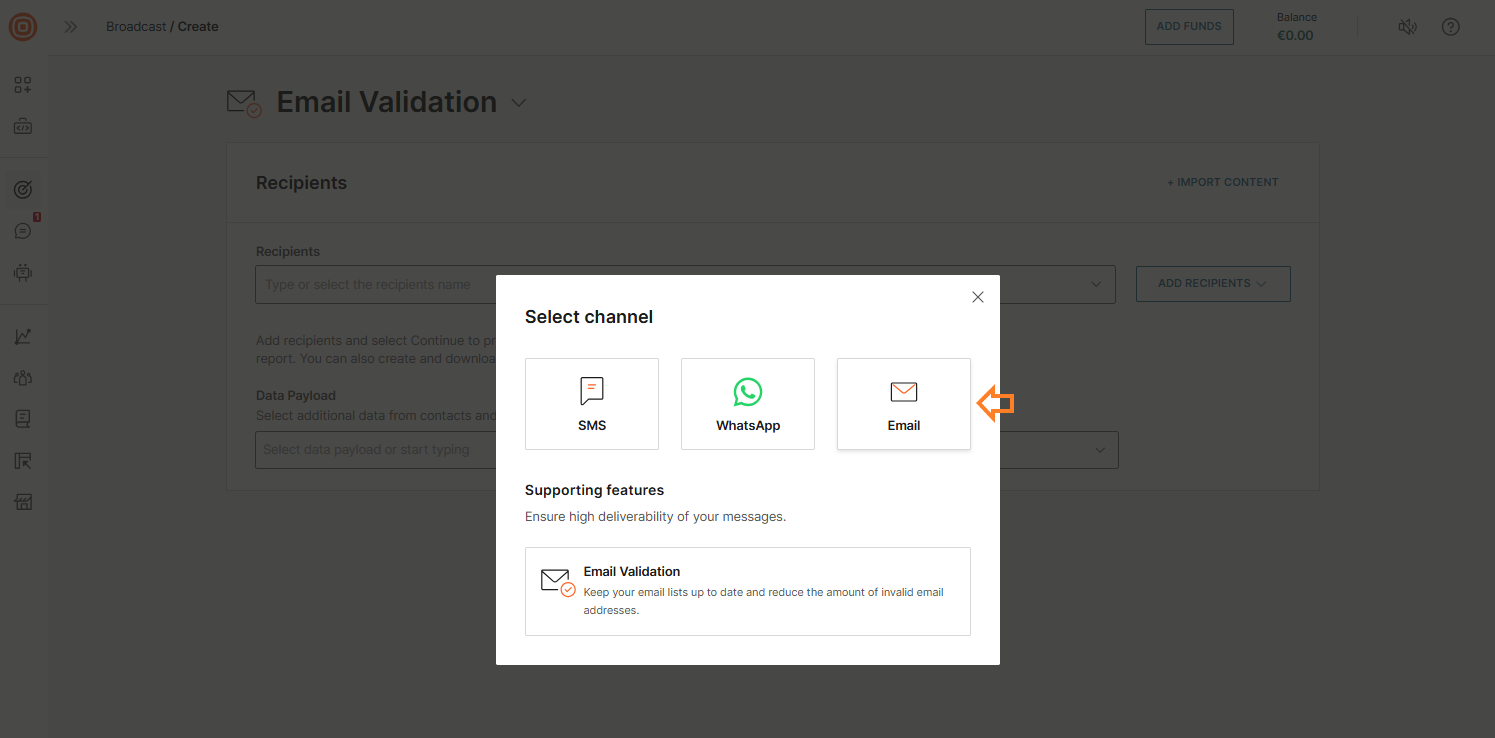
- In the Infobip web interface, go to Moments → Broadcasts.
- Select Create Broadcast.

- From the channel list, select Email.
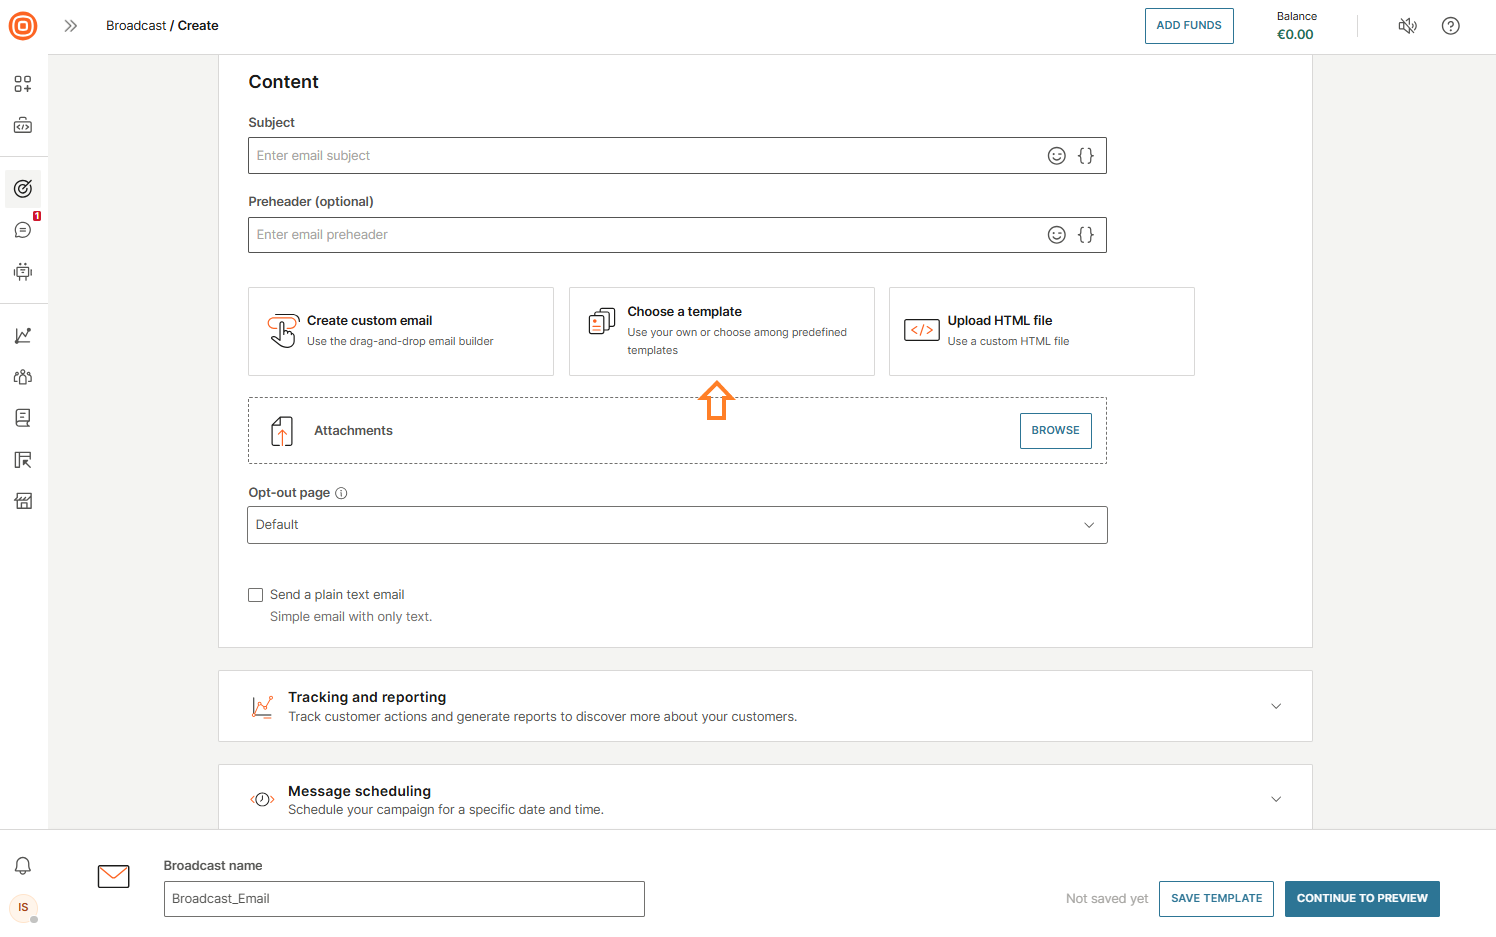
- On the form, select Choose a template.
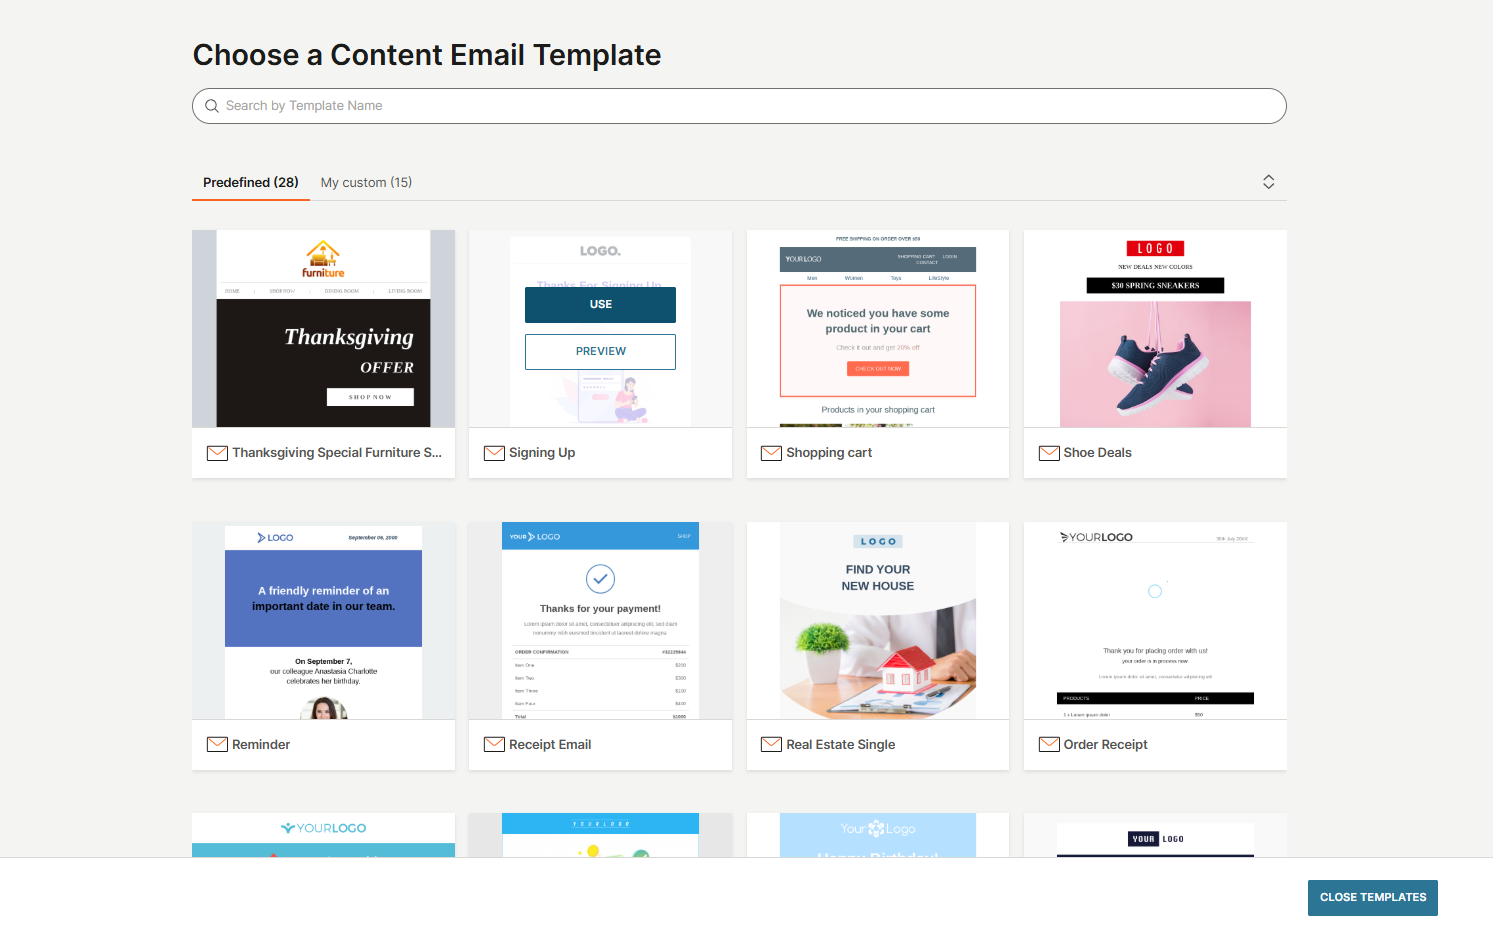
- On the Choose a Content Email Template page, pick a template from one of the two tabs:
- Predefined: Ready-to-use templates.
- My custom: Templates you have created yourself (learn how to create custom templates [here]).
- Preview any template by hovering over it and selecting Preview. Once you find the one you want, select Use.
- The template opens in the Email editor, where you can edit it to suit your needs. For example, you can:
- Use drag-and-drop blocks and widgets, such as text, images, buttons, and dividers, to build your layout.
- Add personalization with placeholders, such as first name or account details.
- Insert a footer with your company name, address, and unsubscribe link (mandatory).
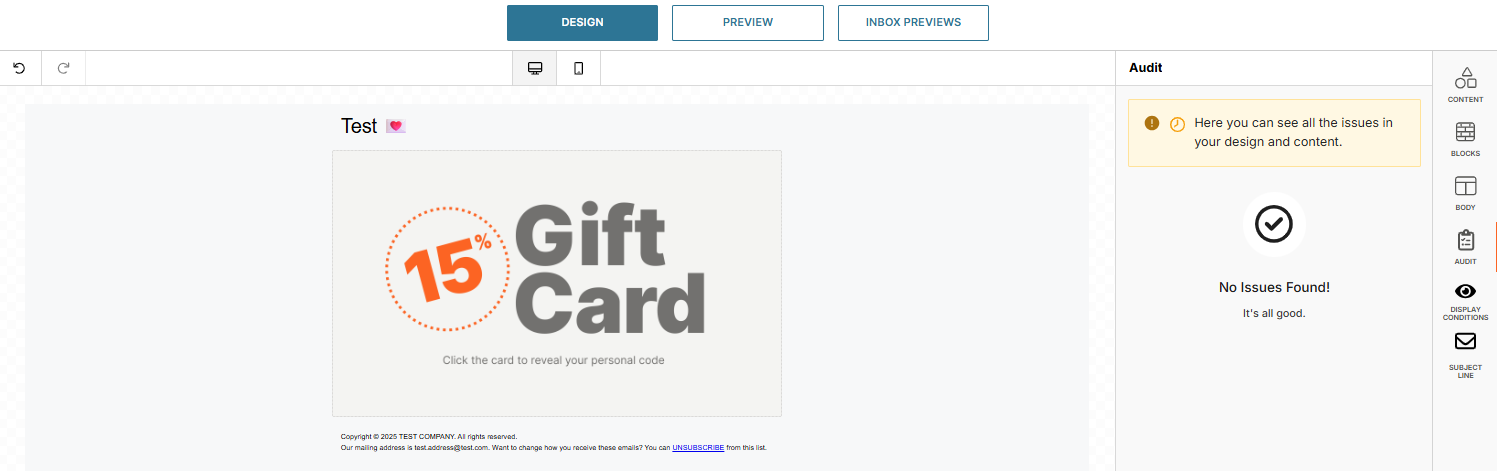
- Check blocks, body, display conditions, and subject line to confirm they are properly configured.
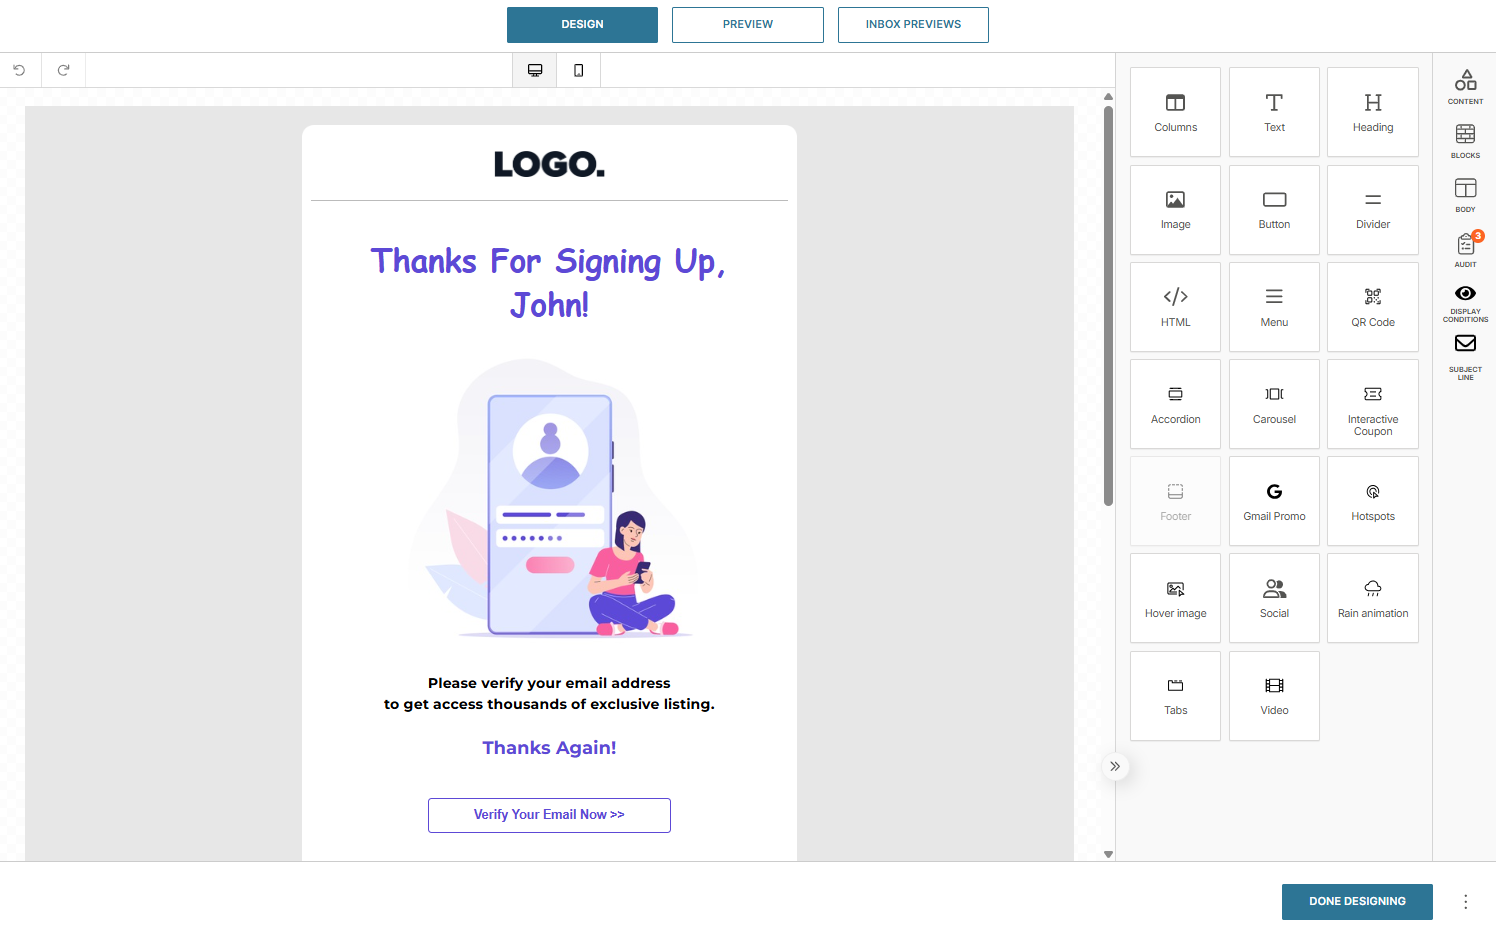
- Use the Audit tab to fix issues, such as missing alt text or links.
- Switch between desktop and mobile views to ensure a responsive design.

- In the Preview tab, you can:
- Test placeholders: Fill in placeholder fields to update the message preview.
- Send a test message: Send a test email to check that content and personalization render correctly.
- General info: Download the HTML version of your design or save it as a template for future campaigns.
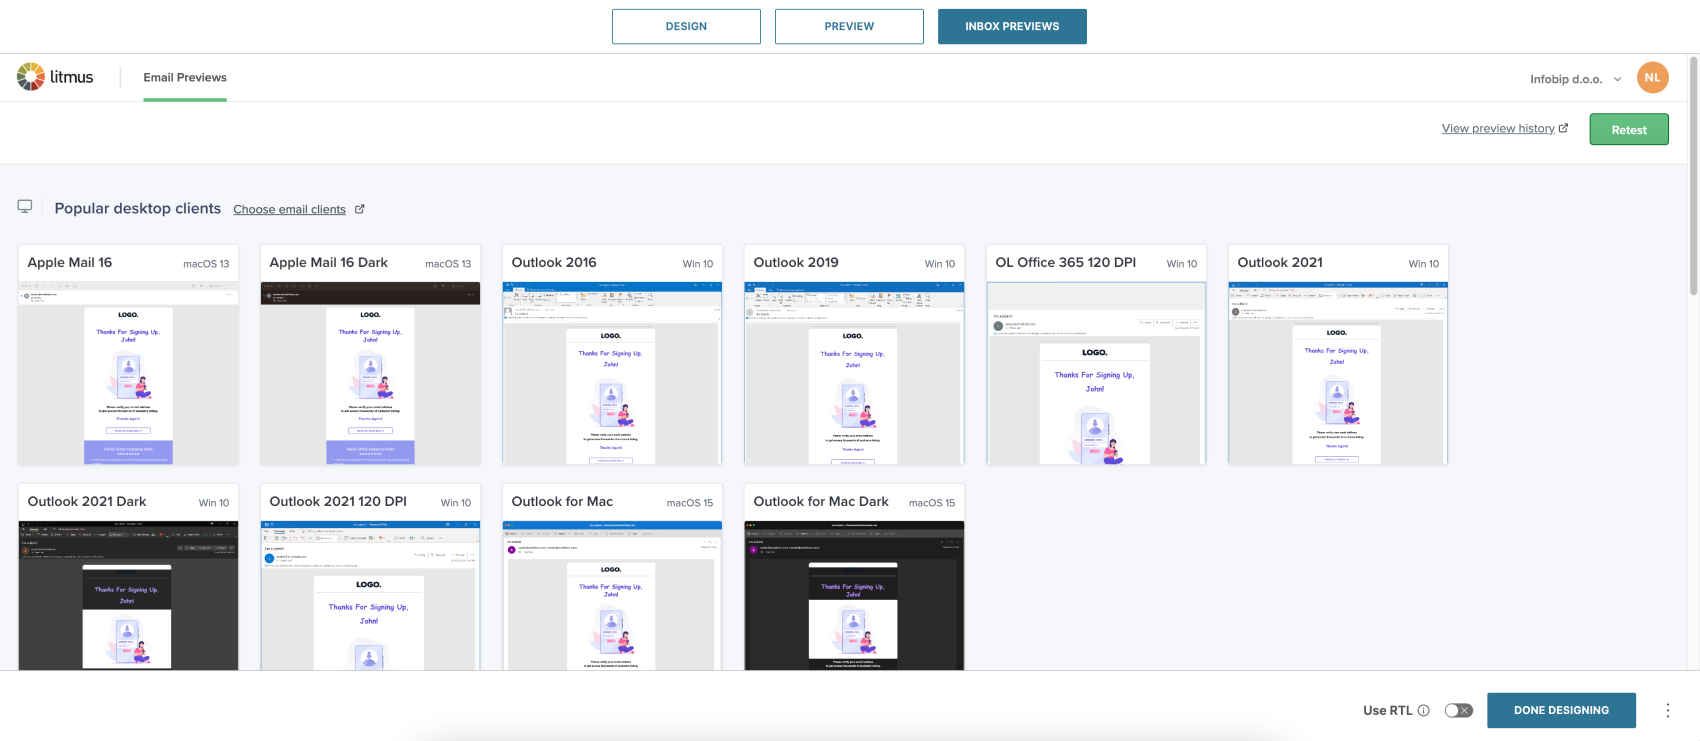
- Use the Inbox previews tab to preview your email in popular clients and ensure it displays correctly across inboxes.
- For detailed guidance on the Preview feature, see the link below.
- When ready, select Done Designing and add the remaining details, then set up scheduling or automation.
 Learn more
For detailed guidance on the Preview feature, see Inbox previews.