Email validation over Broadcast
You can validate email addresses directly in the Infobip web interface using Broadcast.
To validate emails in Broadcast:
- Go to Moments → Broadcast → Create Broadcast.
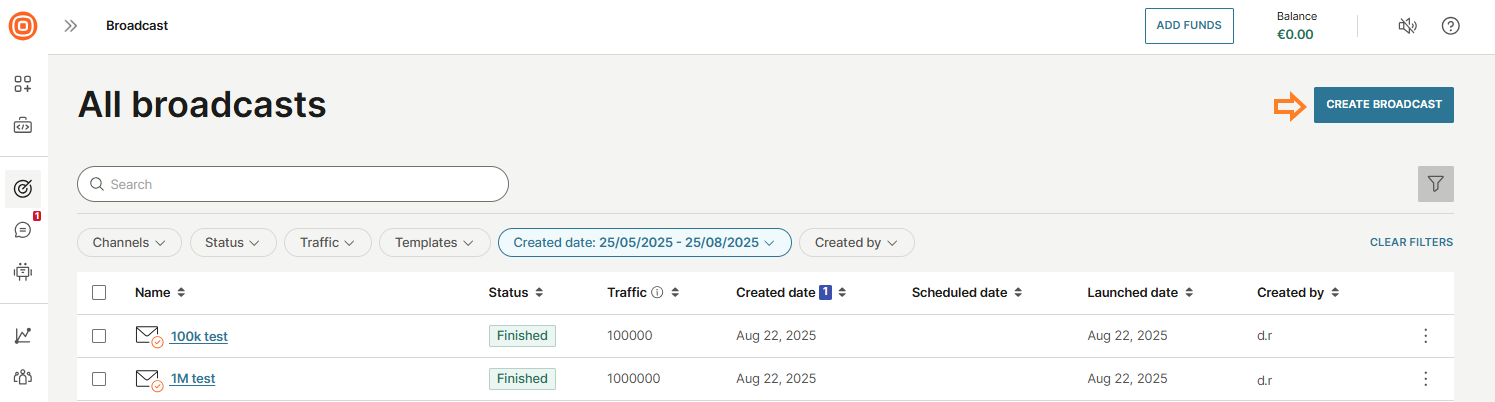
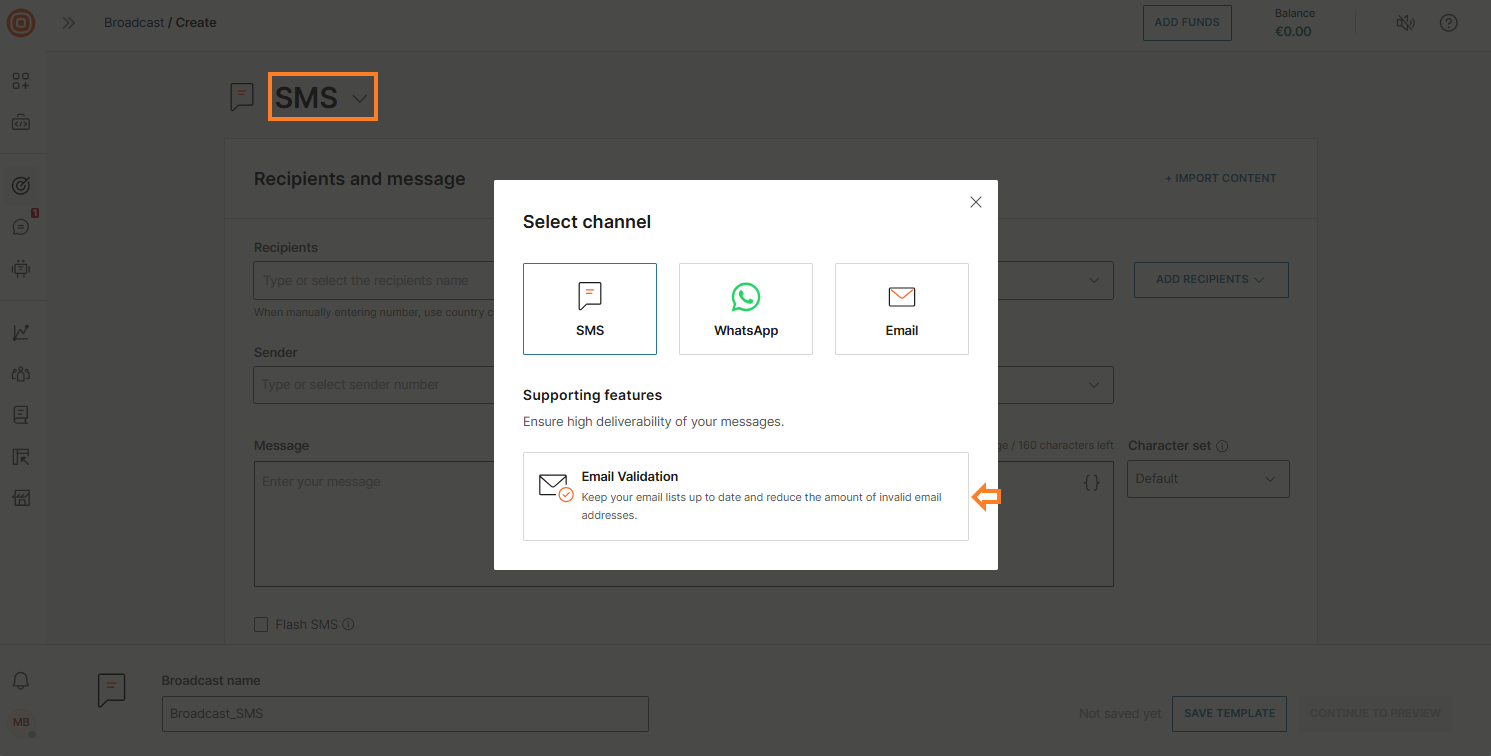
- At the top, select the channel arrow and choose Email Validation.
- Enter a name for your Broadcast.
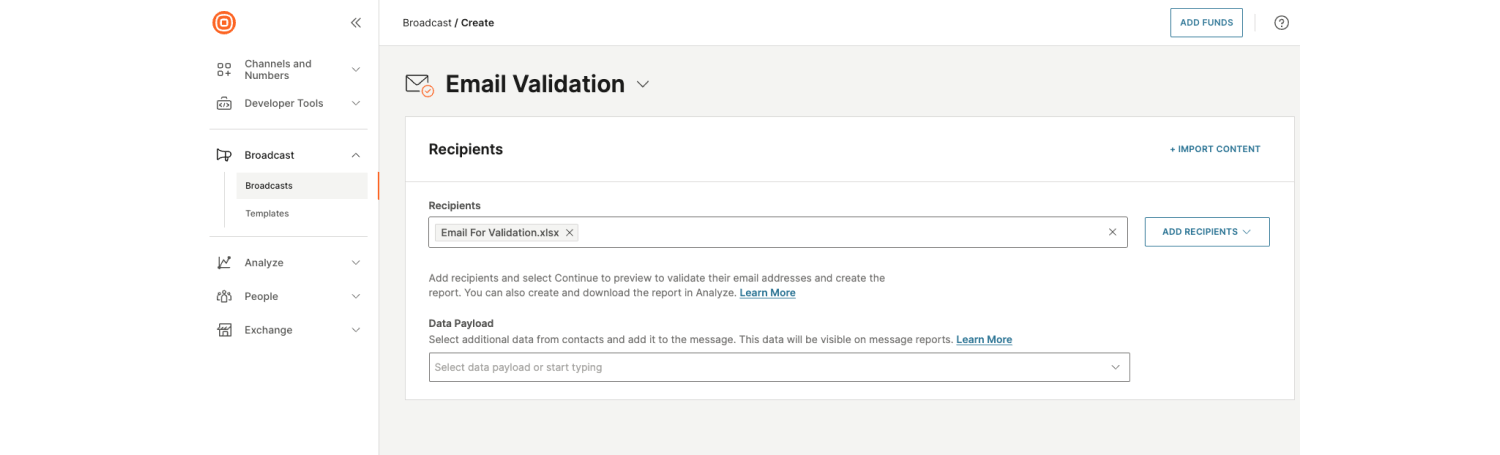
- Add recipients by:
- Entering them manually,
- Importing from People, or
- Uploading a file (.csv, .txt, .xlsx, or .zip, up to 50 MB).
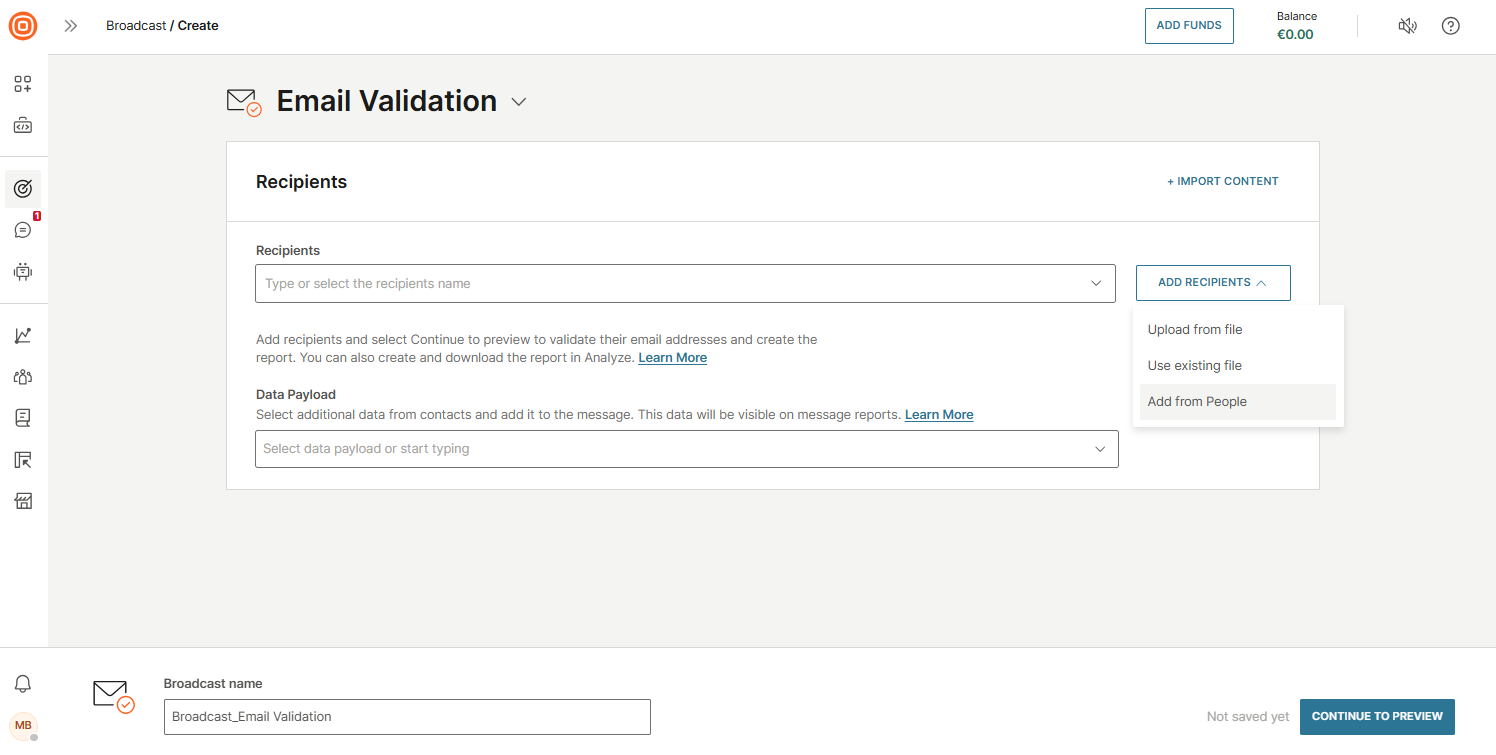
- Select additional data from contacts and add it to the message using the Data Payload drop-down menu.

- Select Continue to Preview.
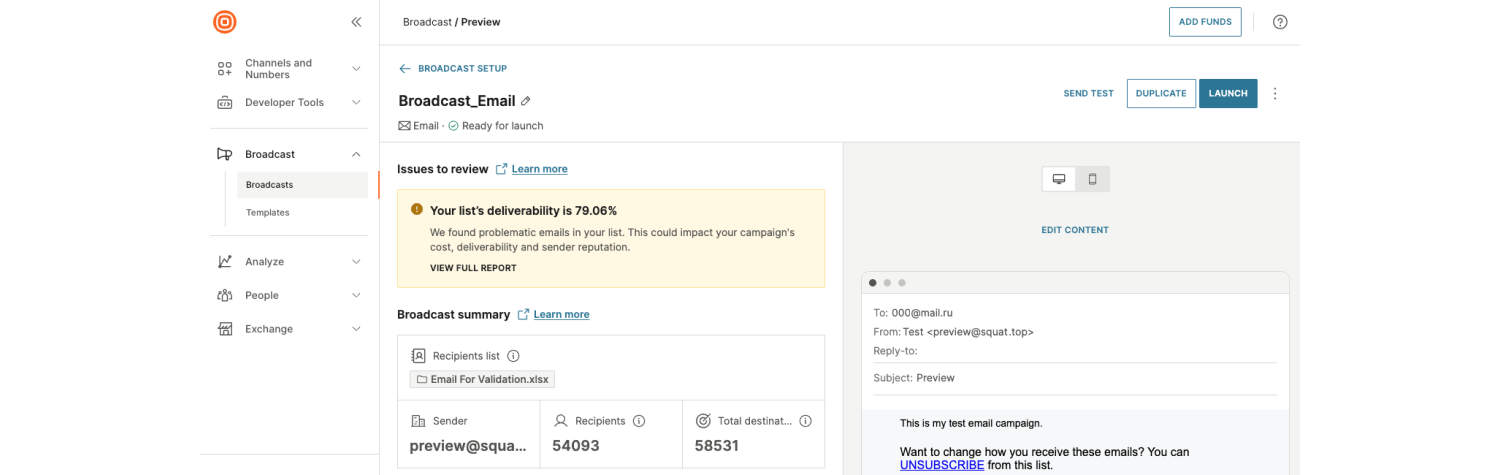
- In the preview, review the total number of recipients and messages to be validated, along with the cost estimation.
- When you confirm that everything is correct, select Launch to start the validation.
Refer to the video below for a detailed preview.
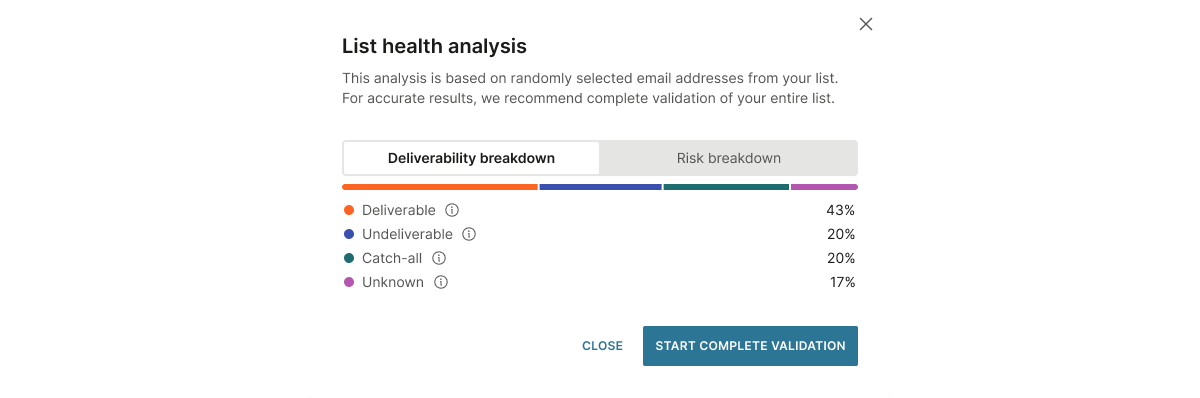
Email list quality preview
The Email list quality preview automatically analyzes recipient lists before sending a campaign to multiple email addresses. It provides an initial assessment of list health based on a statistical sample, helping you decide whether full bulk validation is needed.
When a preview is initiated, the system runs a preliminary validation and estimates deliverability and risk. Results represent an average evaluation based on a random sample taken from the uploaded list.
To preview the email list quality:
- Log in to your Infobip account.
- Go to Moments → Broadcasts → Create broadcast.
- Select Email as the channel.
- Add recipients and complete the required campaign details.
- Select Continue to preview.
- The analysis begins automatically. If issues are detected, you will receive a warning.
- Select View full report to open the List health analysis, where you can see deliverability, risk distribution, and the estimated campaign cost.
- Since the preview is based on a random sample, the results are only indicative. For full accuracy and to activate complete email validation, read and accept the email validation service description, then select Start complete validation.
- You will be taken to the Email validation page where the recipient's list is automatically updated.
Create validation report
To create a validation report:
- Go to Analyze → Reports → Create report.
- Choose Detailed and select Email Validation as the channel. You can set other options such as recurrence, filters, and more.
- Select Create Report.
- The report shows validation status, reasons, and risk levels. By default, the report covers the last three hours, but you can customize filters by campaign name, validation period, or advanced parameters.
Sample email validation output
The table below shows sample results returned by the Email validation service.
| Domain example | Valid mailbox | Valid syntax | Disposable | Role-based | Catch-all | Detailed reasons | Risk |
|---|---|---|---|---|---|---|---|
[email protected] | Yes | Yes | No | No | No | Mailbox is valid and will receive email | Low |
[email protected] | Yes | Yes | No | Yes | No | Role-based address | Medium |
[email protected] | Yes | Yes | Yes | No | No | Disposable address | High |
[email protected] | No | No | No | No | No | Invalid syntax | High |
[email protected] | No | Yes | No | No | No | Invalid mailbox | High |
[email protected] | Unknown | Yes | No | No | No | Server unavailable for verification | Unknown |
[email protected] | Unknown | Yes | No | No | Yes | Catch-all domain | Unknown |