Send your first Email message
To use Email on the Infobip platform, you need to meet the following requirements:
- Create an Infobip account (if you do not already have one) by completing the platform onboarding.
- Register your domain.
Start your free trial
New Infobip users automatically receive a 60-day free trial.
Limitations:
- The free trial includes 100 free email messages.
- You can use Infobip's testing domain to send up to 100 free email messages. After reaching this limit, the testing domain is removed, and you must verify your own domain to continue.
- If you register and verify your domain immediately, you still receive 100 free email messages. After the trial, you can continue sending from your verified domain without interruption.
When your free trial ends, a banner appears at the top of your homepage.
Upgrade to a paying account
When you are ready, upgrade to a paying account:
- Select Add funds at the top of the page.
- Choose the wanted billing option.
- Add funds to your account balance.
After you add funds, your account is no longer in free trial mode. If your free trial has ended, you can also select Upgrade now from the banner at the top of your homepage to continue sending messages.
Start using Email
Once you have registered for an Infobip account and started your free trial, you can send your first Email message!
- Take your first steps with Email on our web interface.
At the top of the page, select whether you are a business user or a developer:
- Business users can test messages directly in the web interface.
- Developers can send test messages using the ready-made API request.
- In the first step, add the necessary details and send your first email.
Business user experience
Developer experience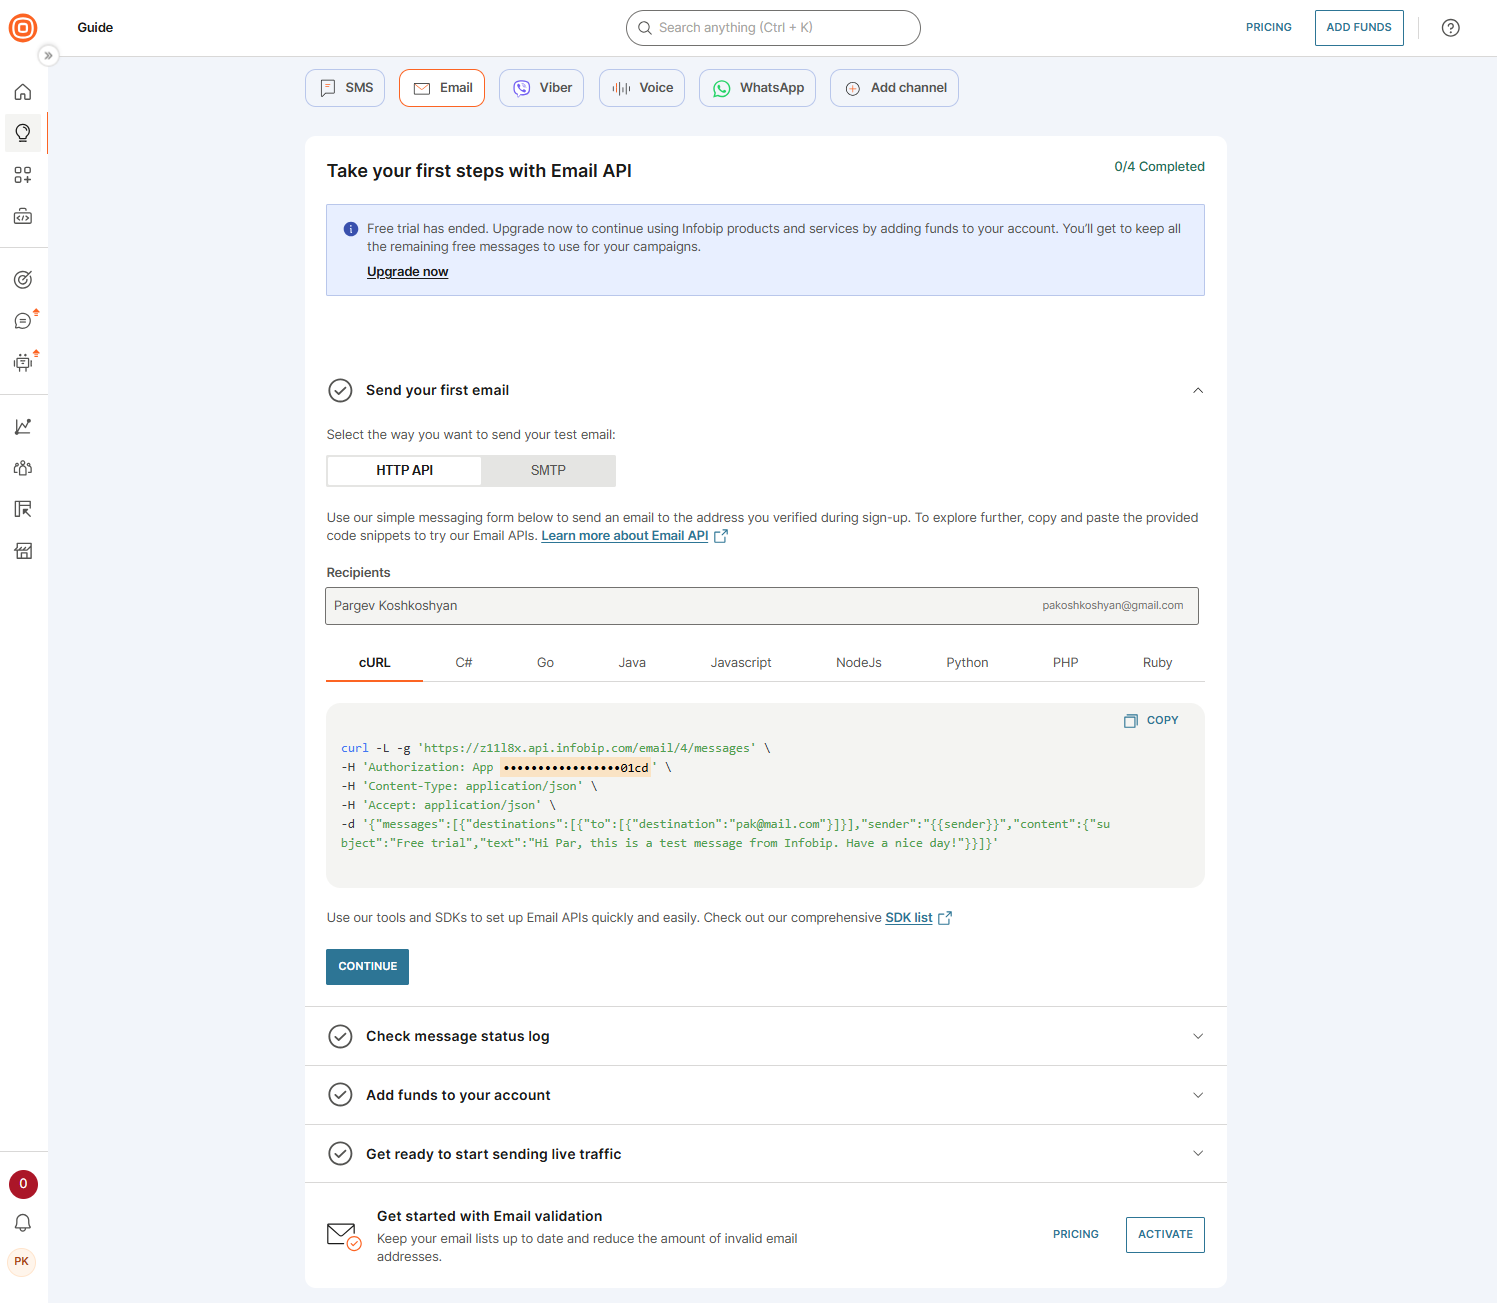
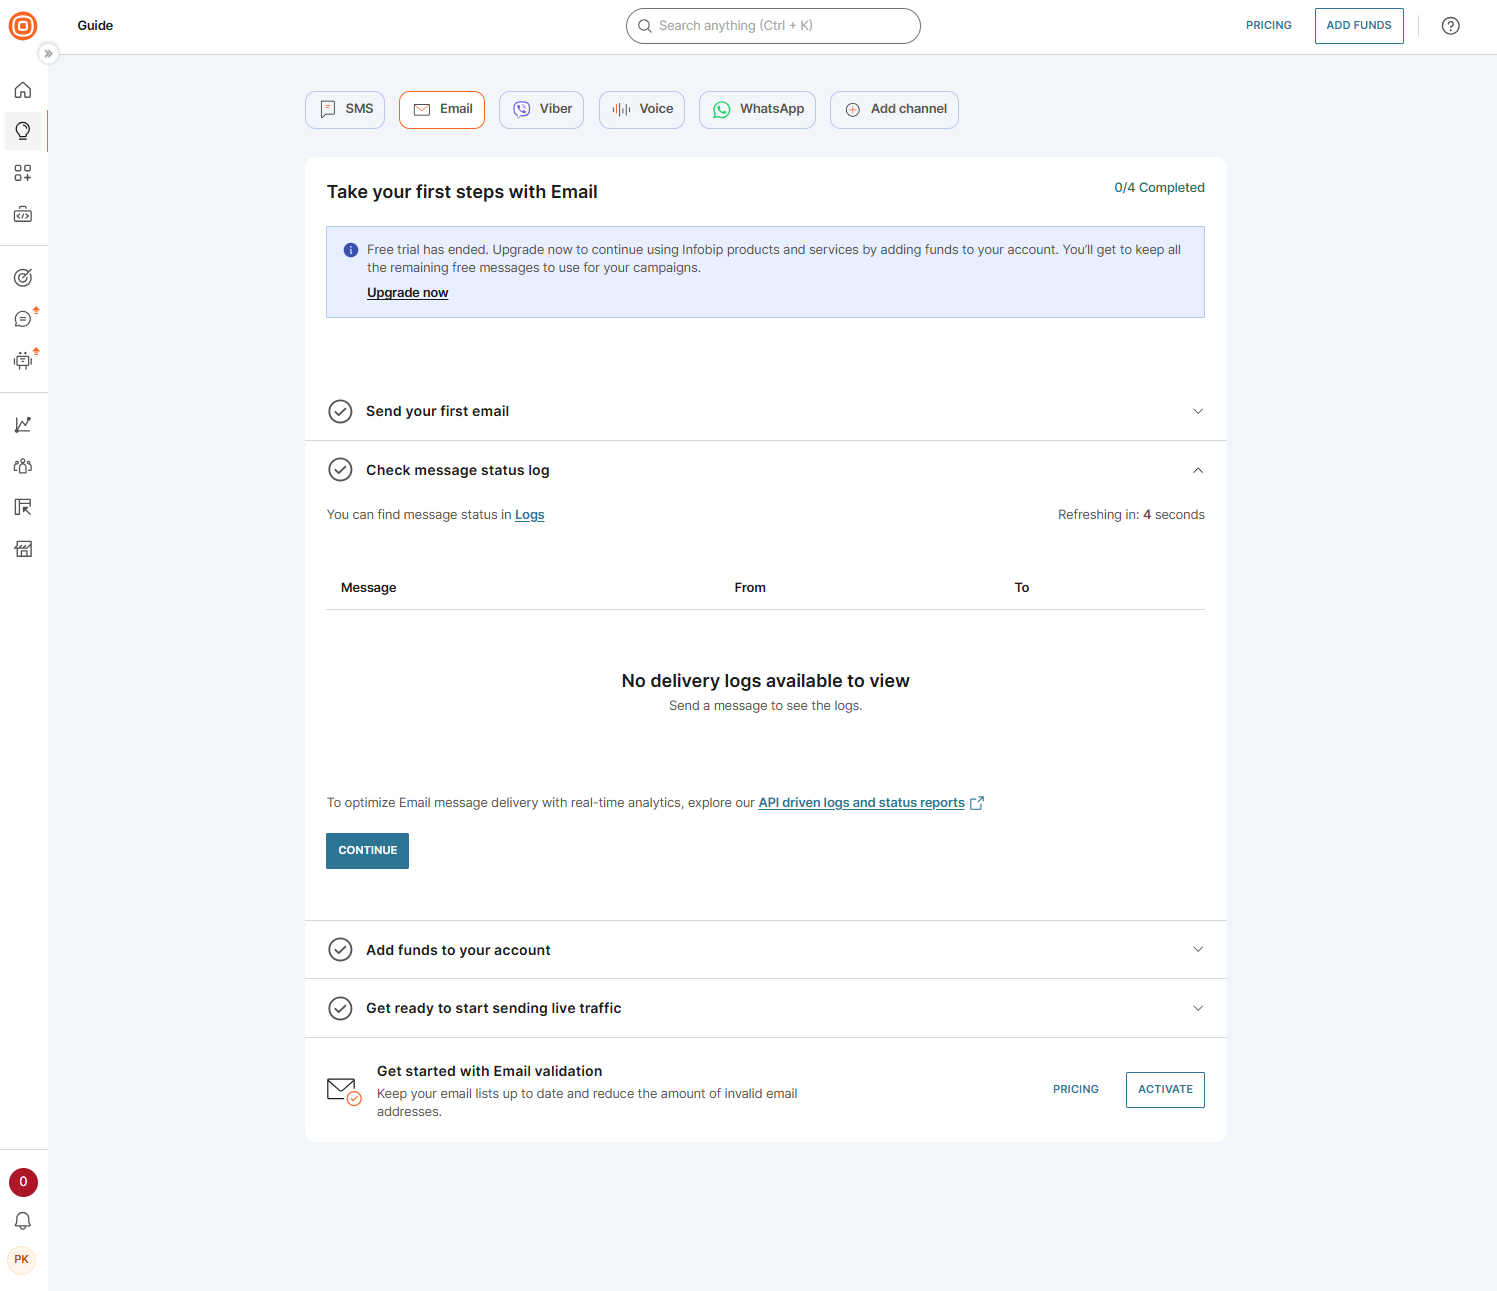
- After sending a test message, check the delivery report to confirm successful delivery. If delivery fails, review the response status and error codes to identify the issue.
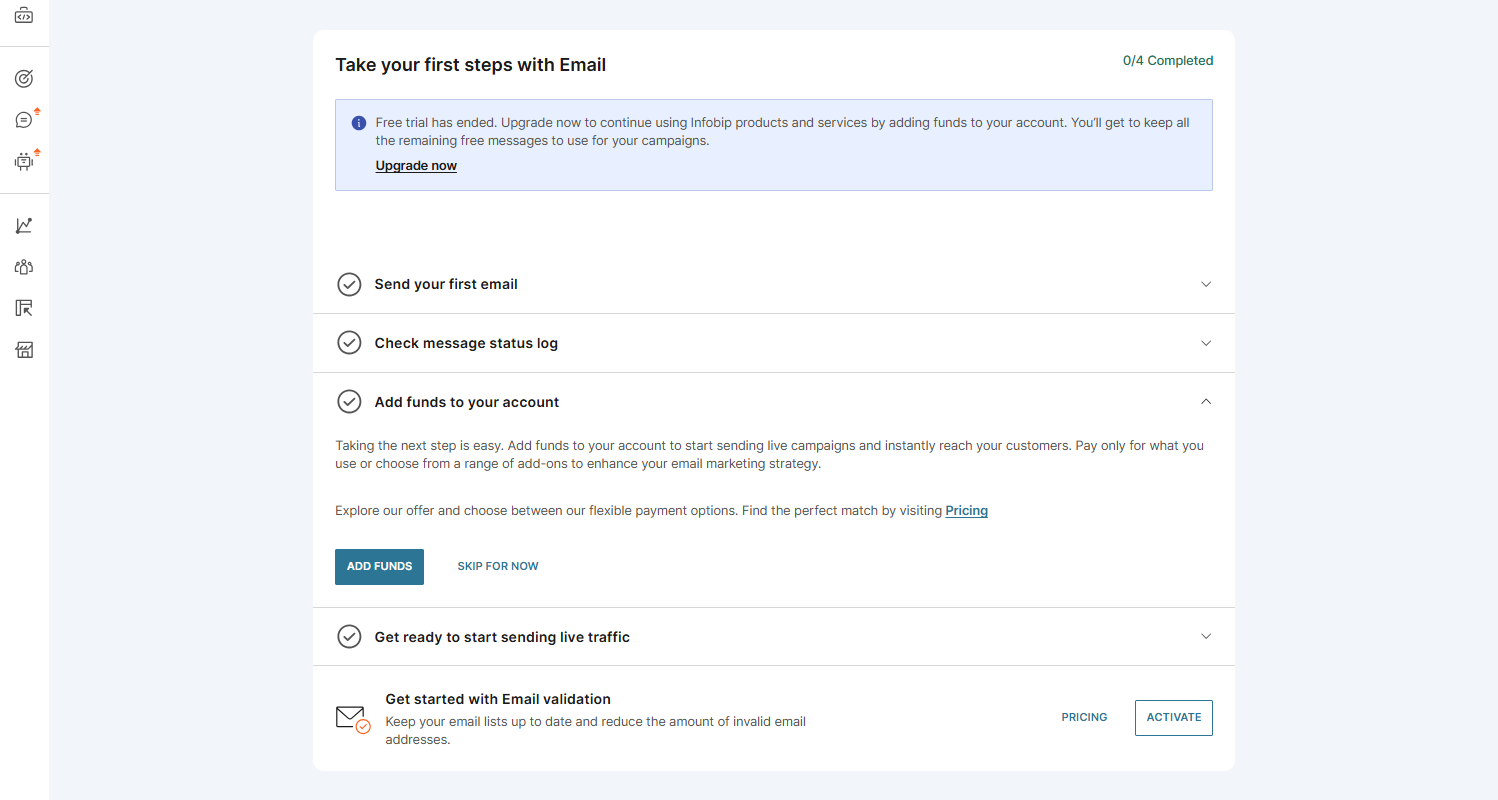
- (Optional) Upgrade your account
- To upgrade your account now, select Add funds and follow the steps to become a paying account.
- To upgrade your account at a later time:
- If your free trial is still active, select Add funds at the top of the web interface.
- If your trial has expired, a banner will appear on your homepage. Select Upgrade now to add funds.
You are now ready to explore the Infobip platform and use Email for customer communication! ![]()
Send Email in Broadcast
Use Broadcast to send one-time email communications and improve delivery reliability with a failover option:
- Log in to your Infobip account.
- Go to Moments → Broadcasts → Create broadcast.
- Select Email as the channel.
- Enter a name for your Broadcast.
- Add recipients by:
- Entering them manually,
- Importing from People, or
- Uploading a file (.csv, .txt, .xlsx, or .zip, up to 50 MB).
- Enter sender information:
Note
To use Email, you must onboard your official company domain by registering a new domain.- Domain sender: Use when sending production broadcasts.
- Enter or select From name, From email, and optionally a Reply-to address.
- Compose your email:
- Add a Subject and optional Preheader.
- Choose how to create your message:
- (Optional) Add attachments.
- Select an Opt-out page for unsubscribing.
- To send plain text only, select Send a plain text email.
Tip
Use Import content to upload files or reuse Broadcast templates to speed up your workflow. - Configure additional settings such as:
- Message scheduling
- Tracking and reporting
- Advanced settings
- Select Continue to preview to see how your message will appear. Review:
- Recipient information
- Estimated cost
- Delivery time window
- Sender details
- Any warnings
- If changes are needed, select Back to settings. Otherwise, select Launch to send your broadcast.
Send Email in Flow
Use Flow to automate email sending as part of your customer journeys. You can trigger emails based on customer actions, events, or schedules, and personalize messages using customer data.
 Learn more
For setup instructions and details about sending email in Flow, see Email in Flow.
Send Email in Conversations
Use Conversations to create two-way email communication with your customers. Both agents and customers can start an email conversation, making it easy to manage support, sales, or engagement directly from a unified workspace.
Learn moreFor setup instructions and details about sending email in Conversations, see Email in Conversations.