Create a secured chatbot
If you chatbot handles sensitive information, you can protect the chatbot, its contents, and the information captured from end users during their conversation with the chatbot.
Follow one or more of the options mentioned in the Secured Chatbot section.
This document explains the following security option:
Authenticated dialogs
This tutorial explains how to set up authorization for end users. The tutorial obtains credentials, such as customer ID or email address, from the end user and verifies them against the end user information that is stored in an external database.
Prerequisite [#prerequisite-authenticated-dialogs]
API information that is required to connect your chatbot with your customer database
Tutorial [#tutorial-authenticated-dialogs]
-
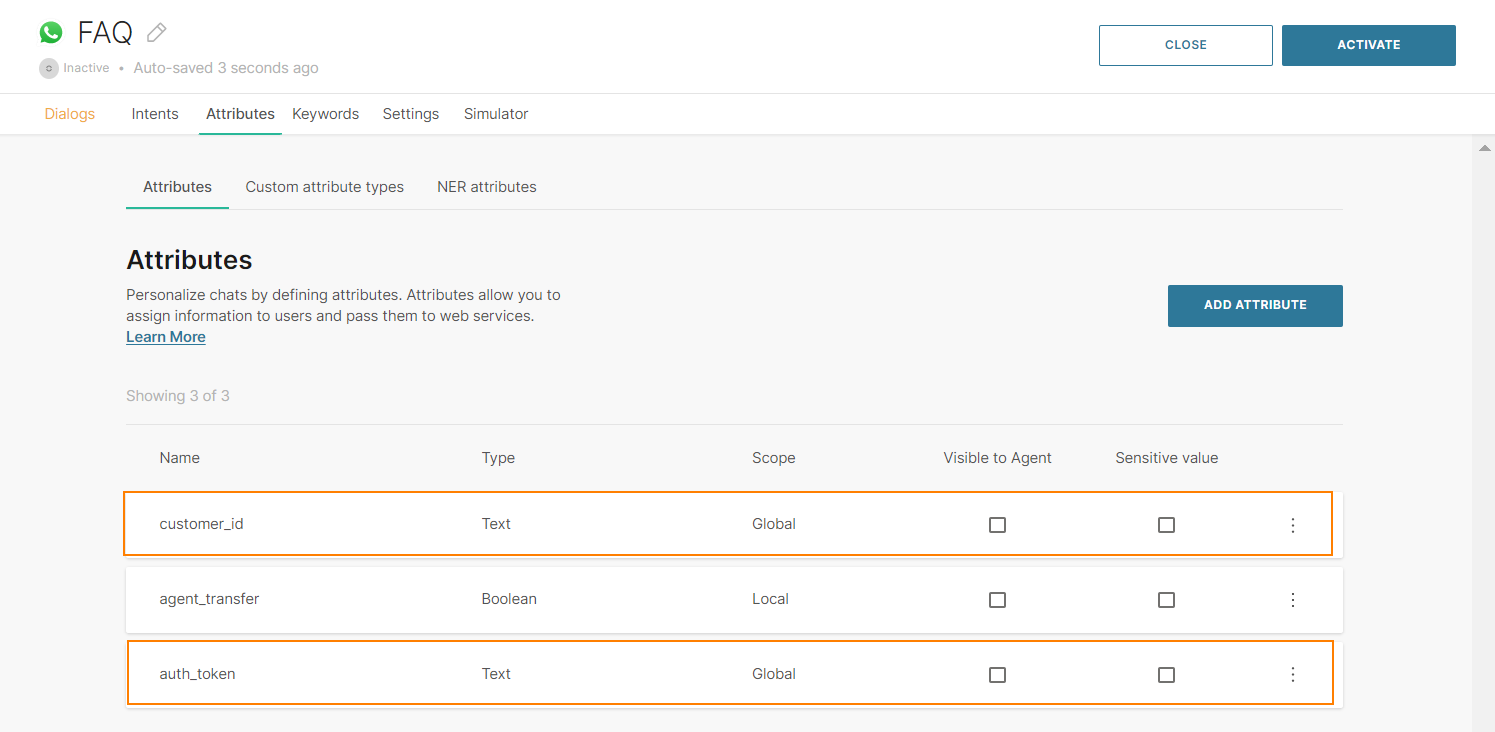
You need an attribute to receive the identification information from end users. When you connect to your database, you can use this attribute to compare ID records. You also need an attribute to store the response from the external database.
- Go to the Attributes tab.
- Create the customer_id attribute to store the credentials from the end user.
- Create the auth_token attribute to store the response from the database.
- Set the scope of both attributes to Chatbot because you will need them in multiple dialogs.
-
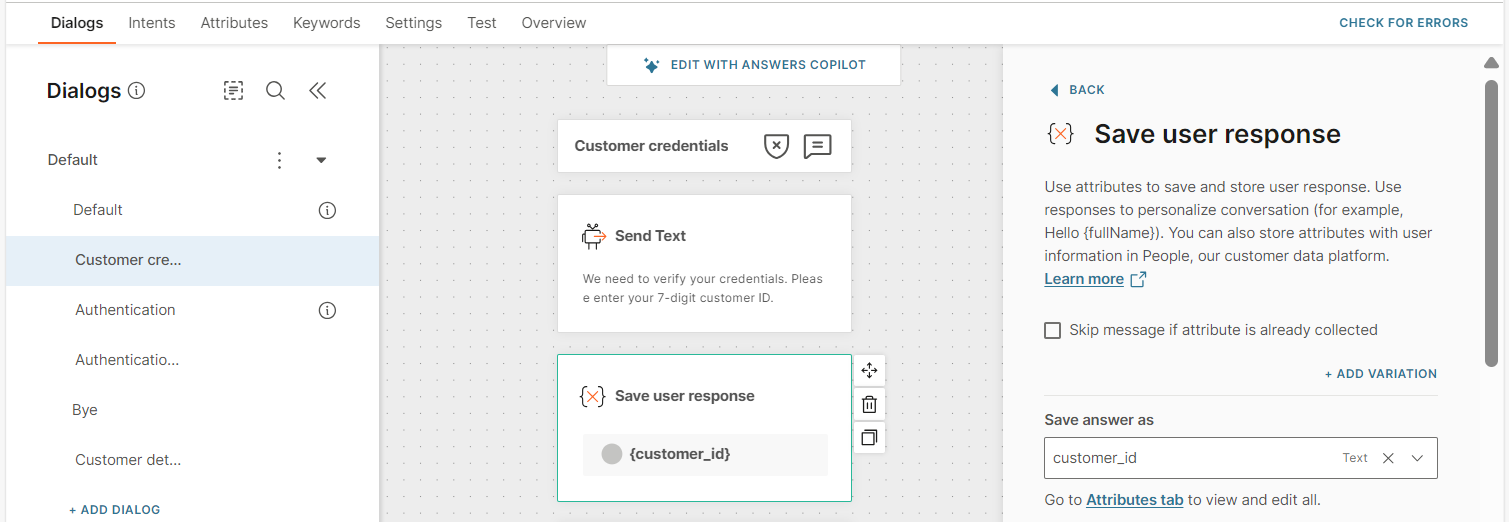
Create a dialog to obtain the credentials from the end user. Example: Customer credentials.
- Drag and drop the Attribute element to obtain the customer ID. Store the end user's response in the customer_id attribute.
- Drag and drop the To Dialog element under the Save user response element. After you set up an authenticated dialog, you can set the To Dialog element to that dialog.
- Drag and drop the Attribute element to obtain the customer ID. Store the end user's response in the customer_id attribute.
-
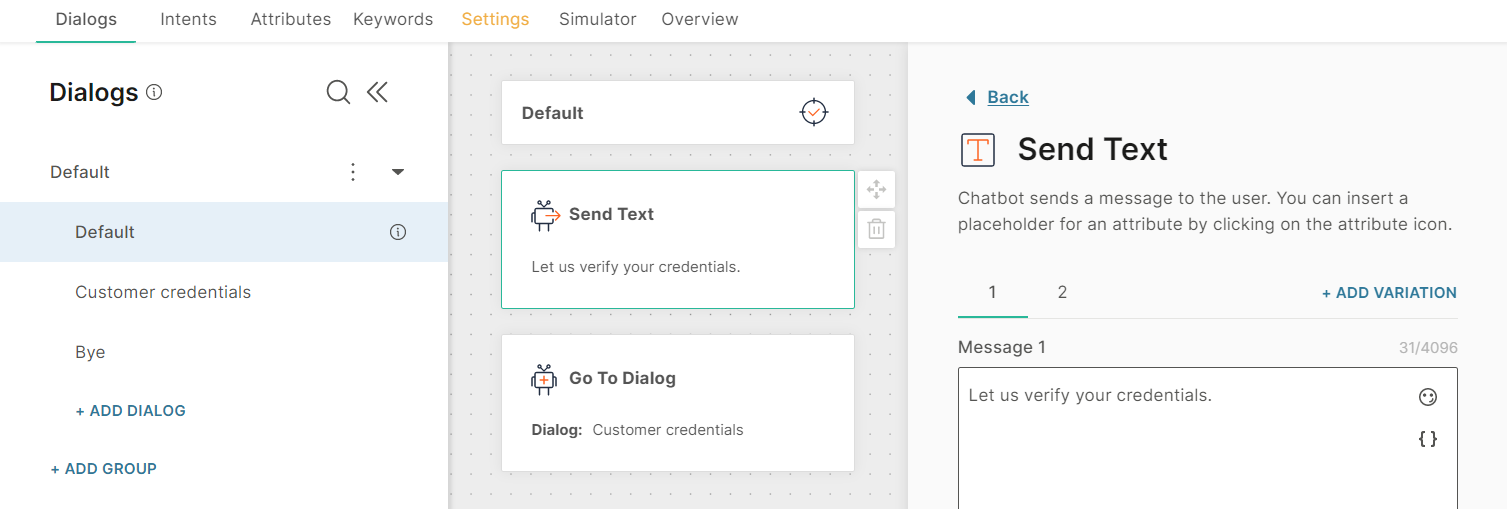
In the default dialog, route end users to the dialog in which you obtain credentials.
-
Create the authentication dialog.
- In the left pane, click Add Authentication Dialog. The Authentication dialog is created and contains the Authentication element.
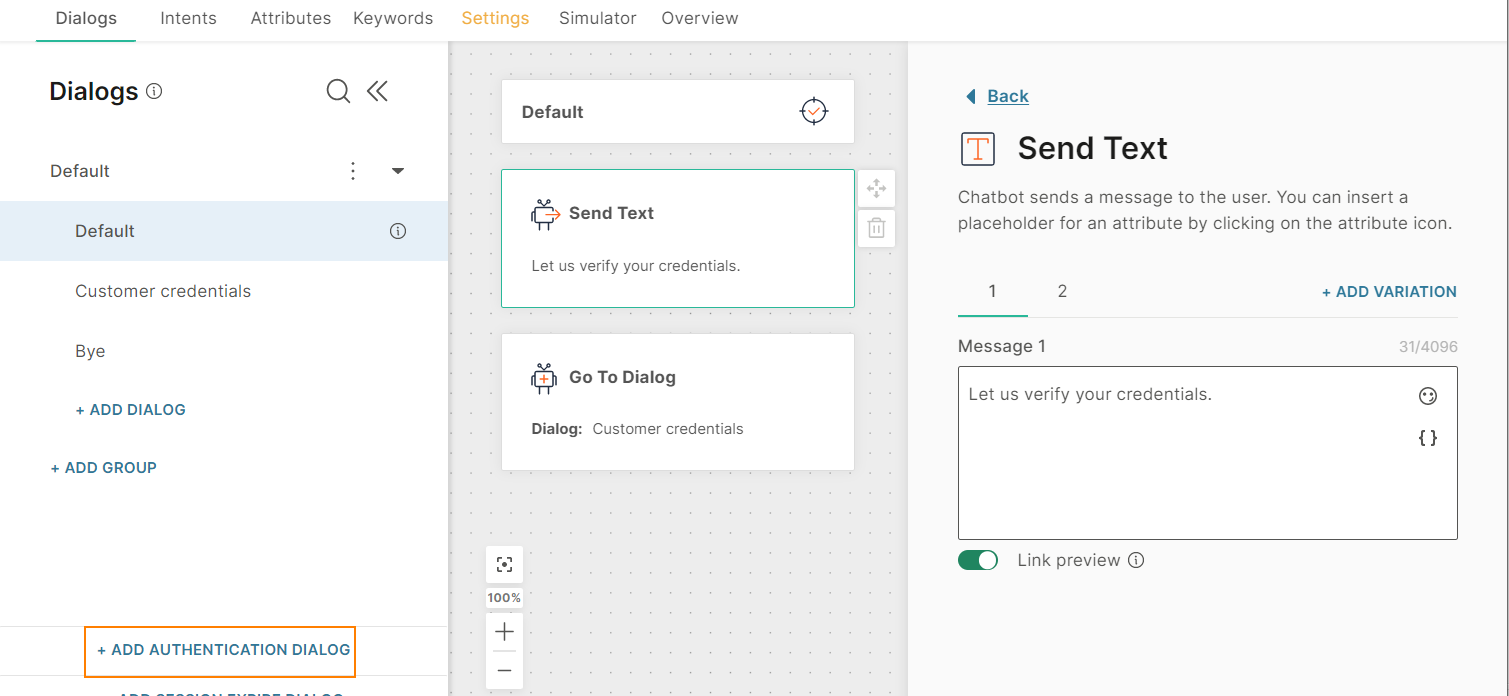
- Delete the Authentication element. In later steps, you can add it in the required location.
- In the left pane, click Add Authentication Dialog. The Authentication dialog is created and contains the Authentication element.
-
Connect to your customer database to verify whether the customer ID obtained from the end user matches the customer ID stored in the database.
- Drag and drop the API element. This element makes a call to the customer database.
- In the Headers section, include an authorization content type and set the value to the customer_id attribute.
The system uses a GET request to ask your database whether the customer ID is a match. A success or failure status code is returned and is saved in the auth_token attribute.
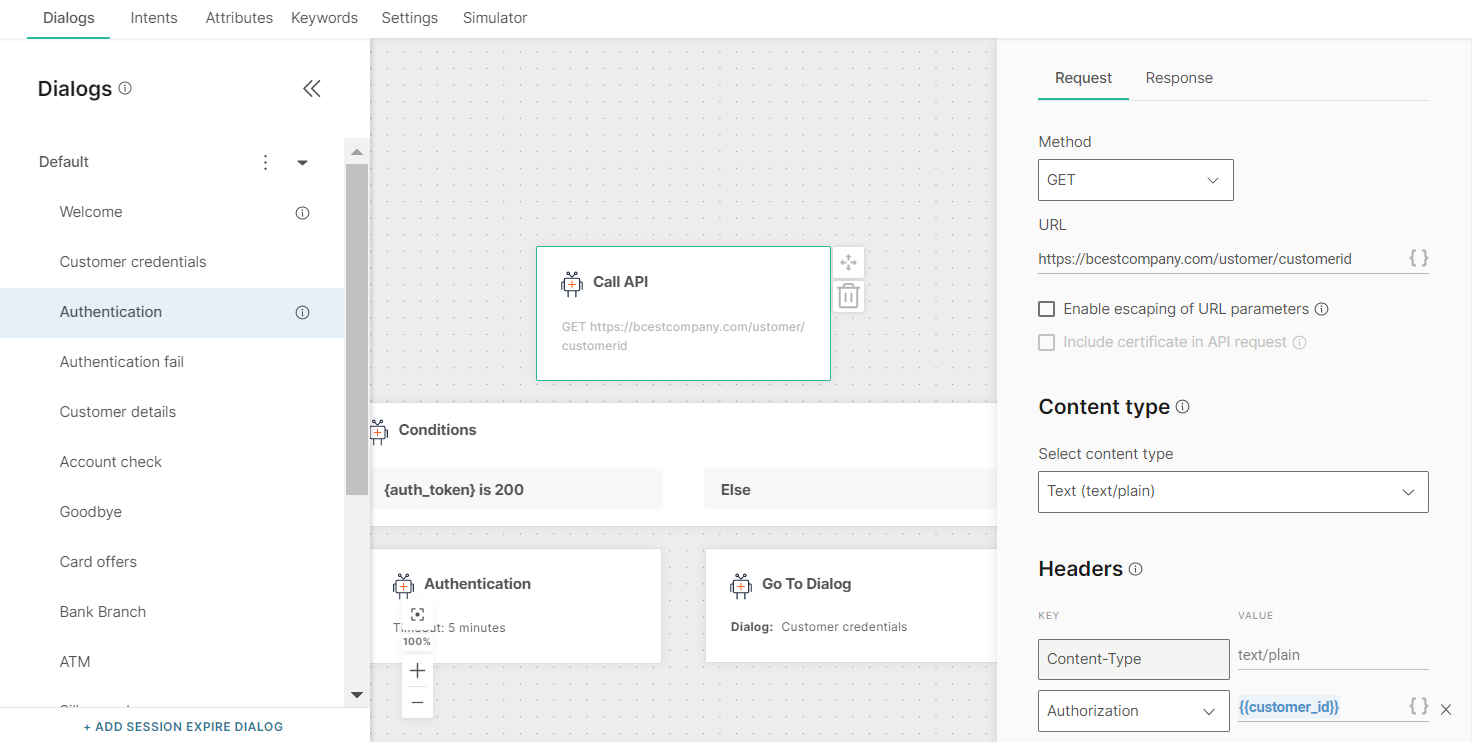
- Drag and drop the Conditions element to handle success and fail codes. If the status code is 200, it indicates that authentication succeeded. Otherwise, authentication failed.
- Under the success condition, add the Authentication element.
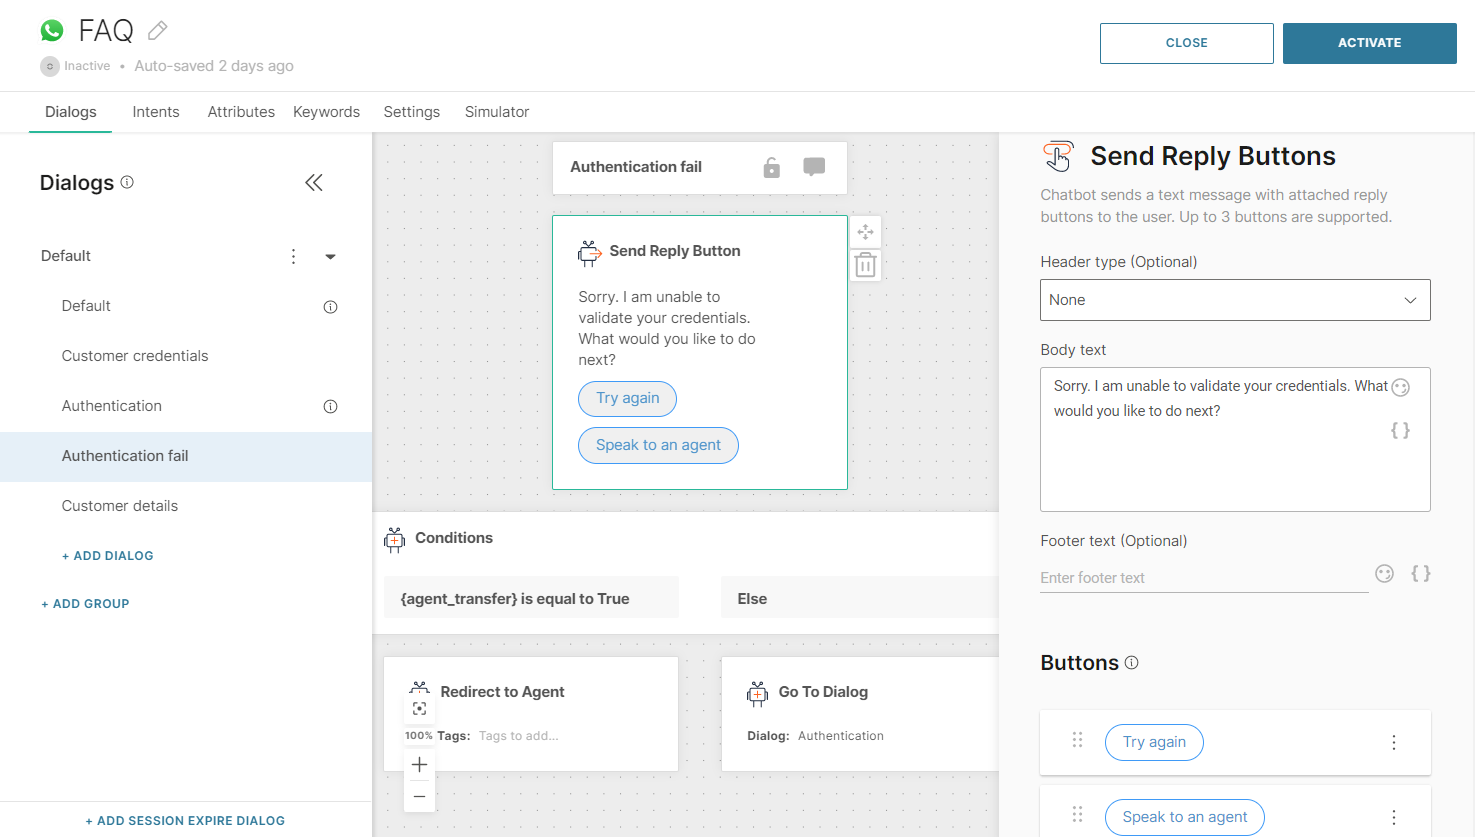
- Under the failure (Else) condition, route the flow to a dialog that guides the end user with the next steps. Example: Try again, speak to a human agent, or end chat.
-
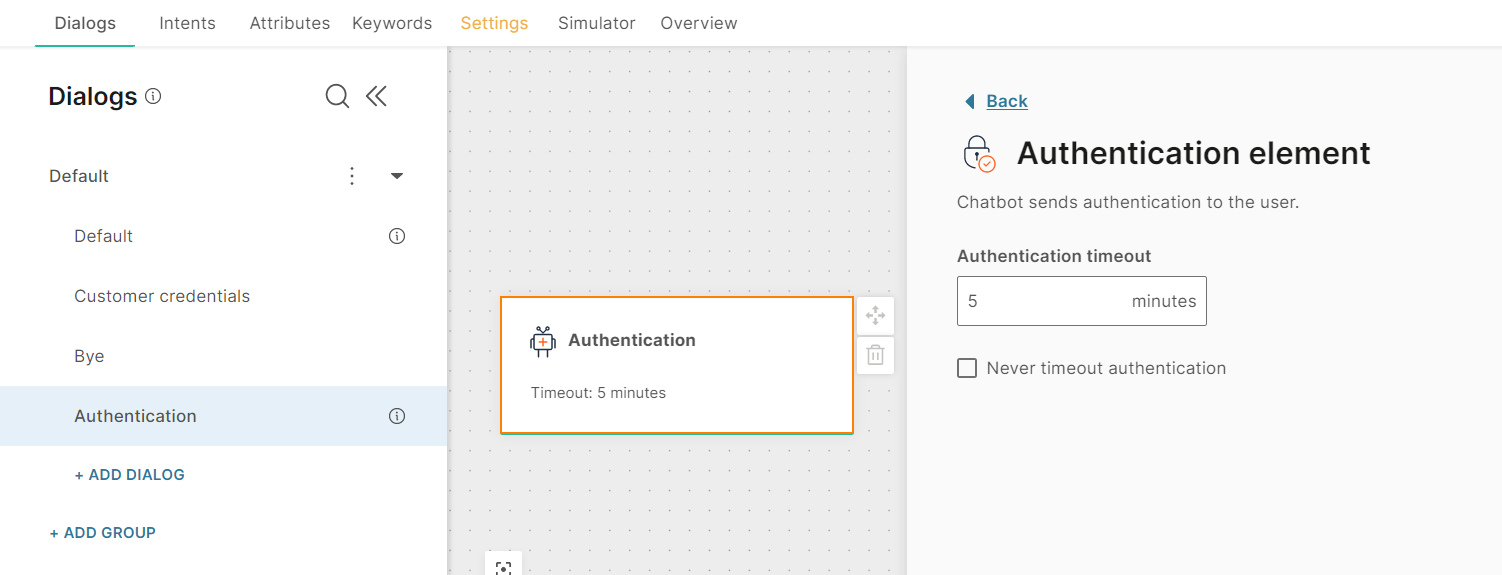
Configure authentication timeout settings. In the Authentication dialog > Authentication element, set the timeout in minutes. Alternatively, select Never timeout authentication.
The timeout starts from the time the end user authenticates. When the end user enters a dialog that is secured with authentication, the system checks to see whether the user is authenticated. The authentication status is saved as a Boolean value in the predefined attribute, authenticated.
If the timeout has lapsed, the end user needs to re-authenticate. No progress is lost in the process when users are required to reauthenticate.
-
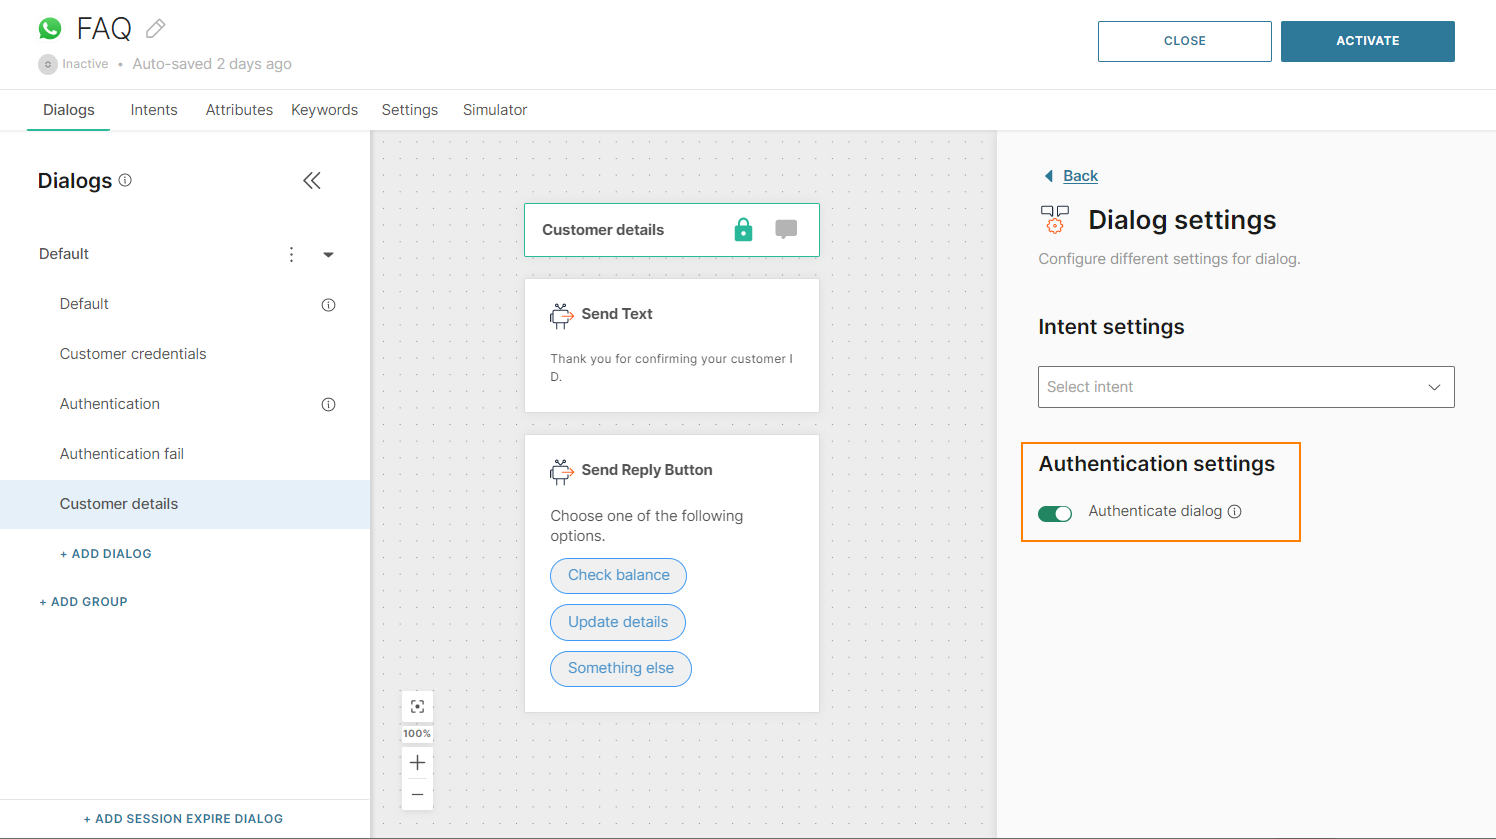
You can now secure dialogs with authentication. In the required dialog, use the lock icon to enable authentication. When the end user enters this dialog, they are redirected to the Authentication dialog, either to perform authentication or to check the status of the authenticated predefined attribute.
In the following image, the end user needs authentication when they enter the Customer details dialog. Only if the authentication succeeds, the flow within the dialog, starting with the text message, takes place.You cannot add authentication to the default dialog. For this dialog, use the To dialog element to redirect the end user to an authenticated dialog.
Warning: If you disable authentication for a dialog, the authentication process is not carried out when the end user enters the dialog.
For authenticated dialogs, set up alternative chatbot actions in case end users are unable to authenticate. Example: Offer them the option to speak to an agent or direct them to another dialog that can help them.