Agent guide: Get started
This guide will help you set up your agent workspace and learn the basics of managing customer interactions. Follow these steps to configure your environment and start handling conversations.
Enable notifications
Notifications help you stay informed about new messages and conversation assignments. You can configure both browser notifications and sound alerts.
Browser notifications setup [#browser-notifications-setup-enable-notifications]
To receive notifications in the Infobip web interface, you need to grant permissions to the browser.
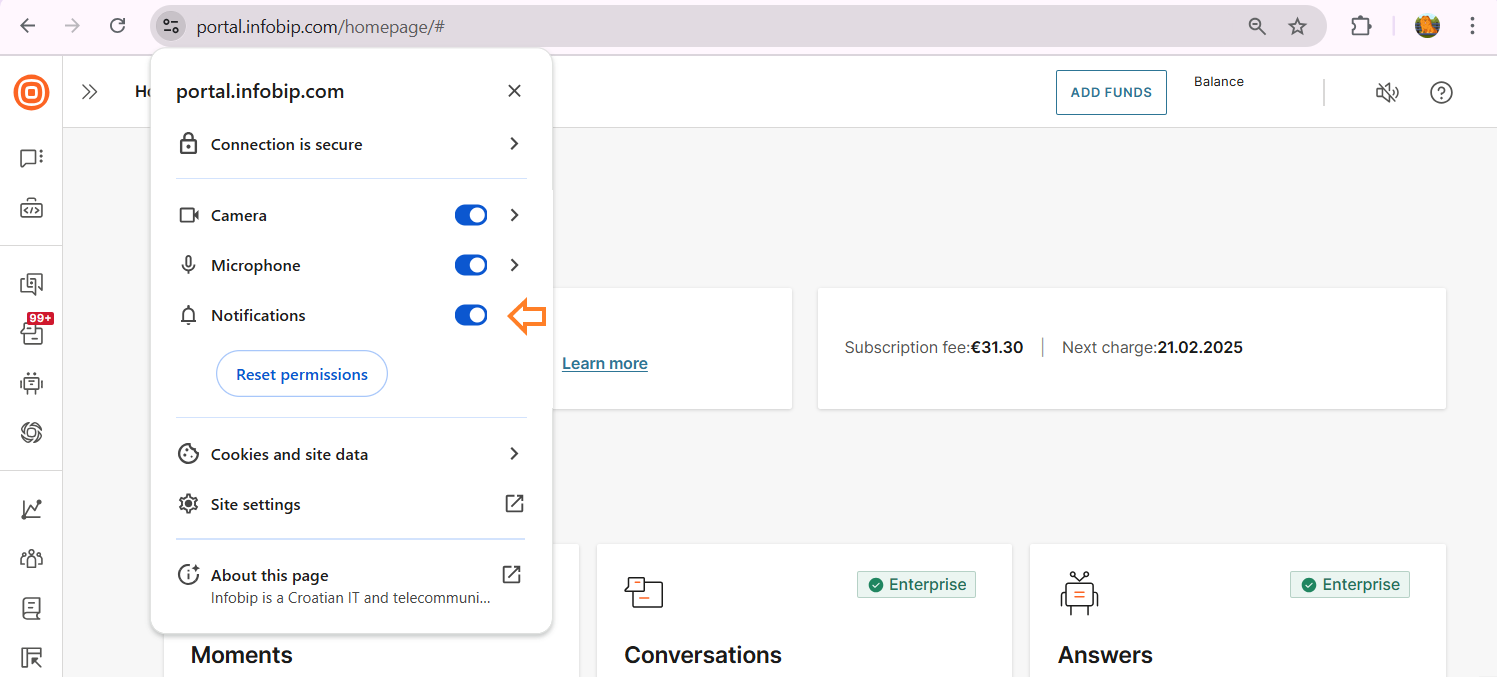
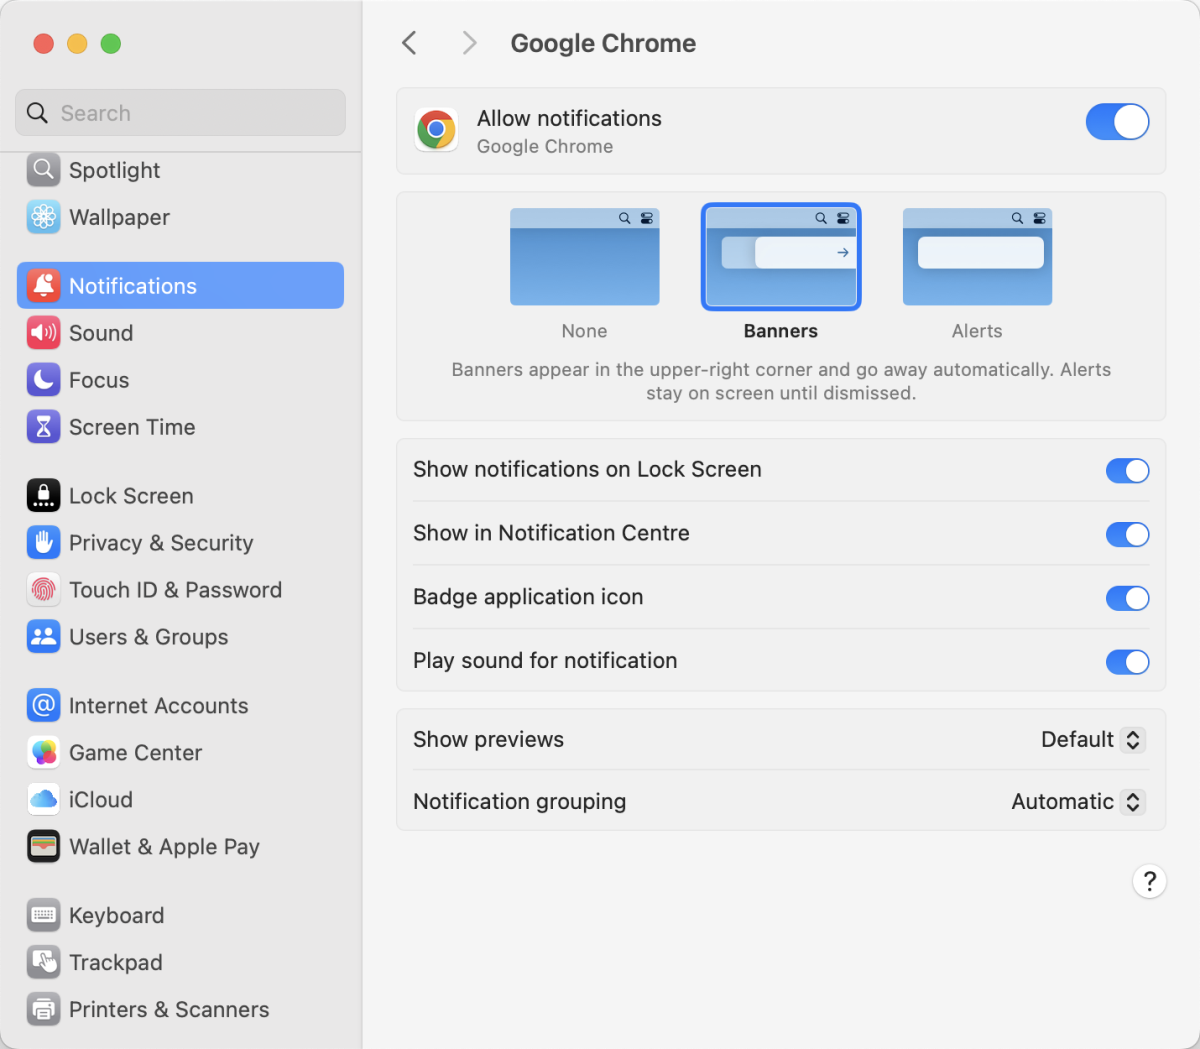
- For Google Chrome, when prompted or by clicking the View site information icon next to the URL field, toggle the Notifications option to enable notifications.
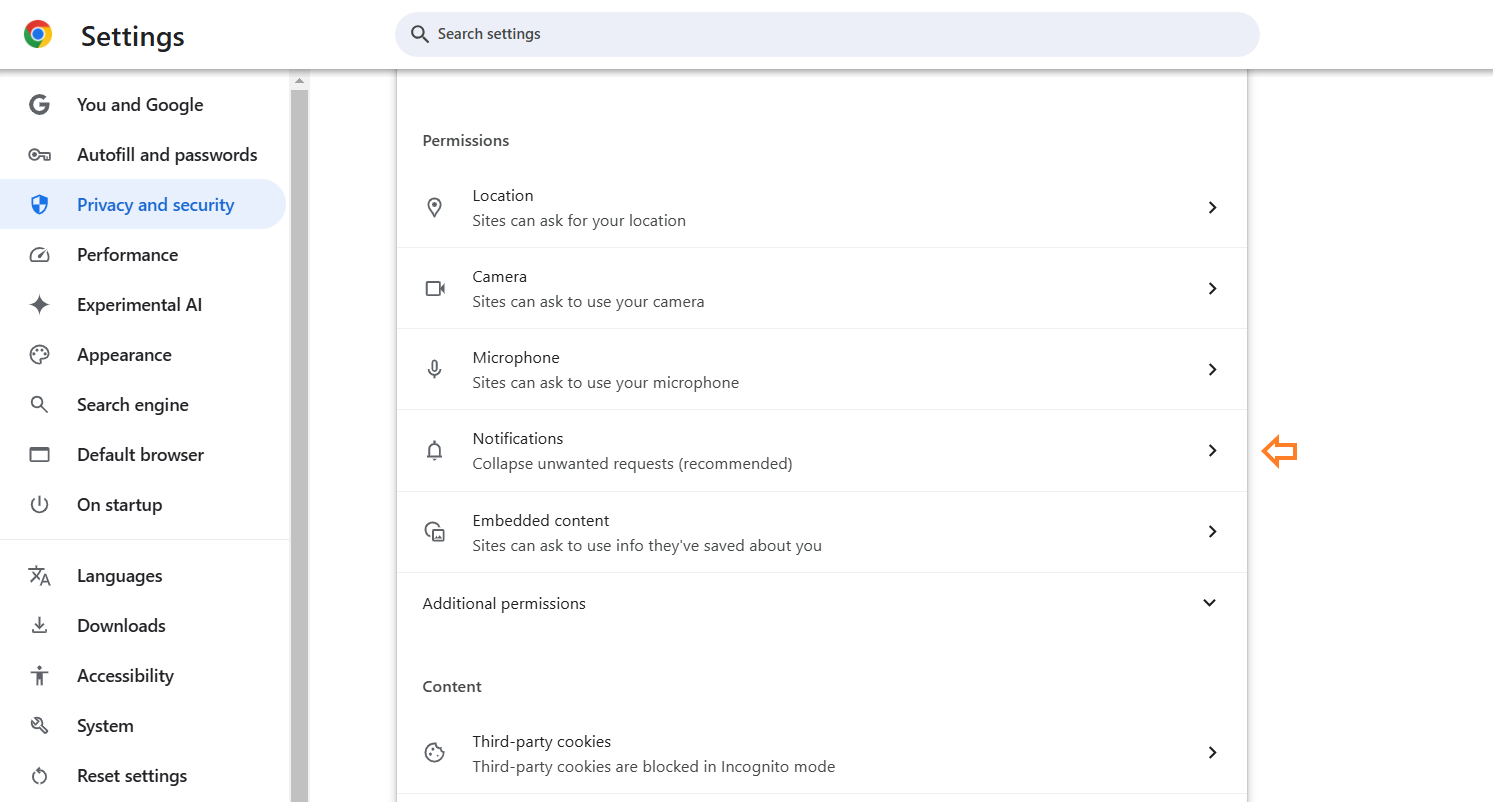
- After this, go to Google Chrome Settings → Privacy and security → select Notifications.
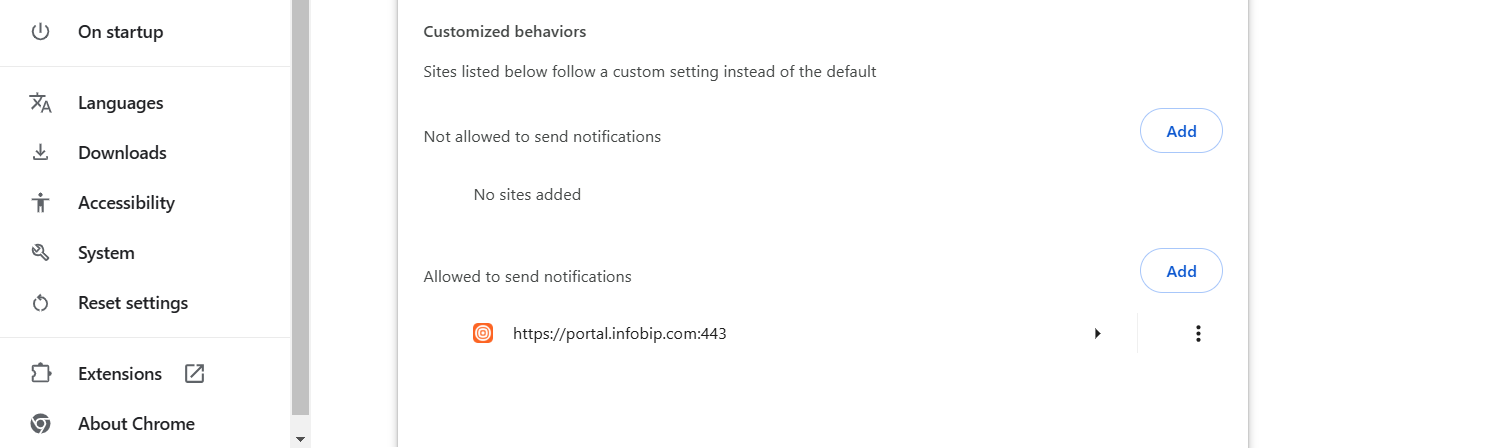
- Scroll down to the Customized behaviors → Allowed to send notifications, and make sure that the Infobip website is listed there.
For other browsers, check out the following:
If you have your Infobip account tab or window active, notifications will not appear to prevent spam. However, if the tab or window is hidden, notifications will be displayed. For example, if your Infobip account window is open and visible, notifications will not appear.
Enable notifications on your PC [#enable-notifications-on-your-pc-enable-notifications]
Windows
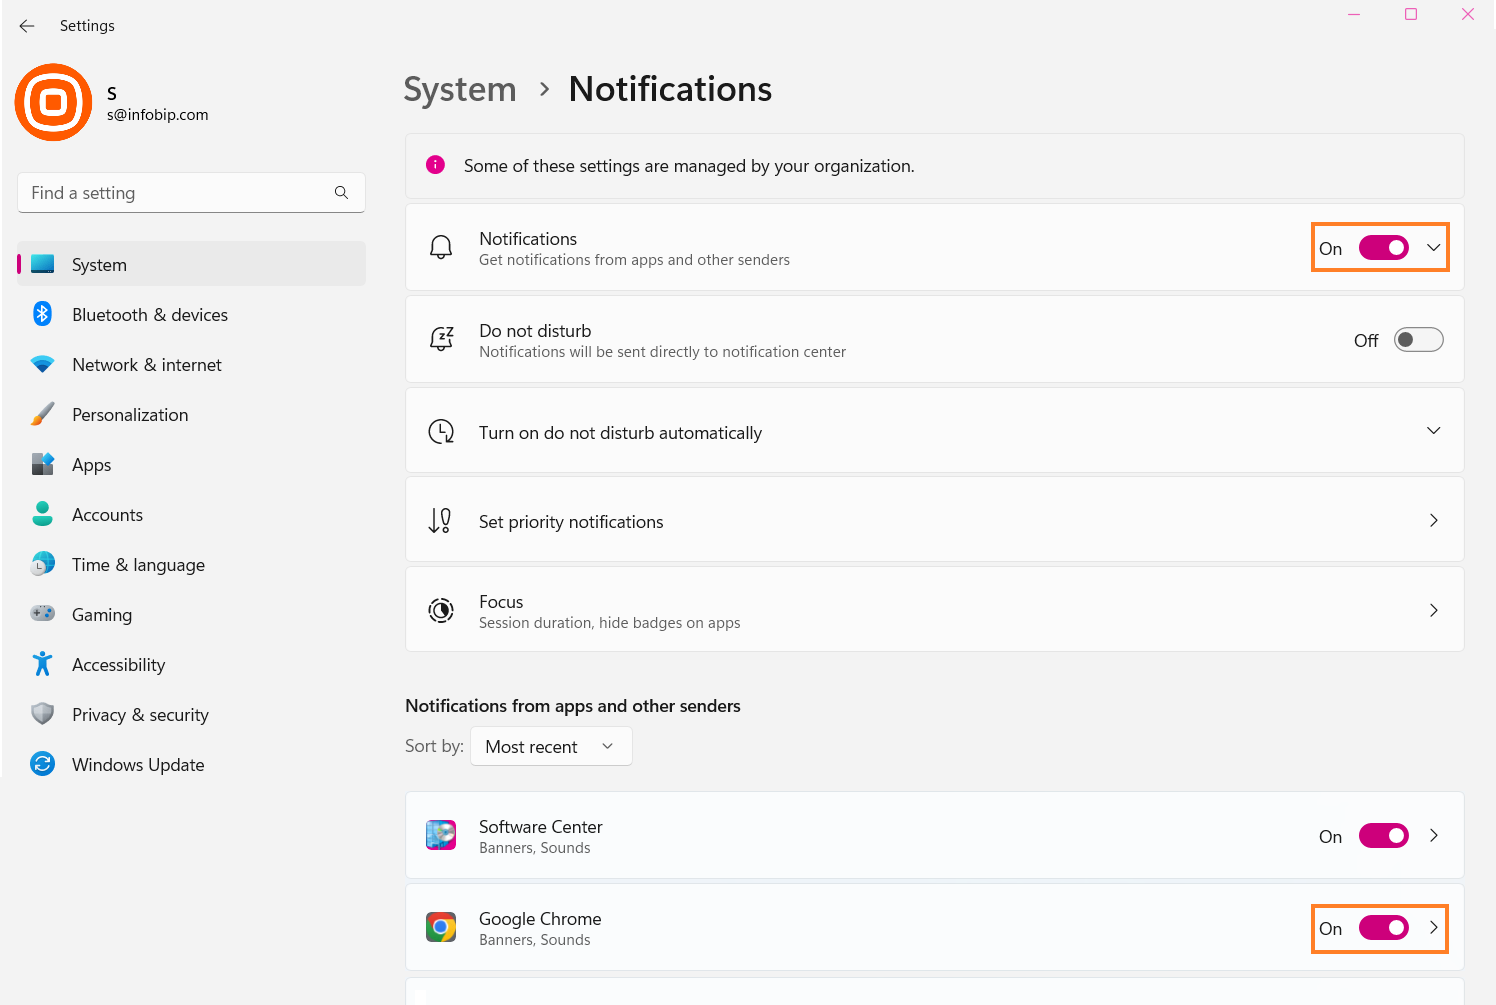
For Windows, check if notifications are enabled on your PC:
- Go to System → Notifications and ensure they are turned on.
- Then, under Notifications from apps and other senders, locate the browser you are using and enable the toggle next to it.
- The Do not disturb and Focus assist settings need to be turned off because it will most certainly impact notifications.
Mac
For Mac:
- Choose Apple menu → System Settings → Notifications.
- Ensure the options are turned on.
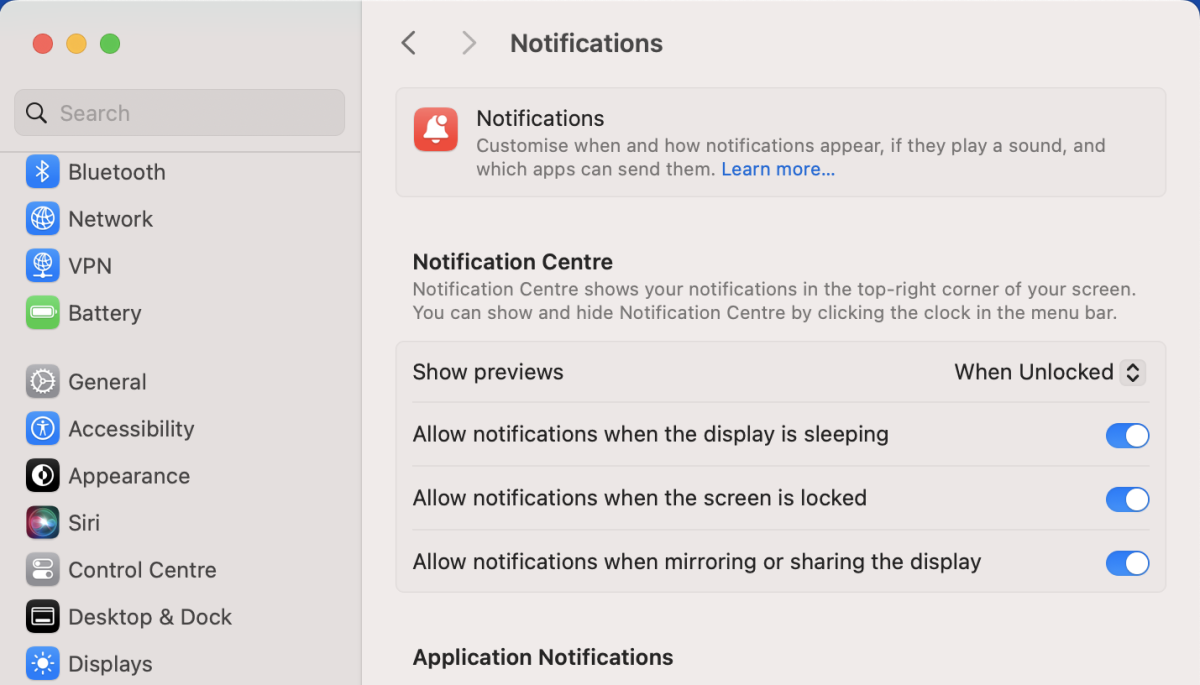
- Then, scroll down to Application Notifications, find the browser you are using, and enable its notification settings.
Sound notifications [#sound-notifications-enable-notifications]
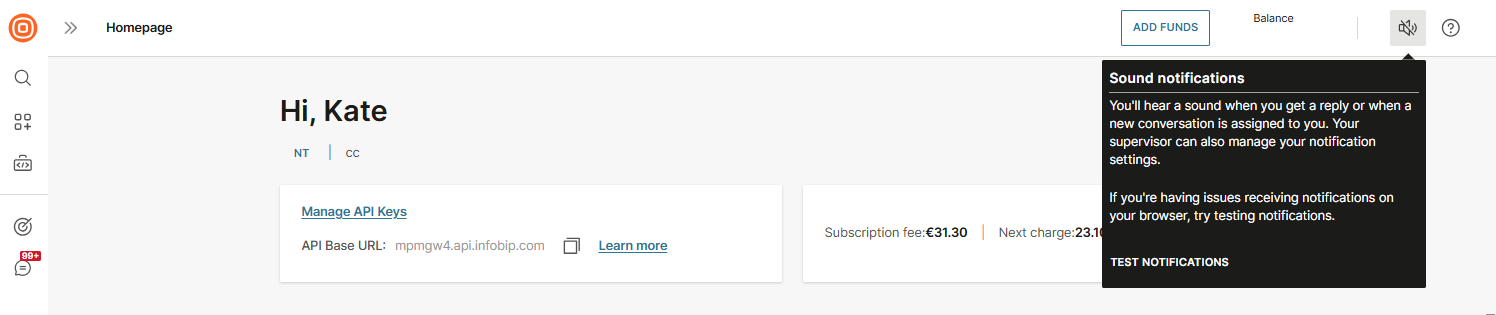
To configure sound notifications on the web interface, click the speaker icon 🔊 located in the upper right corner. This allows you to toggle sound notifications on or off for incoming replies or newly assigned conversations.
If you are experiencing issues with browser notifications, you can test them by selecting the Test Notifications button.
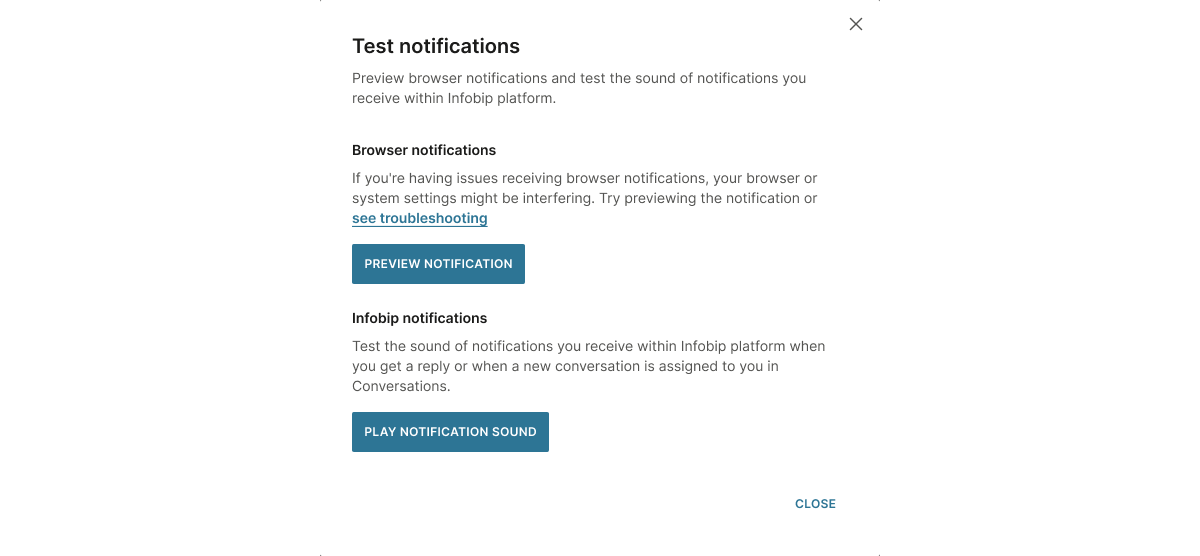
In the Test notifications pop-up, you can preview browser notifications and play notification sounds you receive within the Infobip platform.
To test browser notifications:
- Click the Preview Notifications button. This will trigger a browser pop-up requesting permission to allow notifications.
- If the button is disabled, you may have previously blocked notifications in your browser settings.
- To enable them, go to your browser's site settings and allow notifications.
You can also test the notification sound within the Infobip platform for incoming replies or newly assigned conversations:
- Click the Play Notification Sound button to hear it.
- If the button is disabled, check if your sound is muted and turn it on to play the notification.
Enable dark mode
Dark mode reduces eye strain and provides a more comfortable viewing experience for agents working in low-light environments.
To enable dark mode:
- Select the sun icon ☼ in the upper right corner of the agent panel.
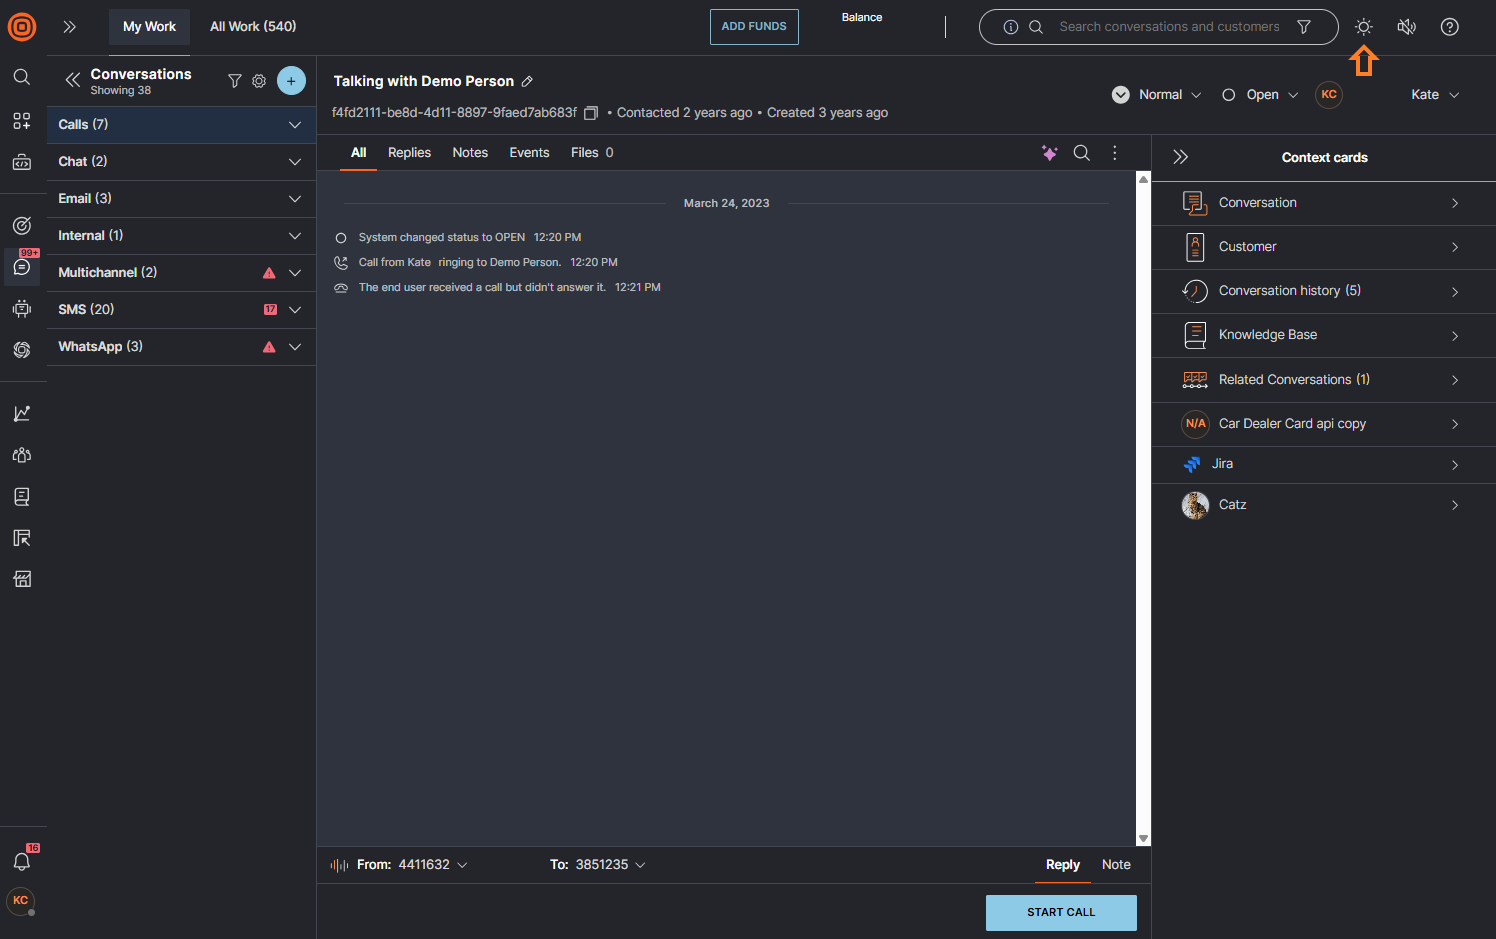
- To switch back to light mode, select the moon icon ☾ in the upper right corner.
When you enable dark mode, the entire agent panel changes, including:
- All Work (all tabs, cards, and modals)
- My Work (all tabs, cards, and modals)
Your dark mode preference is stored in local storage. This means:
- Switching to other parts of the web interface (which remain in light mode) will not change your Conversations settings.
- Your preference persists across sessions. Refreshing the page or logging in again will not reset it.
- Your setting remains until you change it or clear your browser cookies.
Set your agent status
To broadcast your availability, you need to set yourself to one of the applicable statuses.
To set your status:
- Go to the account settings in the bottom left corner.
- Below your name, you can set your status using the drop-down arrow.
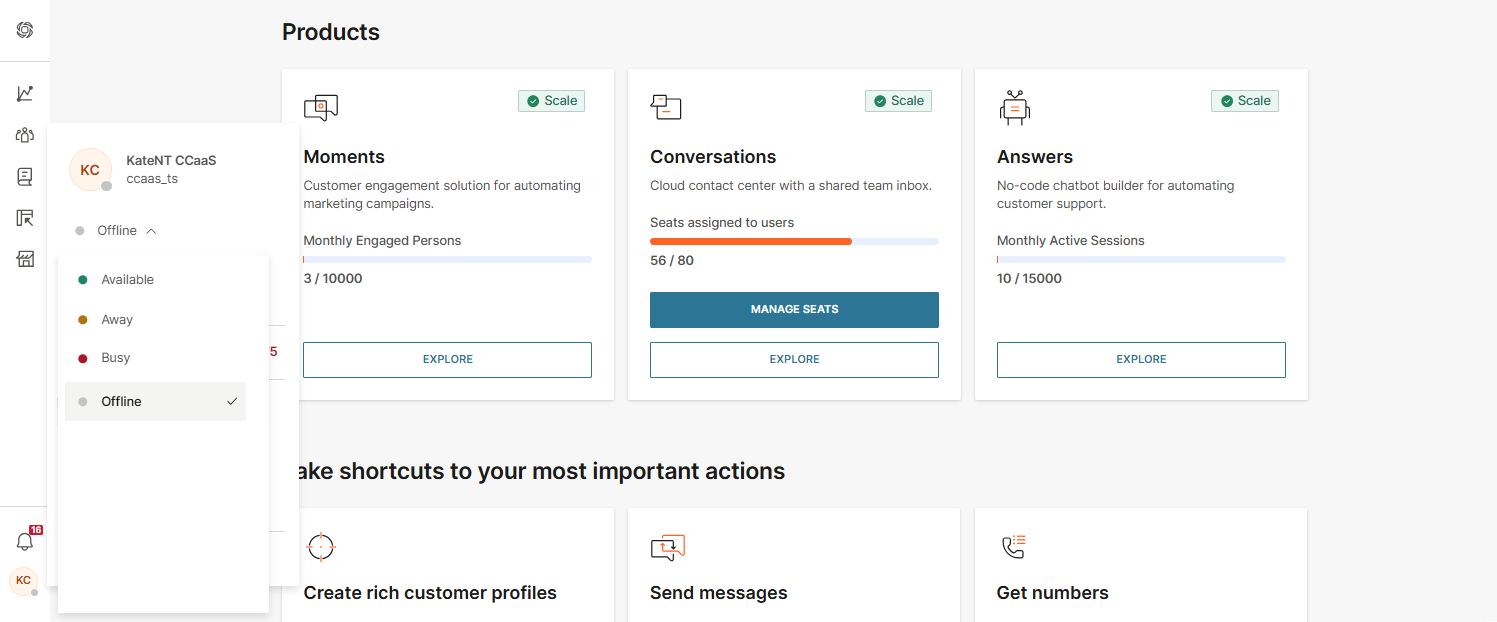
Agent statuses can be of 2 types based on their activity or workload:
- Default (Available, Busy, Away, and Offline)
- Custom (Idle, Under capacity, Ringing, and more)
Refer to the table below for more info.
| Available | Available | Agents are signed in and available to take on new conversations. |
|---|---|---|
| Idle | Agents are automatically set to this status when they do not have assigned conversations. | |
| Under capacity | Agents are automatically set to this status when they can take on more conversations than they have assigned to them. | |
| Busy | Busy | Agents are busy and cannot receive new conversations. |
| Full capacity | Agents are automatically set to this status when their workload is equal to their capacity. | |
| In a call | Agents are automatically set to this status when they are on a call. | |
| Ringing | Agents are automatically set to this status when they are receiving a call. | |
| Wrap-up | Agents are automatically set to this status when they are wrapping up a call. | |
| Away | Away | Agents are logged in but not available to receive conversations. Mostly used for short breaks. |
| Offline | Offline | Agents are signed out. |
Supervisors can set custom statuses based on their contact center setup and needs so you may see other statuses than the 4 main ones mentioned above.
Activity monitoring [#activity-monitoring-set-your-agent-status]
It is crucial that you are in the status you set yourself to. Your activity is monitored within the system.
If you set yourself as Available, but the system notices there is no activity in your browser (or the browser is closed), the system will automatically log you out to prevent further conversations assigned to you and inaccurate time tracking on Agent Utilization.
Make sure to end your shift by setting your status to Offline and log out. Otherwise, you will remain in your current status while being logged off.
Next steps
Now that you have configured your workspace, you are ready to start managing conversations.
Here is what to explore next:
- Workspace overview - Learn about My Work and All Work panels
- Manage conversations - Create, assign, and manage conversations
- Communicate with customers - Send messages and make calls