Service quality
Service quality settings help you observe, measure, and improve how conversations are handled in your contact center.
Key aspects include:
- Monitoring and enforcing service standards - define or enforce service-level expectations and performance metrics to maintain a consistent customer experience.
- Collecting customer feedback and insights - gather opinions and measure satisfaction to improve service based on direct input.
- Improving customer experience - enhance conversation quality and ensure better interactions that shape how customers perceive your service.
Service quality settings include tools such as:
- Tags for categorization
- Sentiment analysis to gauge customer tone
- Waiting strategies to manage response times
- Surveys to collect customer feedback
- SLAs to ensure timely resolution
Together, these features give supervisors visibility into performance and customer satisfaction.
To configure these settings, log in to your Infobip account and go to Conversations → Settings → Service quality.
See the sections below for details on each Service quality setting.
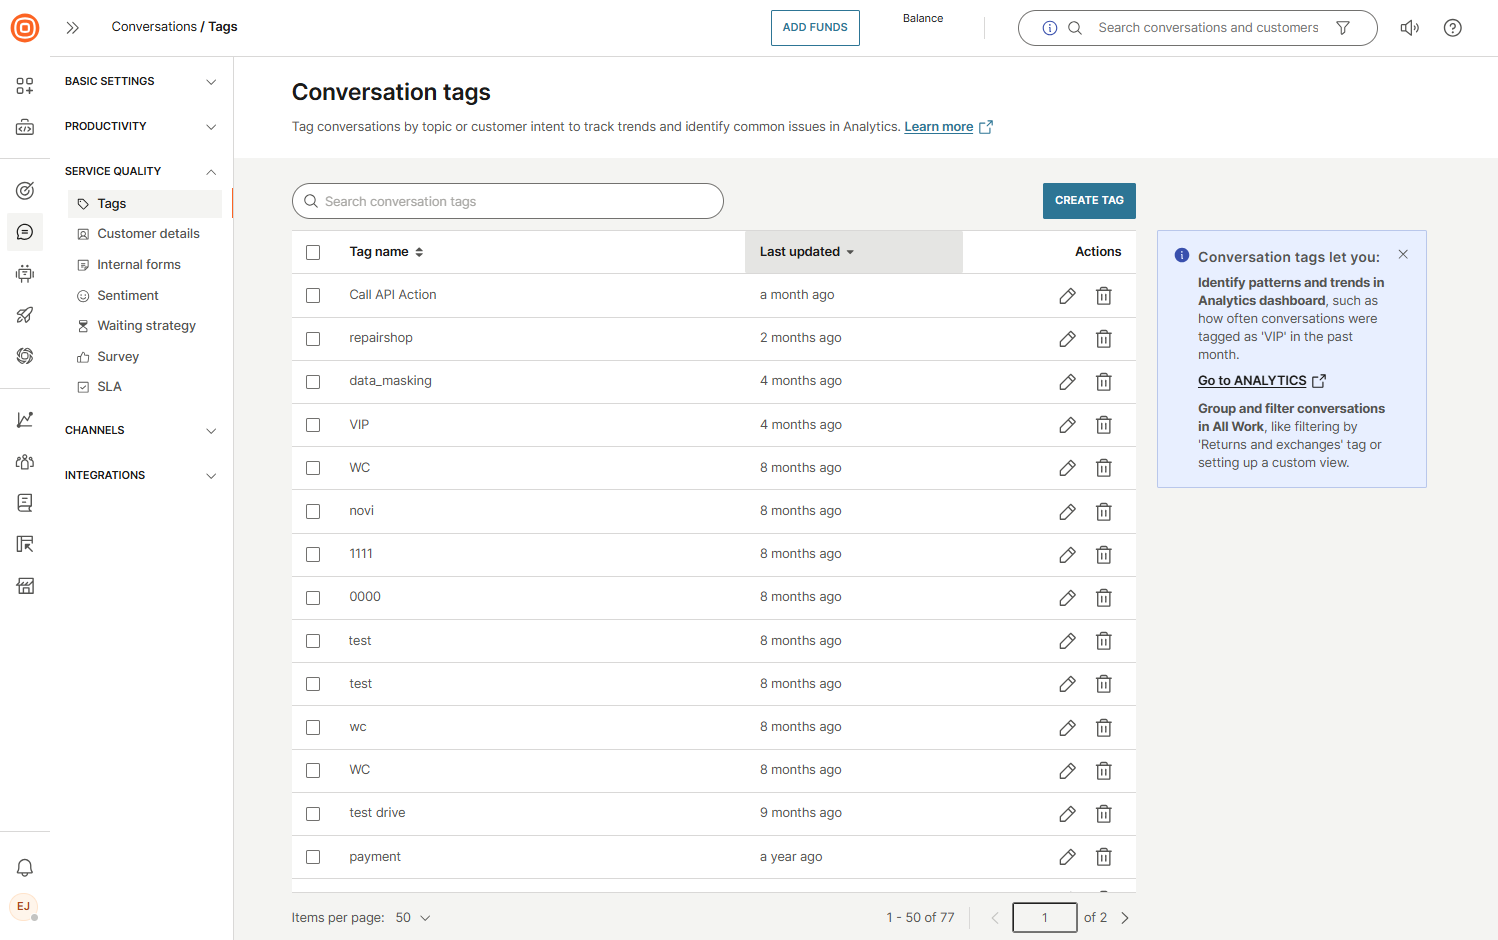
Tags
Tags can be assigned to conversations to better categorize and label conversations by topics or customer intent. Tags are linked to the dashboard, enabling supervisors to analyze conversation volumes by specific tags, track trends, and identify common issues in Analytics. Additionally, you can group and filter conversations in All Work.
You can search for specific conversation tags, edit or delete existing tags, or create new ones by going to Conversations → Settings → Service quality → Tags.
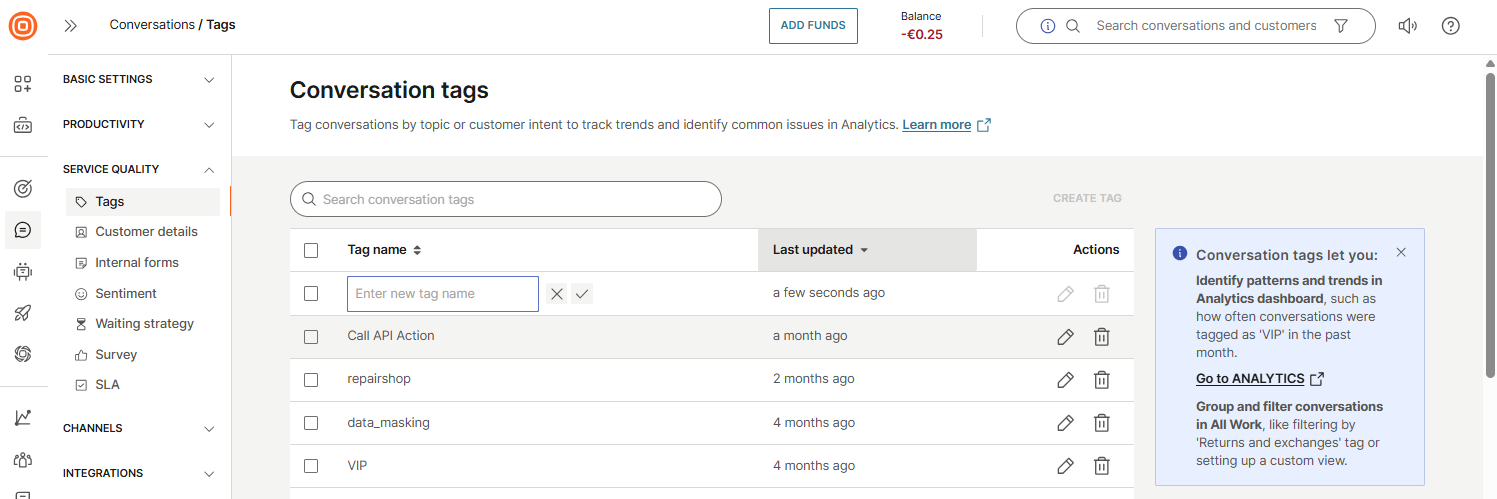
Create conversation tag [#create-conversation-tag-tags]
To create a new conversation tag, select the Create tag button, enter the tag name, and click the check mark to save the new tag.
Edit or delete conversation tag [#edit-or-delete-conversation-tag-tags]
To edit or delete a tag, select the appropriate option in the Actions column. Additionally, to delete multiple tags, select the box next to each tag name, click the trash bin icon, and confirm the action by selecting the Delete button.

Customer details
A conversation is built on the exchange of messages between participants (customer and agents). Customers can be either known or unknown.
- A known customer is one whose contact number is linked to a profile in People.
- For known customers, agents can see default attributes in the right-side panel, such as:
- Customer name - associated with the destination number/ID in People
- Gender - if defined in People
- City - if defined in People
- Country - if defined in People
Agents can open the view and edit link in People to see more details or update customer attributes (for example, change name, add destinations, assign tags).
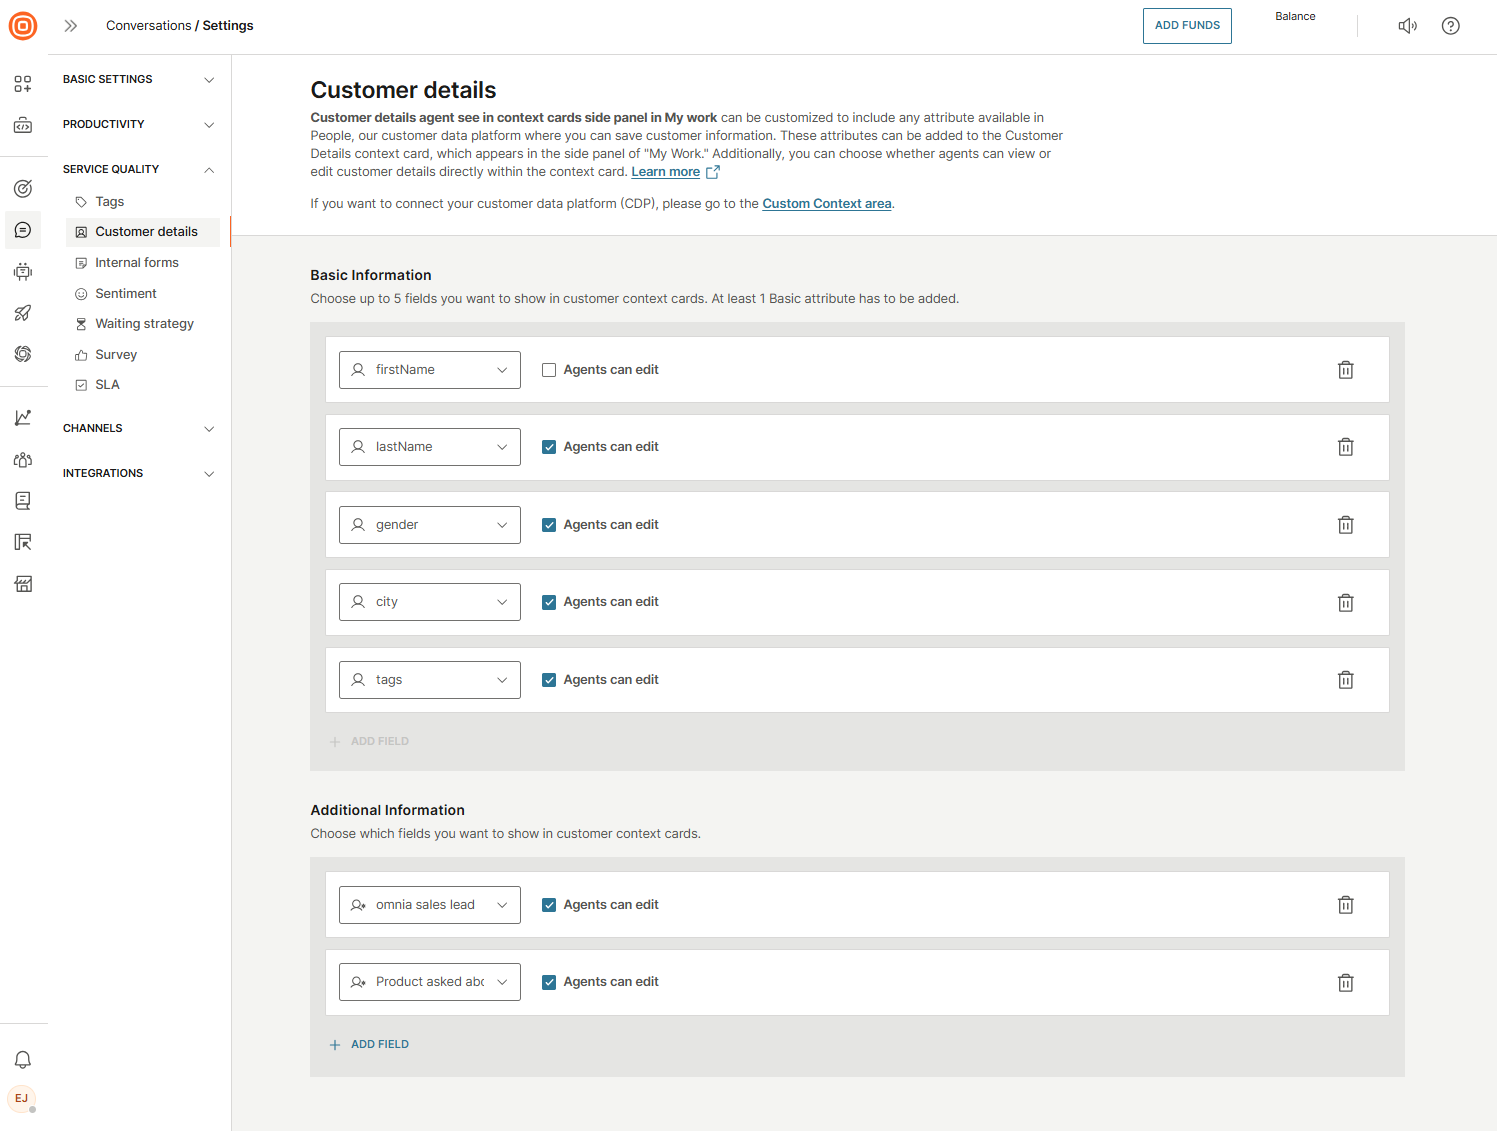
Configure customer details [#configure-customer-details-customer-details]
You can configure which attributes are visible in the agent panel under Conversations → Settings → Service quality → Customer details:
- Any attribute available in People can be added to the Customer details context card.
- You can choose whether agents can view or edit attributes directly in the card.
- A maximum of 5 basic attributes can be shown immediately.
- An unlimited number of additional attributes can be added, hidden behind a See more option.
- Attributes appear in the order defined in the Conversations configuration, which can be updated at any time.
Even if attributes are not configured in the context card, agents can still edit customer details directly in People.
Conversation history [#conversation-history-customer-details]
The customer details card also includes the conversation history - all open and closed conversations linked to a unique customer.
- If a conversation is linked to the wrong customer, agents can use the Unlink option.
- If a conversation was mistakenly assigned to an unknown customer, agents can re-link it to an existing known customer in People. Once linked, the correct customer details will be displayed.
Internal forms
Internal forms are fully customizable forms that agents can assign to conversations across digital channels, calls, and social media. They help capture structured information based on conversation parameters, which can later be used for analysis and re-engagement.
Form fields can be used later for filtering conversations in All Work and in Reports.
- All inputs remain stored in the background, and removing a field from a form only hides it. The stored values are still available for filtering or analysis.
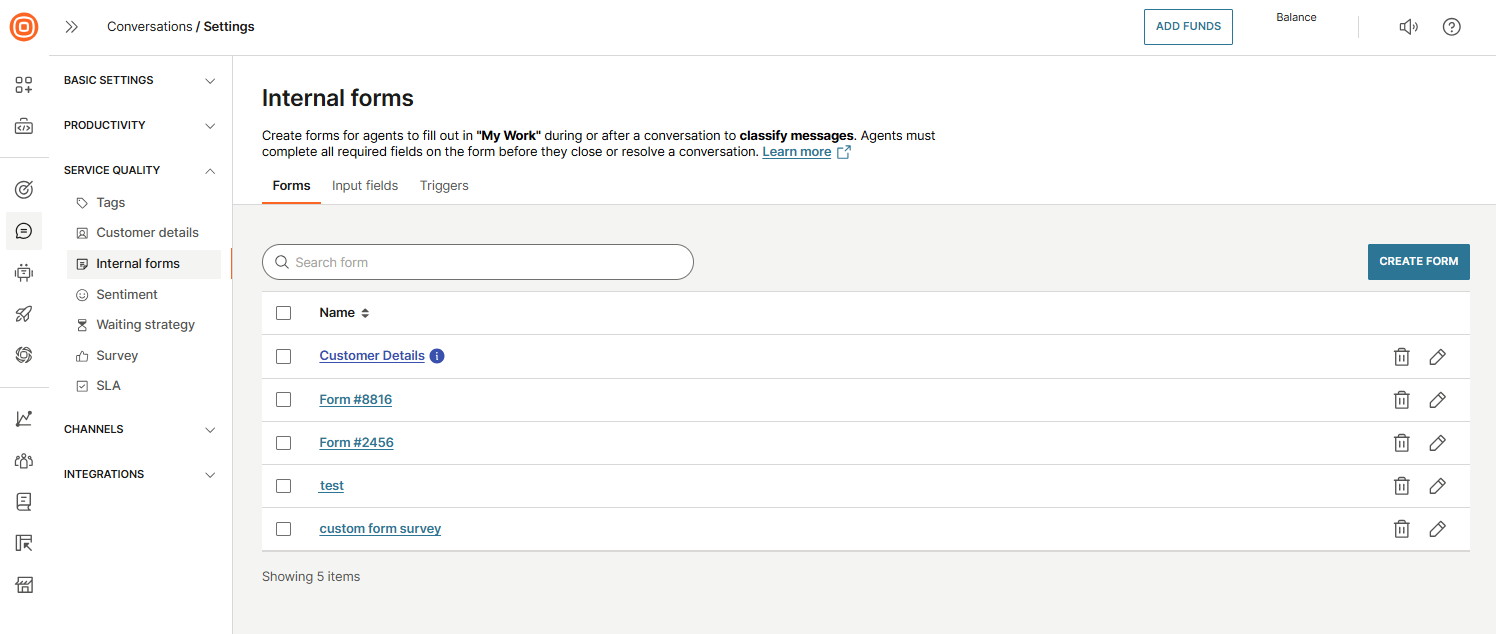
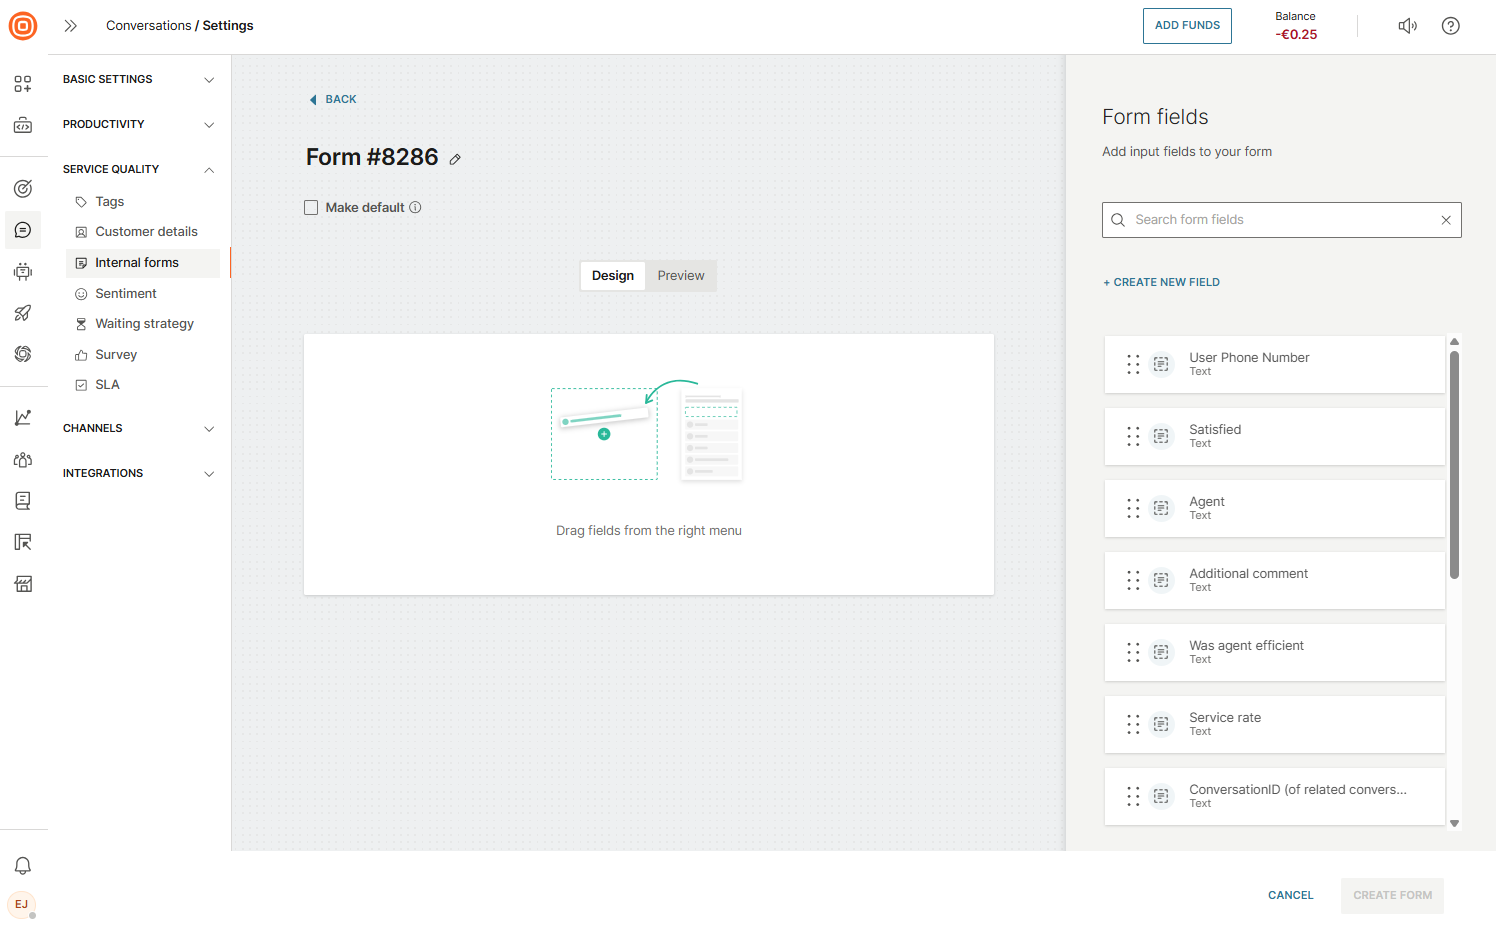
Create internal form [#create-internal-forms-internal-forms]
To create an internal form:
- Go to Conversations → Settings → Service quality → Internal forms → Create form.
- Add the created input fields to your form by dragging and dropping them from the side menu:
- Mandatory inputs: If an input is marked as required, agents must fill it in before they can mark the conversation as Solved or Closed.
- Conditional inputs: You can configure fields to appear only when a specific condition is met (for example, if another field is set to a certain value). Conditional inputs can also be required.
- Reusing conditional fields: The same conditional input field can be added multiple times in the configuration, but it will only be shown once in the form. Standard inputs cannot be repeated.
- Once you add the necessary input fields, select Create form.
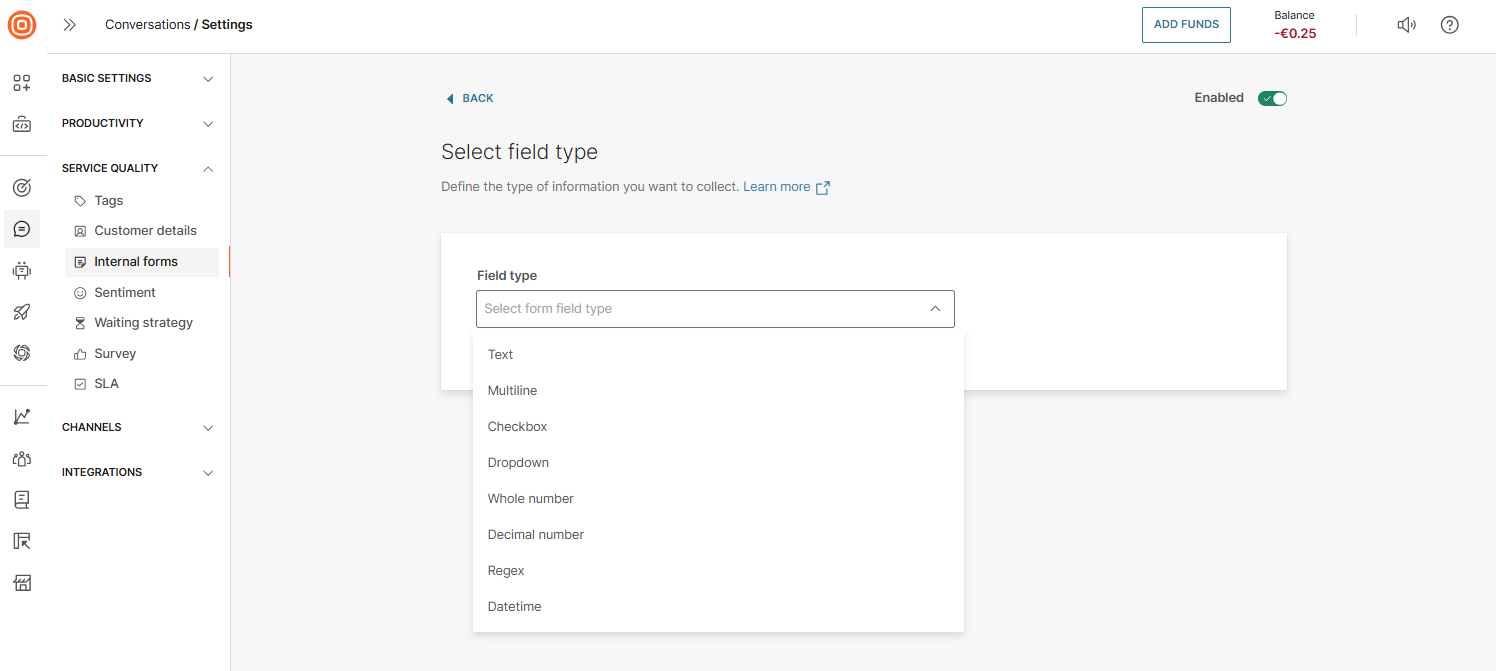
Input fields [#input-fields-internal-forms]
In the Input fields tab, you can create various input fields by going to Conversations → Settings → Service quality → Internal forms → Input fields → Create input field.
Once there, define the type of information you want to collect.
- Text - Simple single-line text input
- Multi-line - For longer text entries
- Checkbox - Allows multiple selections
- Dropdown - Supports multiple levels of hierarchy
- Example: Clothing → Shirts creates a dropdown with "Clothing" as the main option and "Shirts" as a sub-value
- Whole number - Accepts only integers
- Decimal number - Accepts decimal values
- Regex - Textual input restricted by regular expressions (for example, allow only numeric input)
- Datetime - Captures date and time inputs
- Per conversation: You can assign up to 500 input fields.
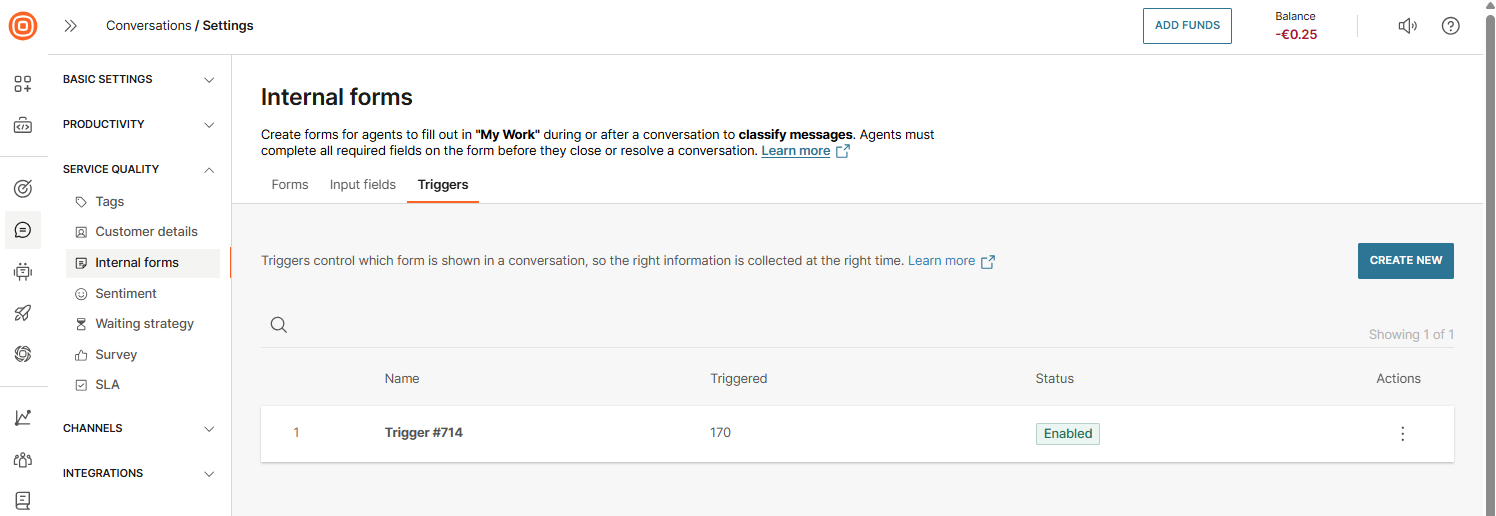
Triggers [#triggers-internal-forms]
After building the form, set triggers to define which conversations will display it. The triggering mechanism works the same way as routing. If no triggers are met, the default form is assigned, and only one default form can exist at a time.
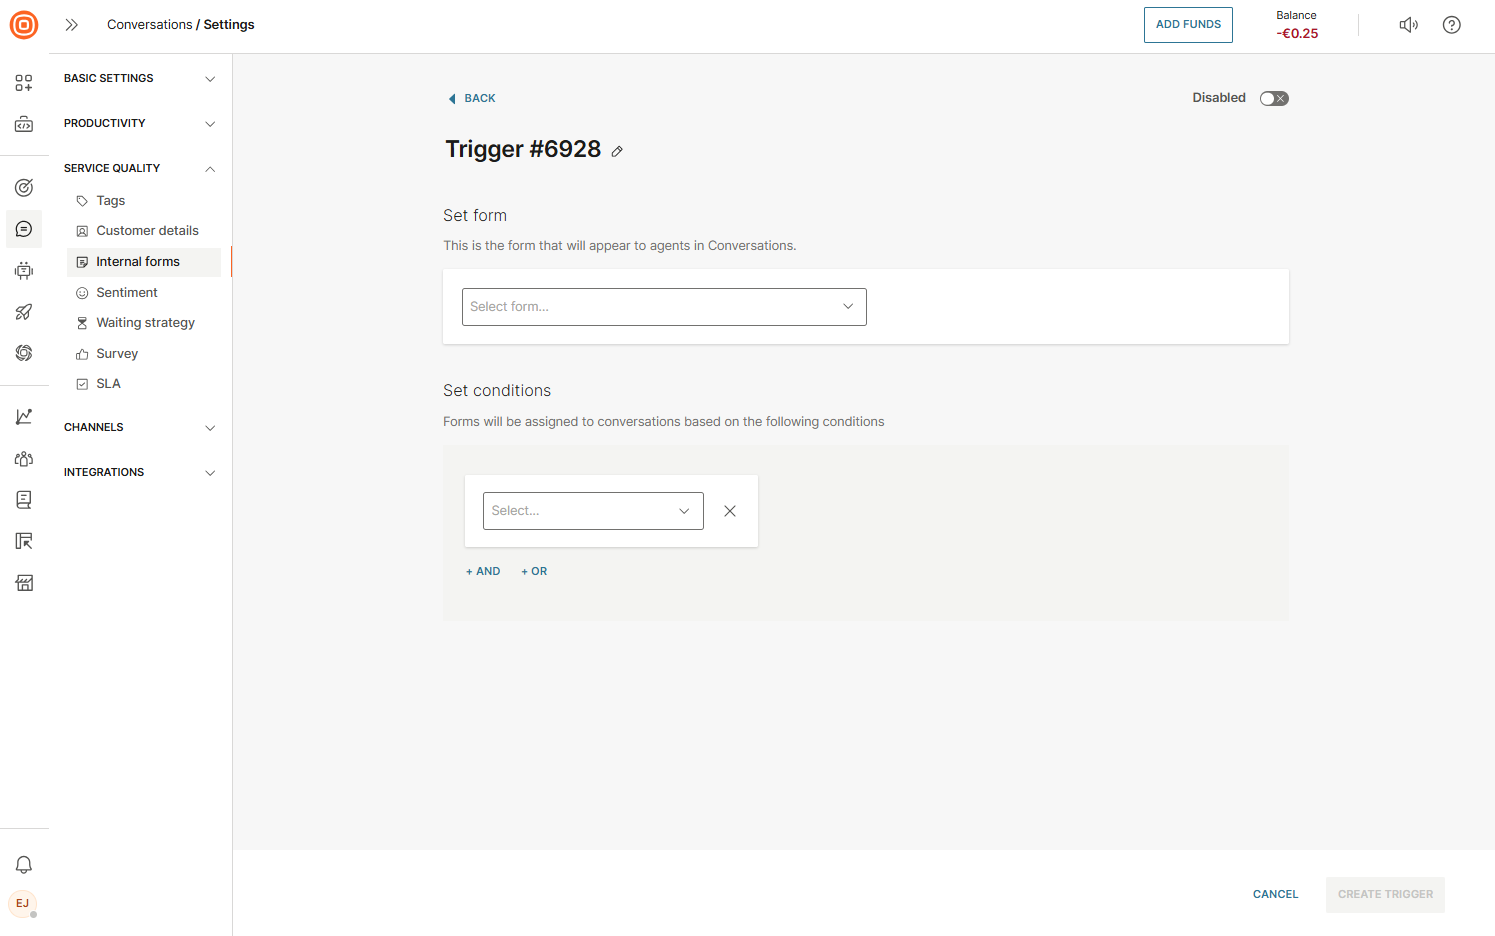
To create a new trigger:
- Go to Conversations → Settings → Service quality → Internal forms → Triggers → Create new.
- From the drop-down menu, select the form that will appear to agents.
- Define the conditions for when the form should be assigned to conversations.
- Select Create trigger.
Agent workflow
When a conversation matches the trigger conditions, the form appears in the My Work panel. Agents can fill in fields during or after the interaction and can also switch forms if needed.
Required fields must be completed before resolving or closing the conversation.
If two conversations are merged, only the form fields from the initiator conversation are retained.
Sentiment
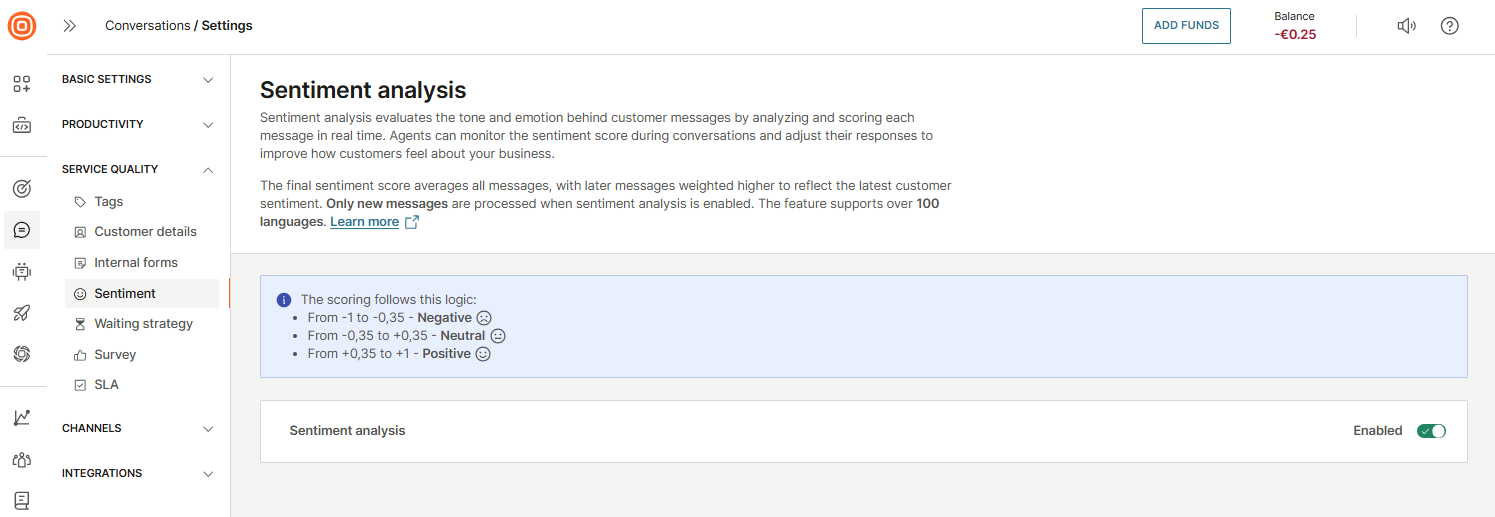
With sentiment analysis scoring, you can get customer satisfaction feedback and manage your agents' performance in a streamlined way and improve customer satisfaction faster. Sentiment analysis uses natural language processing (NLP) to interpret customers’ feelings within messages and conversations. During interactions, it analyzes the sentiment expressed in the messages.
To enable sentiment analysis for your conversations, go to Conversations → Settings → Service quality → Sentiment and turn on the toggle for Conversations.
Supported languages for sentiment analysis [#supported-languages-for-sentiment-analysis-sentiment]
The sentiment analyzer supports over 100 languages, enabling it to deliver real-time sentiment analysis with improved accuracy.
The supported languages include:
| Afrikaans | Danish | Hungarian | Norwegian Bokmål | Swedish |
| Albanian | Dutch | Icelandic | Persian (Farsi) | Tagalog (Filipino) |
| Arabic | English | Indonesian | Polish | Tamil |
| Armenian | Estonian | Irish | Portuguese (Brazilian) | Telugu |
| Basque | Finnish | Italian | Portuguese (European) | Thai |
| Belarusian | French | Japanese | Romanian | Turkish |
| Bengali | Galician | Kazakh | Russian | Ukrainian |
| Bulgarian | Georgian | Korean | Serbian (Cyrillic) | Urdu |
| Catalan | German | Latvian | Serbian (Latin) | Vietnamese |
| Chinese (Simplified) | Greek | Lithuanian | Slovak | |
| Chinese (Traditional) | Gujarati | Macedonian | Slovenian | |
| Croatian | Hebrew | Malay | Spanish | |
| Czech | Hindi | Maltese | Swahili |
The rest of the languages include dialects or regional variations of the languages listed above, as well as additional languages based on regional usage.
To monitor how agents handle their conversations, supervisors can dive into ongoing or past conversations. Following on this information, they can advise agents on how to improve their interactions with customers and increase the satisfaction score.
When you activate this feature, we encourage you to share your feedback with us on the sentiment score accuracy. This will help us improve and further develop the Sentiment analysis feature.
To leave your feedback, click the Feedback button in the web interface located in the top right corner.
Waiting strategy
The waiting strategy can be created for calls or chats.
Refer to the sections below to learn more.
Waiting strategy for calls [#waiting-strategy-for-calls-waiting-strategy]
Being on hold can be frustrating for callers, so it is important to create a waiting strategy that provides a smooth and thoughtful experience while they wait to connect with an agent.
For guidance on setting up an effective call waiting strategy, see the Waiting strategy section in our Calls documentation.
Waiting strategy for messaging channels [#waiting-strategy-for-messaging-channels-waiting-strategy]
Waiting strategy applies to all text-based channels used in the contact center. It is triggered when a conversation enters the queue, either directly or after being transferred from a bot, and remains unassigned.
A conversation is considered unassigned if:
- Auto-assignment is not configured on the queue.
- No agents are available for auto-assignment.
The waiting strategy ends when:
- The conversation is assigned to an agent.
- The maximum wait time is reached. The conversation is closed and removed from the queue.
- The conversation has been waiting for over an hour. It remains open, but no additional messages are sent.
If a conversation enters the queue outside of working hours (when Working hours are set), the waiting strategy will not trigger.
Additionally, if you have a failover queue configured as Queue B, when the waiting strategy triggers and attempts to transfer the conversation to the failover queue, the failover will not occur if Queue B is outside of its working hours.
In other words, the conversation will only be transferred to the failover queue if that queue is within its working hours at the time the failover is triggered.
There can be only one waiting strategy per sender.
In each waiting strategy, a maximum wait time must be defined. When this time is reached, you can configure what happens next:
- When creating a sender-based waiting strategy for chat, when the maximum wait time is reached, you can choose to:
- Close the conversation, or
- Leave the conversation in its current status
- You can also define a maximum wait time message that will be sent to the customer (if configured).
- When creating a queue-based waiting strategy for chat, in addition to the options above, you can also:
- Redirect the conversation to another queue
Refer to the sections below to learn more.
Waiting strategy messages [#waiting-strategy-messages-waiting-strategy]
A waiting strategy consists of up to three messages:
- Welcome message - Sent when the customer enters the queue.
- Announcement message - Optional periodic message during wait time.
- Maximum wait time message - Sent when the maximum wait time is reached.
At least one of these messages must be enabled for the strategy to apply.
Check the sections below to learn more about these messages.
Create a new waiting strategy for messaging channels [#create-a-new-waiting-strategy-for-messaging-channels-waiting-strategy]
To create a new waiting strategy for chats:
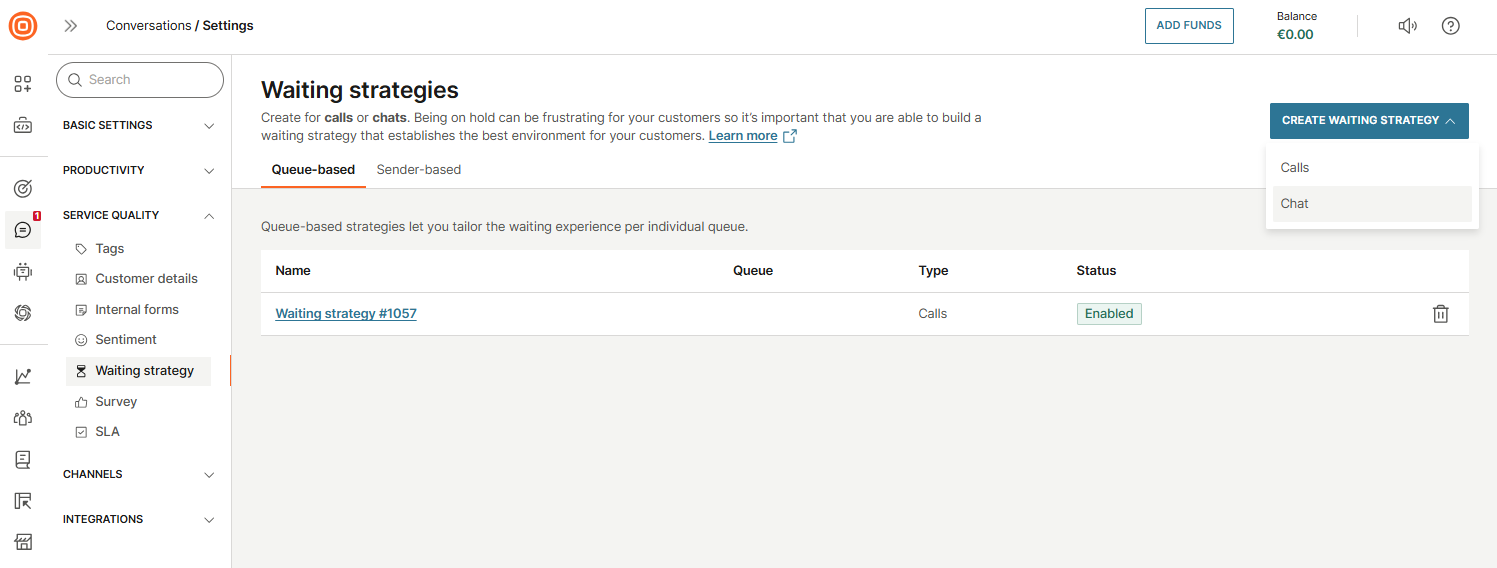
- Go to Conversations → Settings → Service quality → Waiting strategy.
- Choose whether you want to set up a Queue-based or Sender-based waiting strategy:
- Queue-based strategy - customize the waiting experience for each individual queue.
- Sender-based strategy - apply a consistent waiting experience across all queues linked to the same sender.
- Select the Create waiting strategy button → Chat.
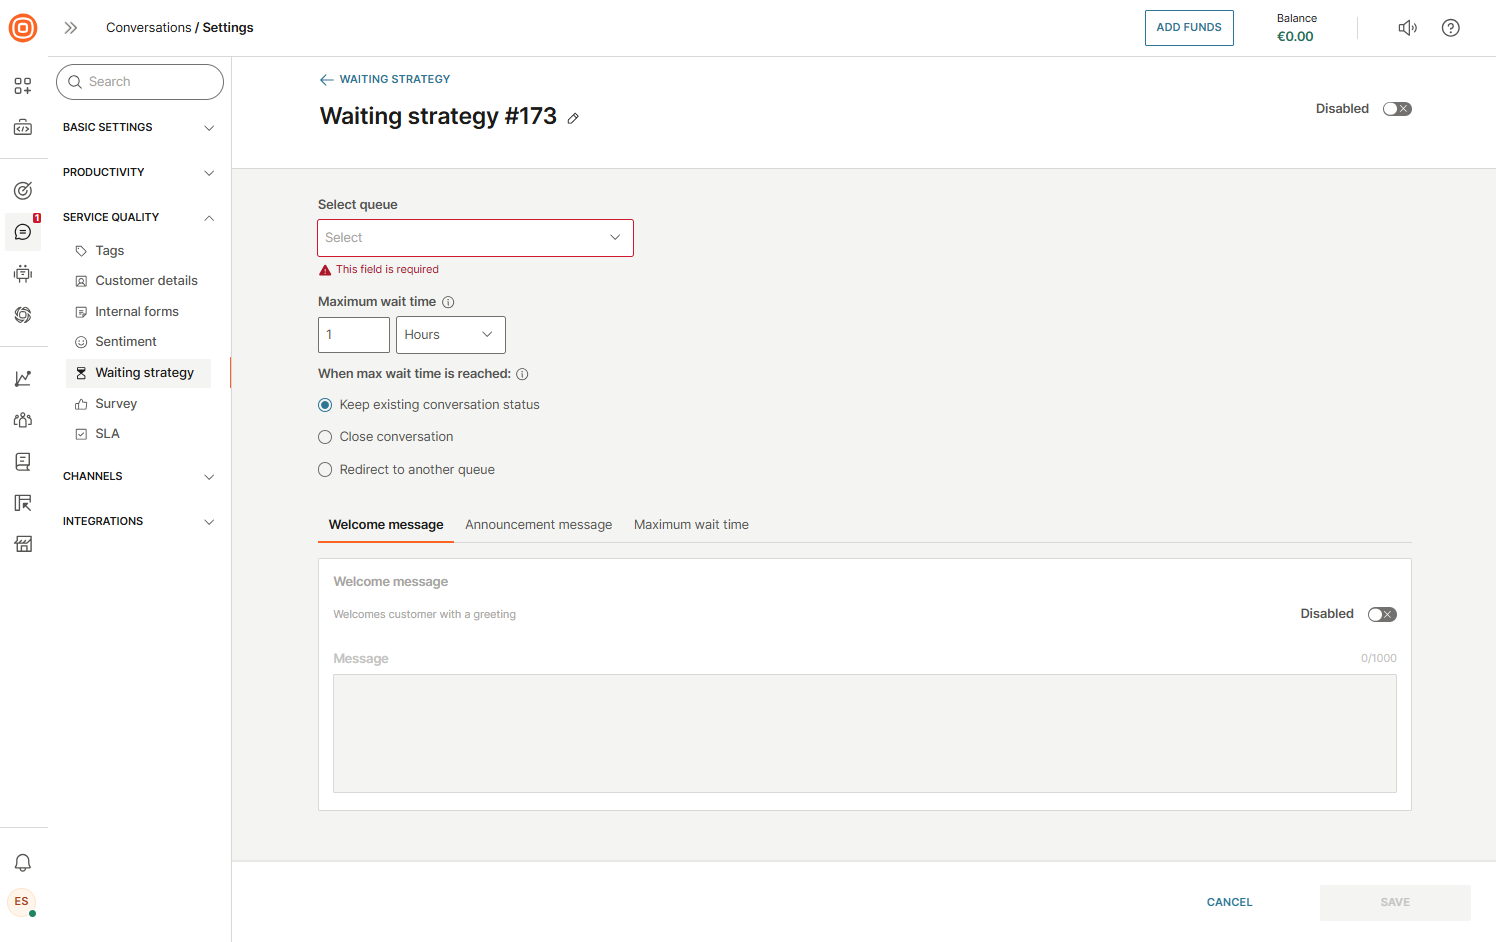
- Name your waiting strategy.
- Select the sender or queue, depending on whether you are creating a sender-based or queue-based waiting strategy. The strategy will apply to the selected option.
- Set the Maximum wait time. This defines how long a conversation can remain unassigned before it is automatically closed.
- Set the customer experience for situations when no agents are available. Once the maximum wait time is reached, the waiting strategy ends. Then, choose what happens next:
- Keep existing conversation status - The conversation remains in its current state.
- Close conversation - The conversation is automatically closed.
- Redirect to another queue - The conversation is forwarded to a different queue.
- Note: If you are creating a sender-based waiting strategy, the Redirect to another queue option will not be available.
- Enable and create:
- Welcome message
- Announcement message
- Maximum wait time message
Refer to the sections below for details on each message type.
Welcome message [#welcome-message-waiting-strategy]
A Welcome message is automatically sent to the customer when they enter a queue but the conversation remains unassigned. This message is sent only once and typically contains a greeting or brief introduction to set expectations while they wait.
Announcement message [#announcement-message-waiting-strategy]
The Announcement message is sent to the customer at regular intervals after the initial Greeting message, while they are still waiting for an agent to take over the conversation. The minimum interval between messages is one minute.
You can define how many announcement messages will be sent. Once the set number of messages is delivered, the conversation continues to wait for an agent, but no further announcement messages will be sent.
The maximum duration for sending announcement messages is one hour, meaning you can send up to 60 messages during that time (one per minute).
If the conversation remains unassigned after one hour, and no maximum wait time is set, the conversation will stay open but no additional messages will be sent to the customer.
Maximum wait time message [#maximum-wait-time-message-waiting-strategy]
The Maximum wait time message informs the customers when their session is about to end. Once the defined time is reached, a final message is sent to the customer, and the conversation is closed. This message typically provides alternative ways to reach the business or encourages the customer to try again later.
Survey
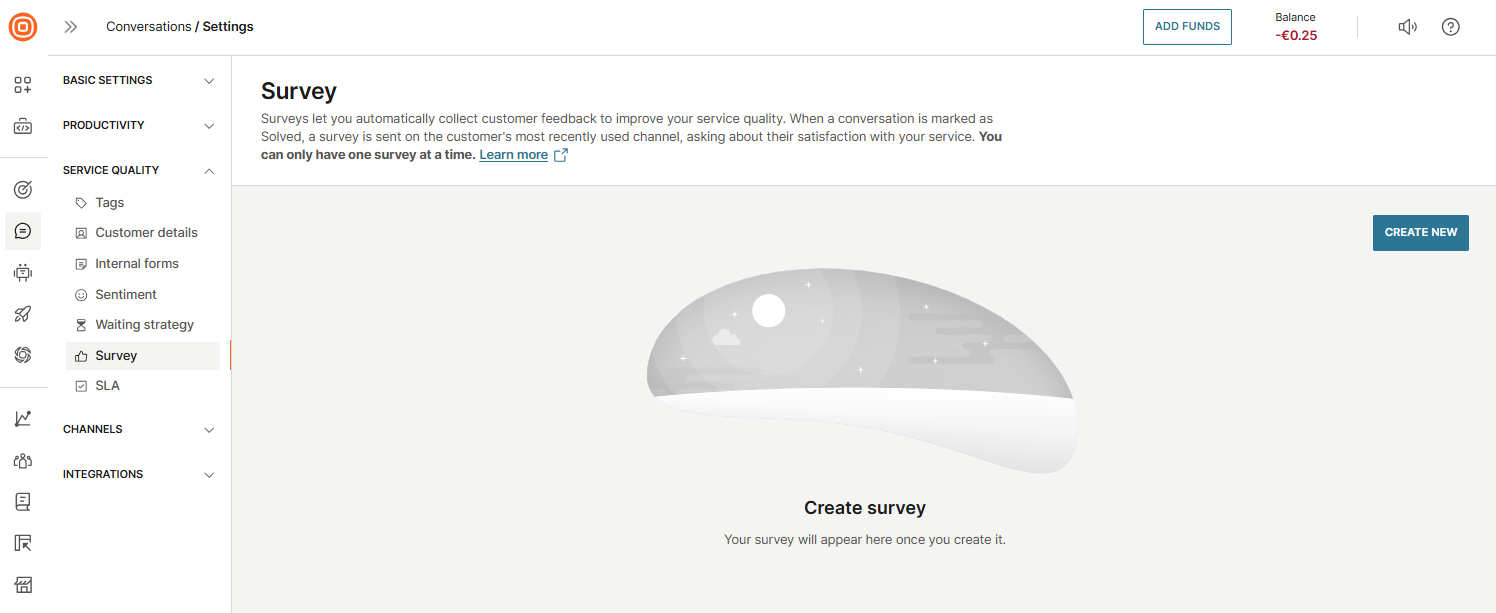
Surveys help measure customer satisfaction by collecting quick feedback after a conversation ends. A survey is automatically triggered when a conversation status changes to Solved. Shortly after, the customer receives a message on the same channel they last used.
The survey contains predefined questions about their satisfaction and whether their issue was resolved, but you can edit the content.
Customers can respond with one of the predefined options:
- Happy
- Not happy
If a customer responds with something other than the predefined options, the conversation reopens automatically, allowing the customer to request further assistance.
You can also add an optional follow-up question for additional feedback. Survey results, including scores and comments, are visible in the agent panel and in the Voice of the Customer dashboard.
To avoid overloading customers, you can set a time span between surveys. This ensures that once a survey has been sent, another one will not be sent until the defined period passes.
You can only have one survey at a time.
Create a survey [#create-a-survey-survey]
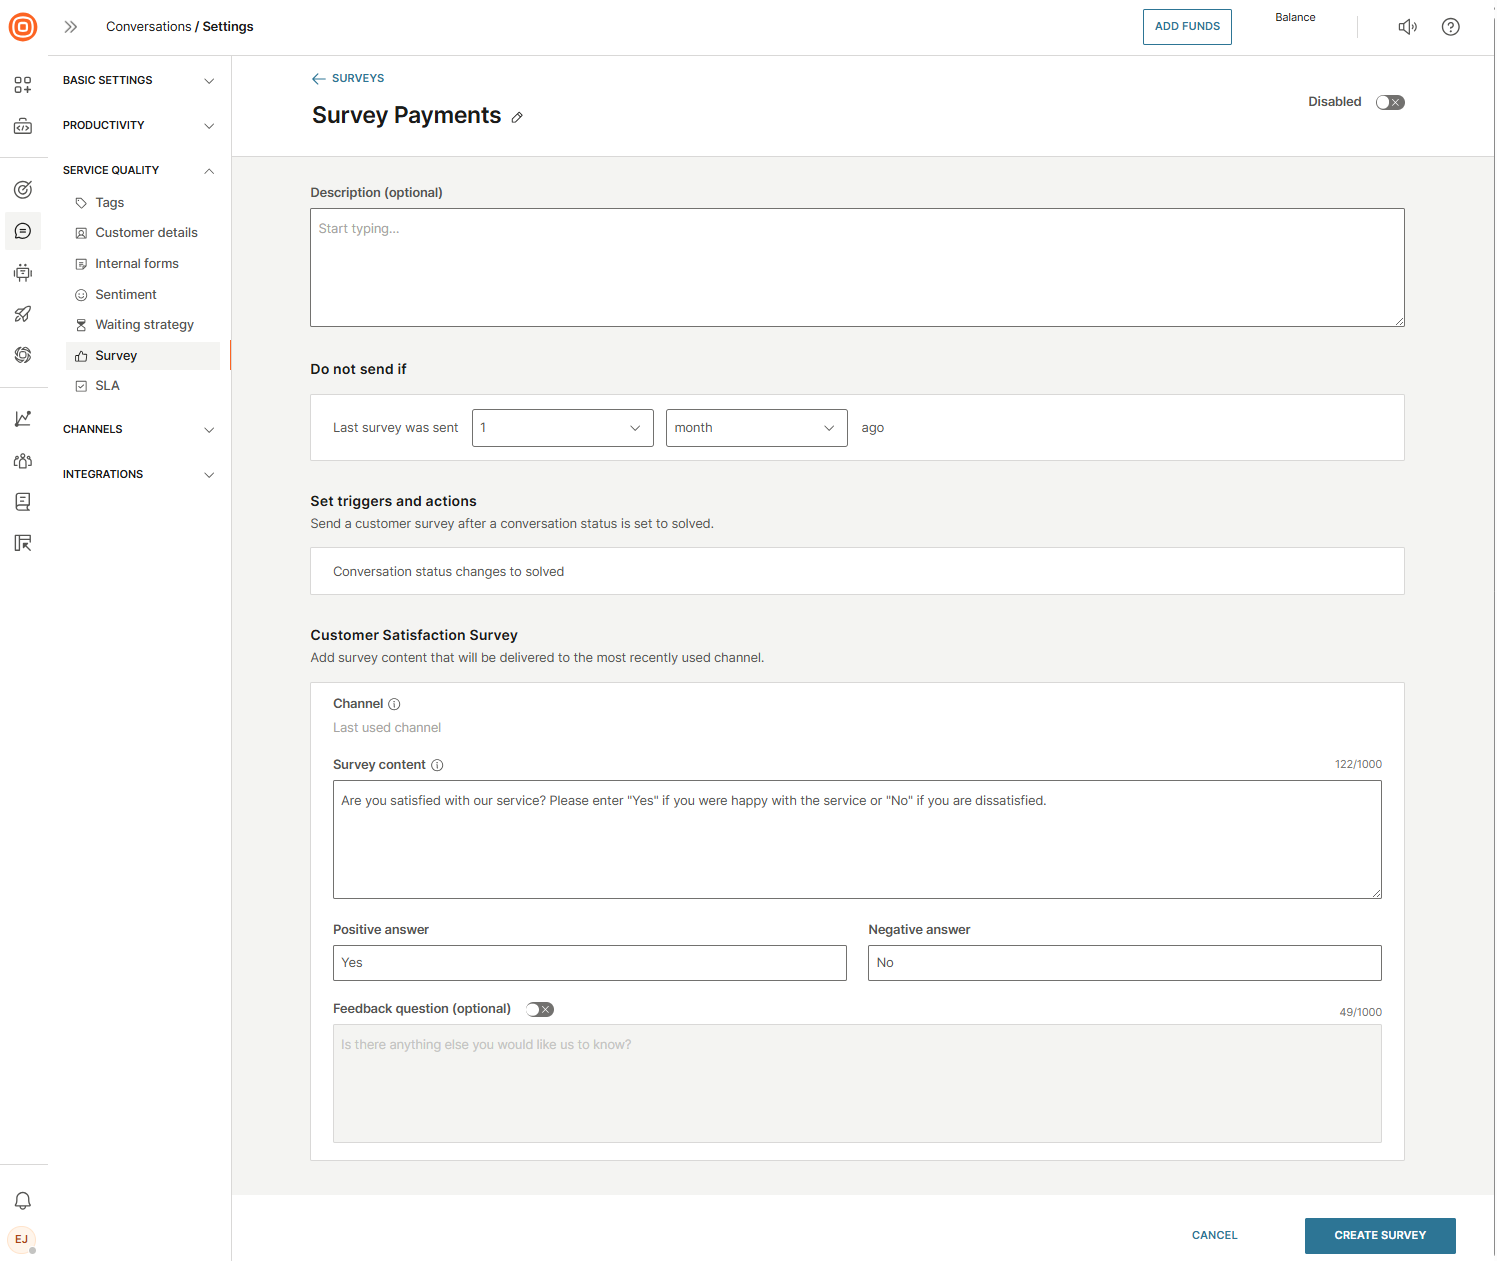
To create a survey:
- Go to Conversations → Settings → Service quality → Survey → Create new.
- Enter the survey name and an optional description.
- Define the Do not send if (the cooldown period) to prevent sending another survey if one was already sent within a set number of days, weeks, or months. Days are counted as full 24-hour periods.
- Configure triggers and actions for when the survey should be sent.
- Choose the channel, and set the survey content, including positive and negative answers.
- Optionally, enable the Feedback question.
- Select Create survey.
SLA
SLA is available only for the Grow and Scale package.
A service-level agreement (SLA) is the level of service you expect from a vendor. It defines the metrics by which a service is measured, and it takes into account remedies and/or penalties if the agreed-upon levels are not respected.
Main values of having the service-level agreement active are:
- Provide an opportunity to track the conversations SLA for your customers.
- Actively tracking the SLA increases customer satisfaction as every conversation is handled in dedicated time to avoid any breaches.
- Supervisors can faster recognize breached SLA in conversations and proceed to quickly resolve those conversations to avoid long SLA breaches.
- Focus on the most important conversations based on the severity of the issue.
SLA tracking on a conversation stops once the conversation is closed. Breaches that occurred on closed conversations can be tracked via Reports and Advanced analytics.
Create SLA [#create-sla-sla]
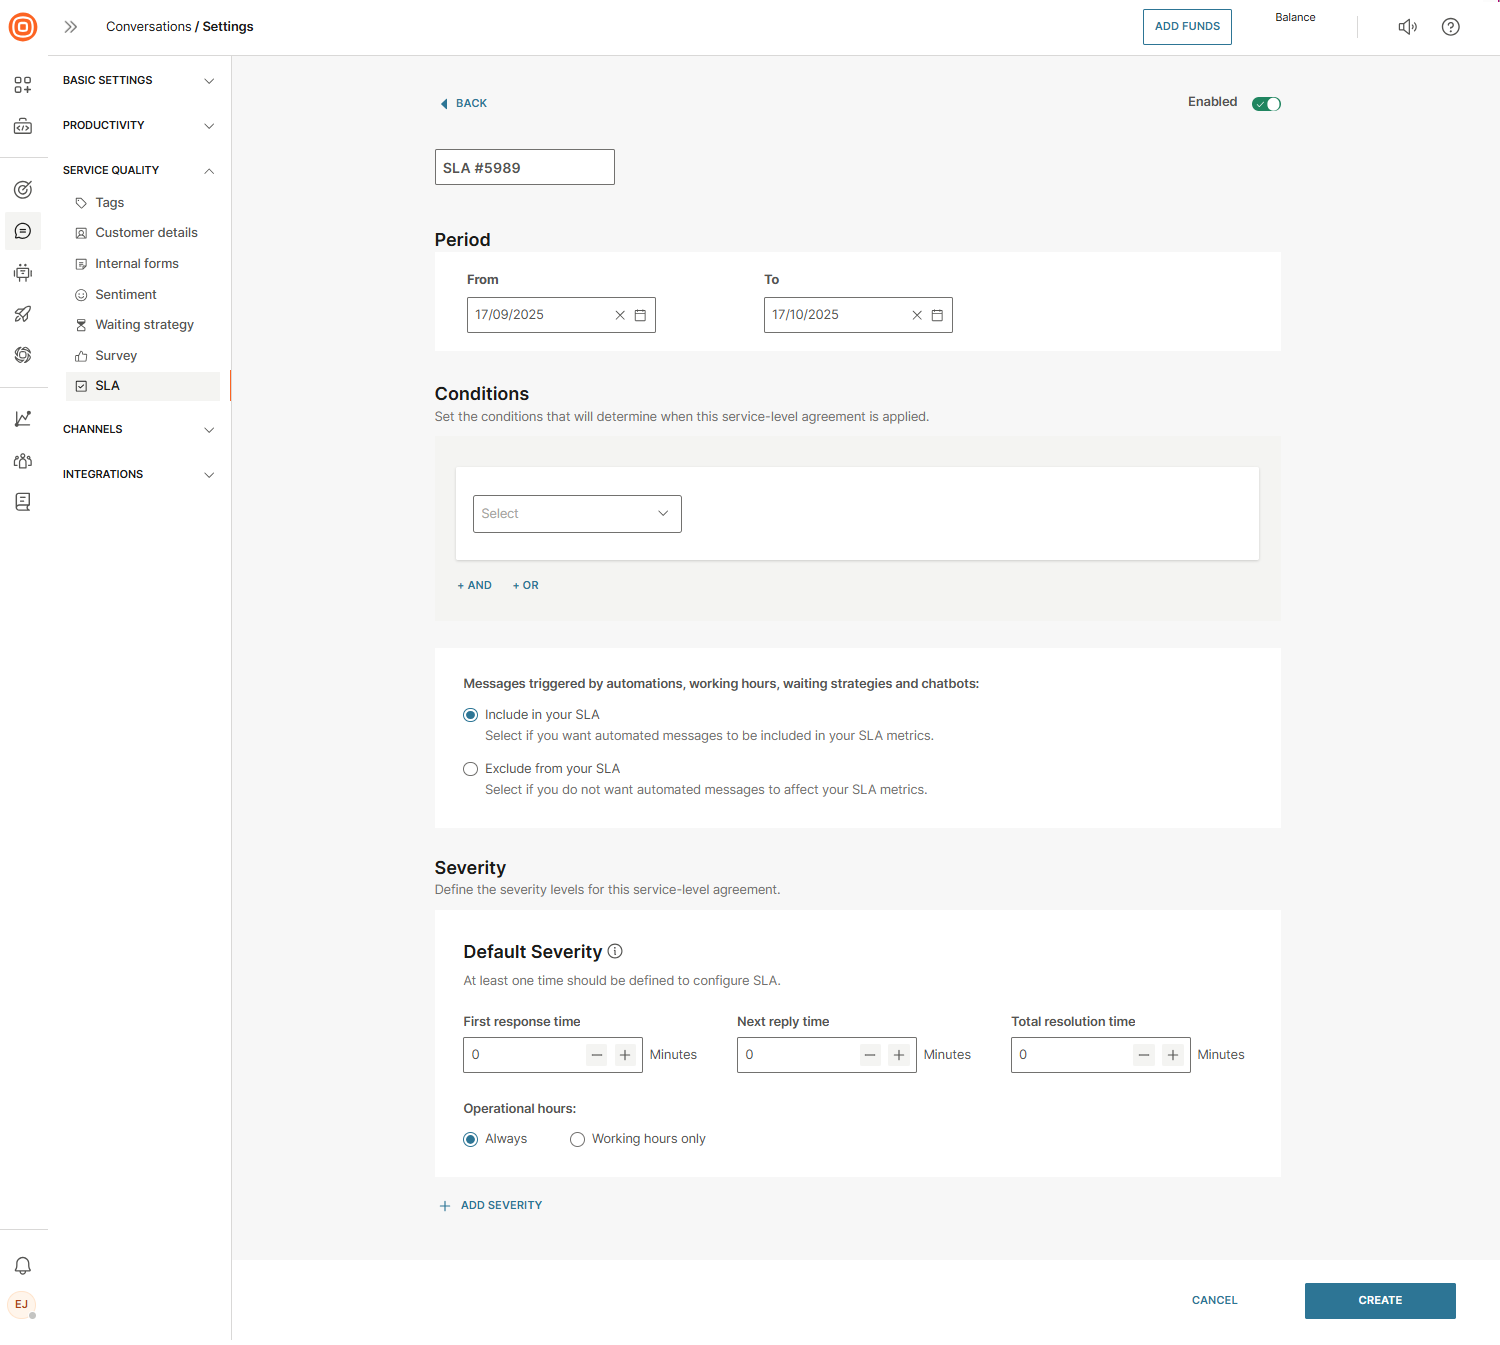
To create SLA:
- Go to Conversations → Settings → Service quality → SLA → Create SLA.
- Name your SLA policy (a default name will be pre-populated).
- Set the status to enabled (default). You can change it to disabled if the SLA should no longer apply.
- Define the validity period for the SLA policy. Once this period expires, the SLA will no longer be active.
- Add at least one condition to define which conversations the SLA applies to. You can use custom company or user attributes and combine multiple conditions with +AND or +OR logic.
- Choose whether to Include or Exclude automated messages (from bots, automations, working hours, waiting strategies) in SLA calculations.
- Set the severity levels:
- Every SLA must include at least a Default severity.
- Configure First response time, Next reply time, and Total resolution time (in minutes) for each severity.
- Choose whether the SLA applies Always or only during working hours.
- Add additional severity levels as needed using the +Add severity button.
- Select Create.
SLA timing rules [#sla-timing-rules-sla]
- SLA counting begins from the first message sent by the end user.
- First response time = time from the first customer message to the agent’s reply.
- Next reply time = time between subsequent customer messages and agent replies.
- Total resolution time = time from conversation start to the status set as Solved.
- SLA timers are paused whenever a conversation is marked as Solved.
- Timers respect working hours if configured, otherwise they run continuously.
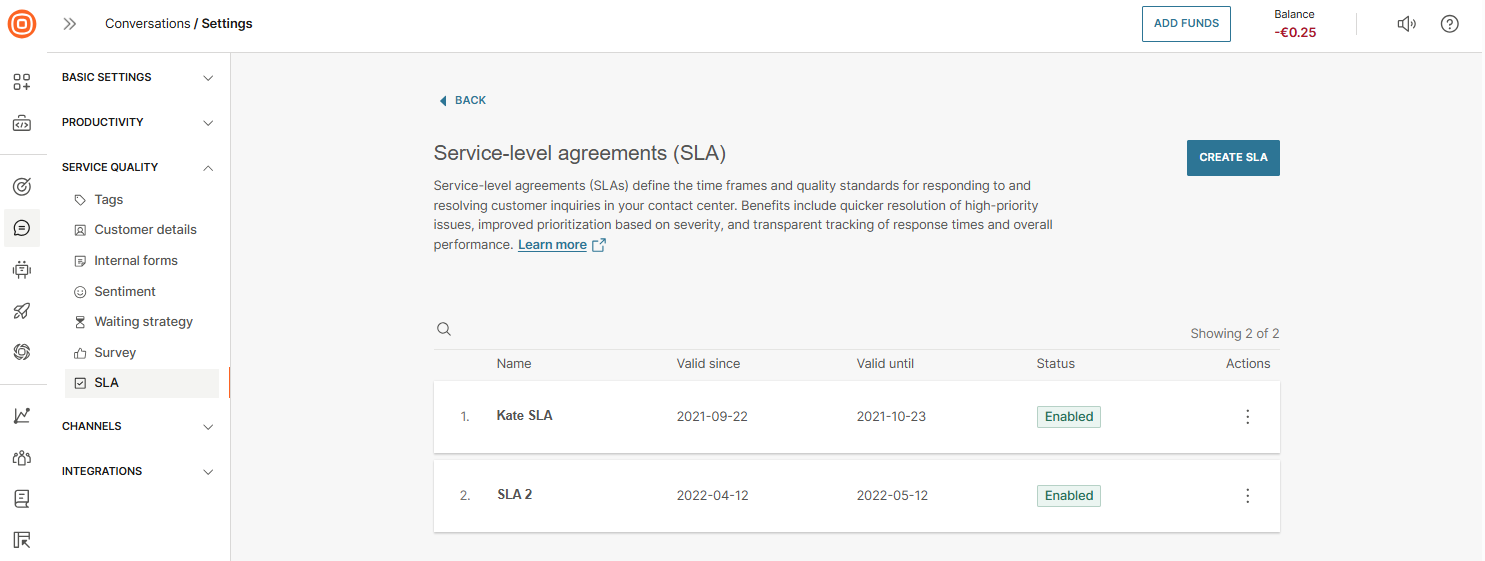
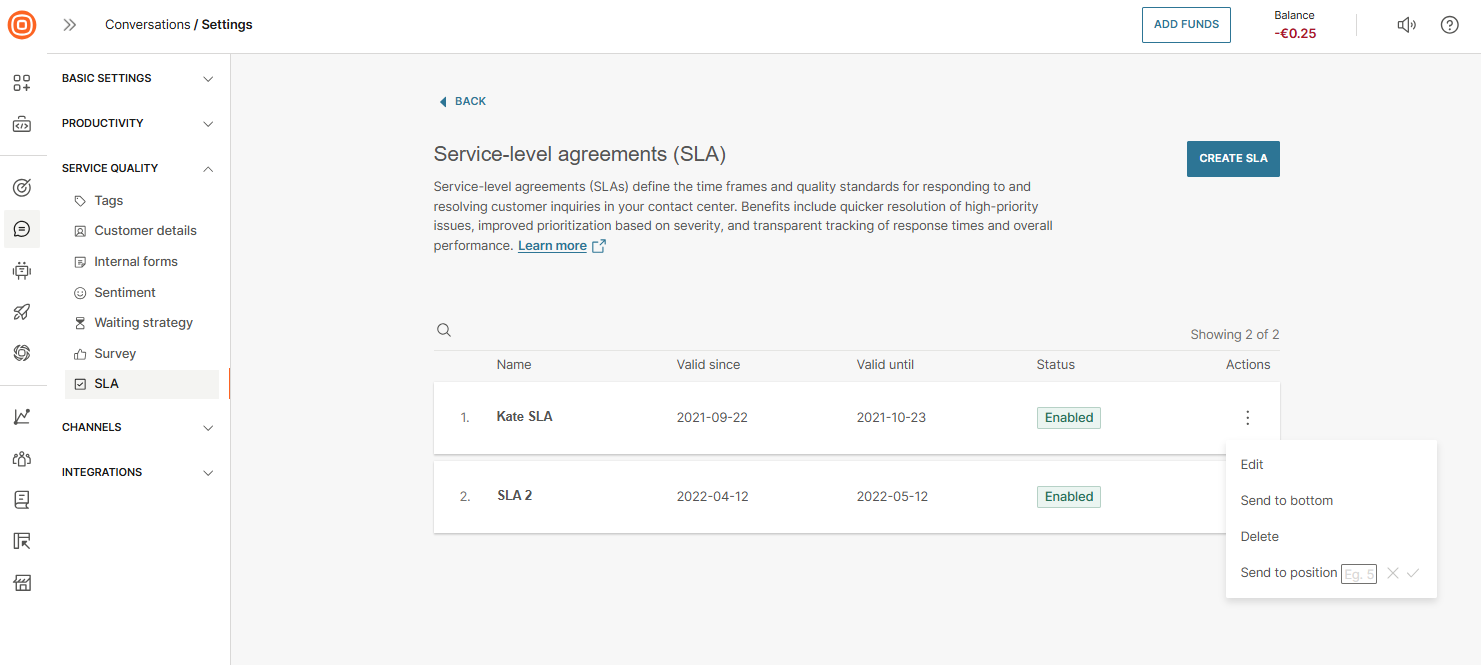
Manage SLA policies [#manage-sla-policies-sla]
The list of SLA policies determines priority. Policies at the top of the list have higher priority; if multiple policies match, the first one applies. You can edit policies via the three-dots menu:
- Edit
- Send to bottom
- Delete
- Send to position
Any updates to SLA setup trigger a full SLA recalculation.
Severity levels and their applications [#severity-levels-and-their-applications-sla]
| Severity level | Description |
|---|---|
| Default severity | Applies to every new conversation fitting the SLA policy |
| Severity 1 | Extreme infrastructure or product outage for many customers |
| Severity 2 | Certain infrastructure or product issues affecting multiple customers |
| Severity 3 | Minor issues affecting a few customers or individual cases |