


Craft end-to-end customer journeys with Viber for Business
The ideal channel for building closer customer relationships. Enable one-to-one marketing and drive conversions in 190+ countries with Viber business messaging solutions.


Build memorable customer journeys with Viber for Business
Viber’s rich features and widespread use enable you to engage with customers all over the world in vibrant and memorable ways.
1 billion
users in 190+ countries.
44+
languages supported.
8,500+
brands choose Viber Business Messages.
Achieve better results with Viber for Business
Communicate at scale
Switch to Viber to benefit from the reduced cost, wider reach, reliable fail-over, and helpful automation options available with the messaging app that your customers love.
Improve customer satisfaction
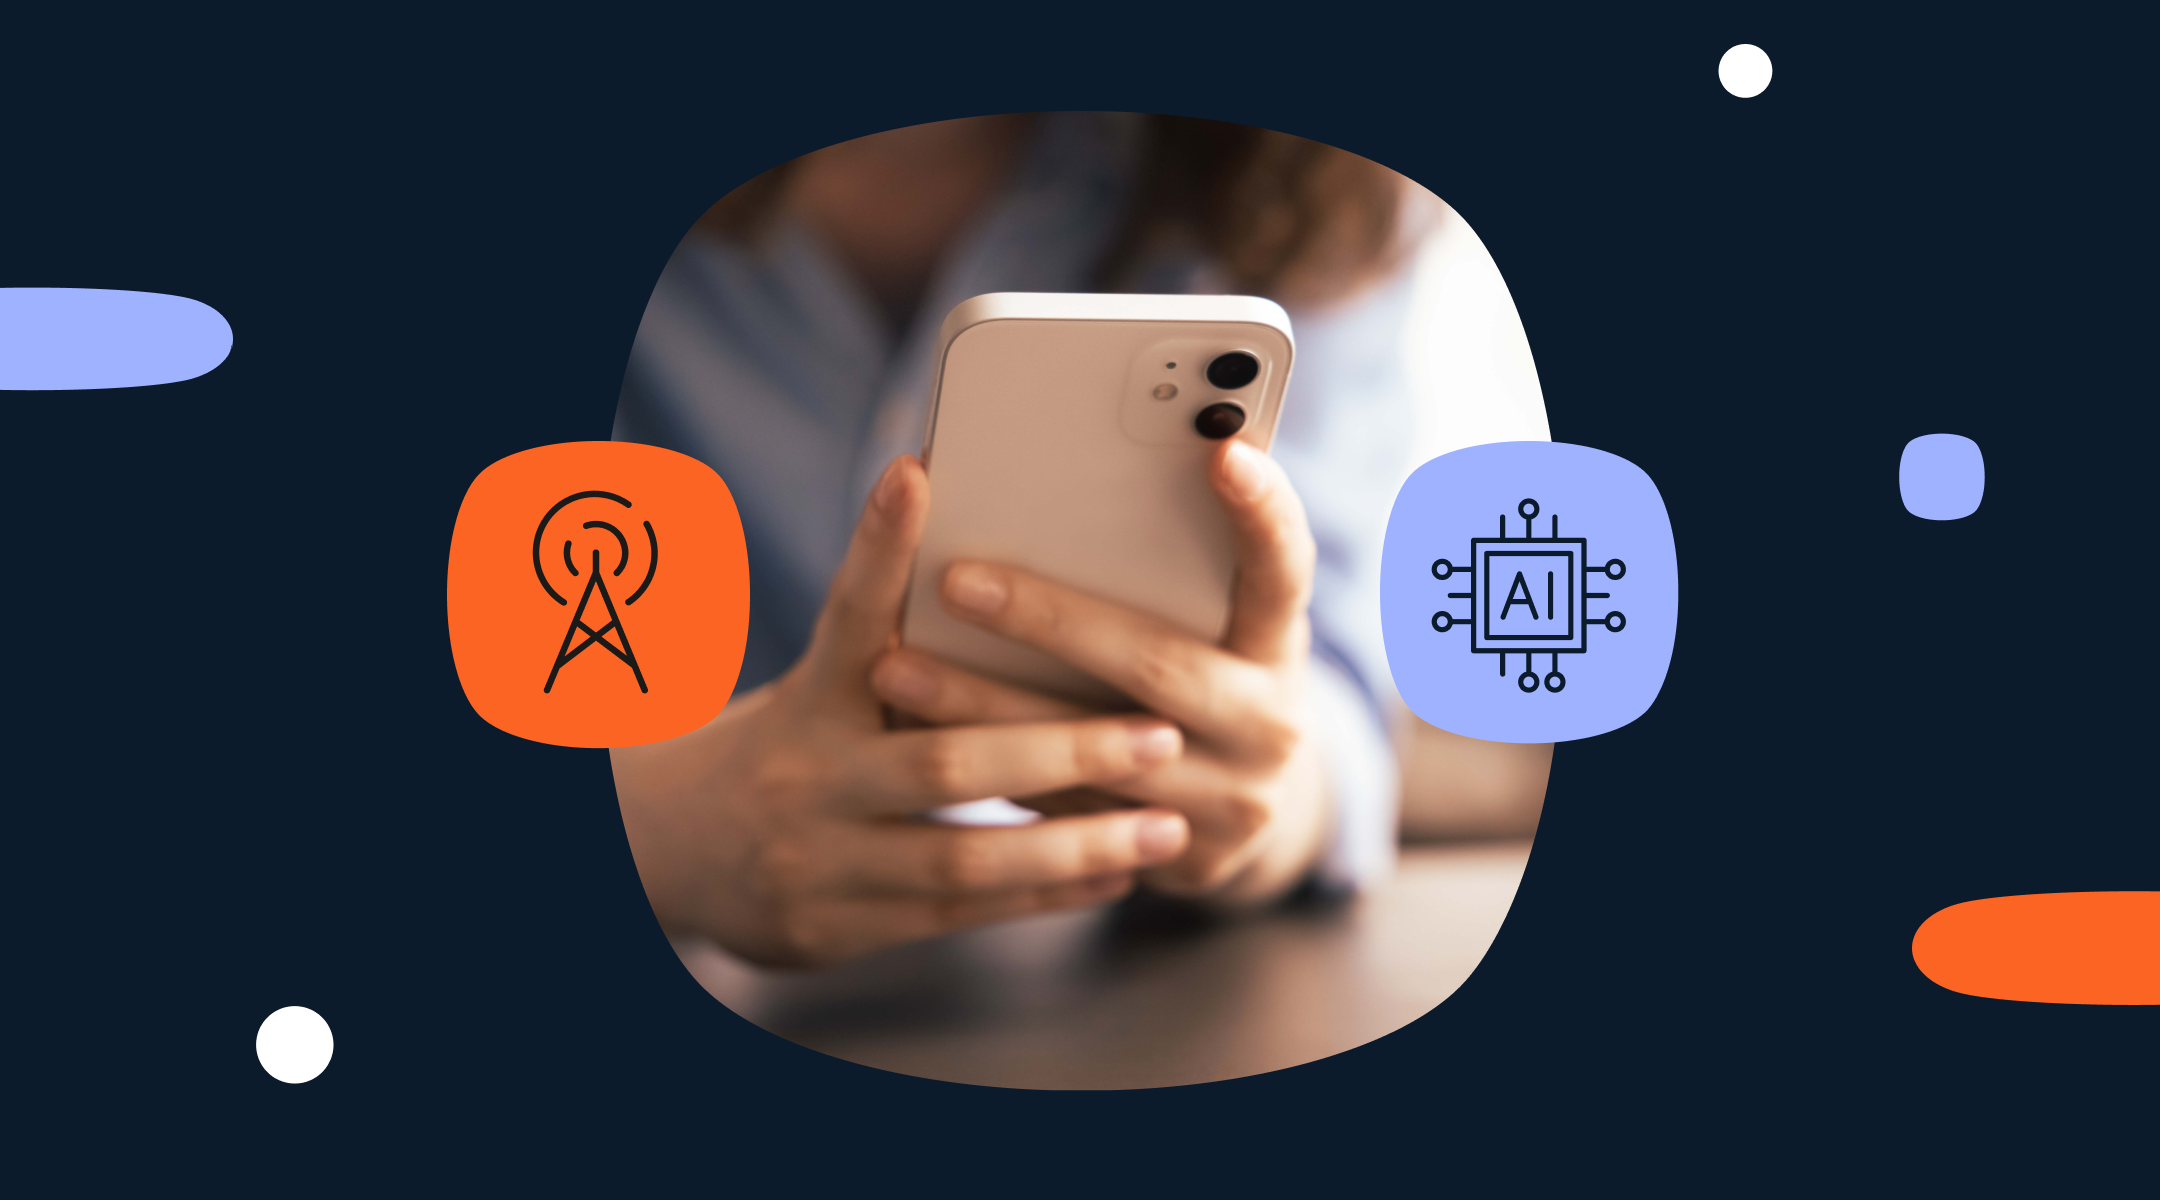
From conversational interactions between customers and agents, to chatbots providing 24/7 support, Viber for Business helps you provide the service that makes you stand out.
Boost engagement
Create memorable experiences at every stage of the customer journey with personalized promotional messages, and transactional messages that deliver crucial information direct to your customers’ inbox.
Implement flexible and cost-effective messaging throughout the customer journey
Viber Business Messages
Discover Viber Business MessagesViber Bots
Discover Viber BotsStart meaningful customer conversations with a messaging solution for every use case
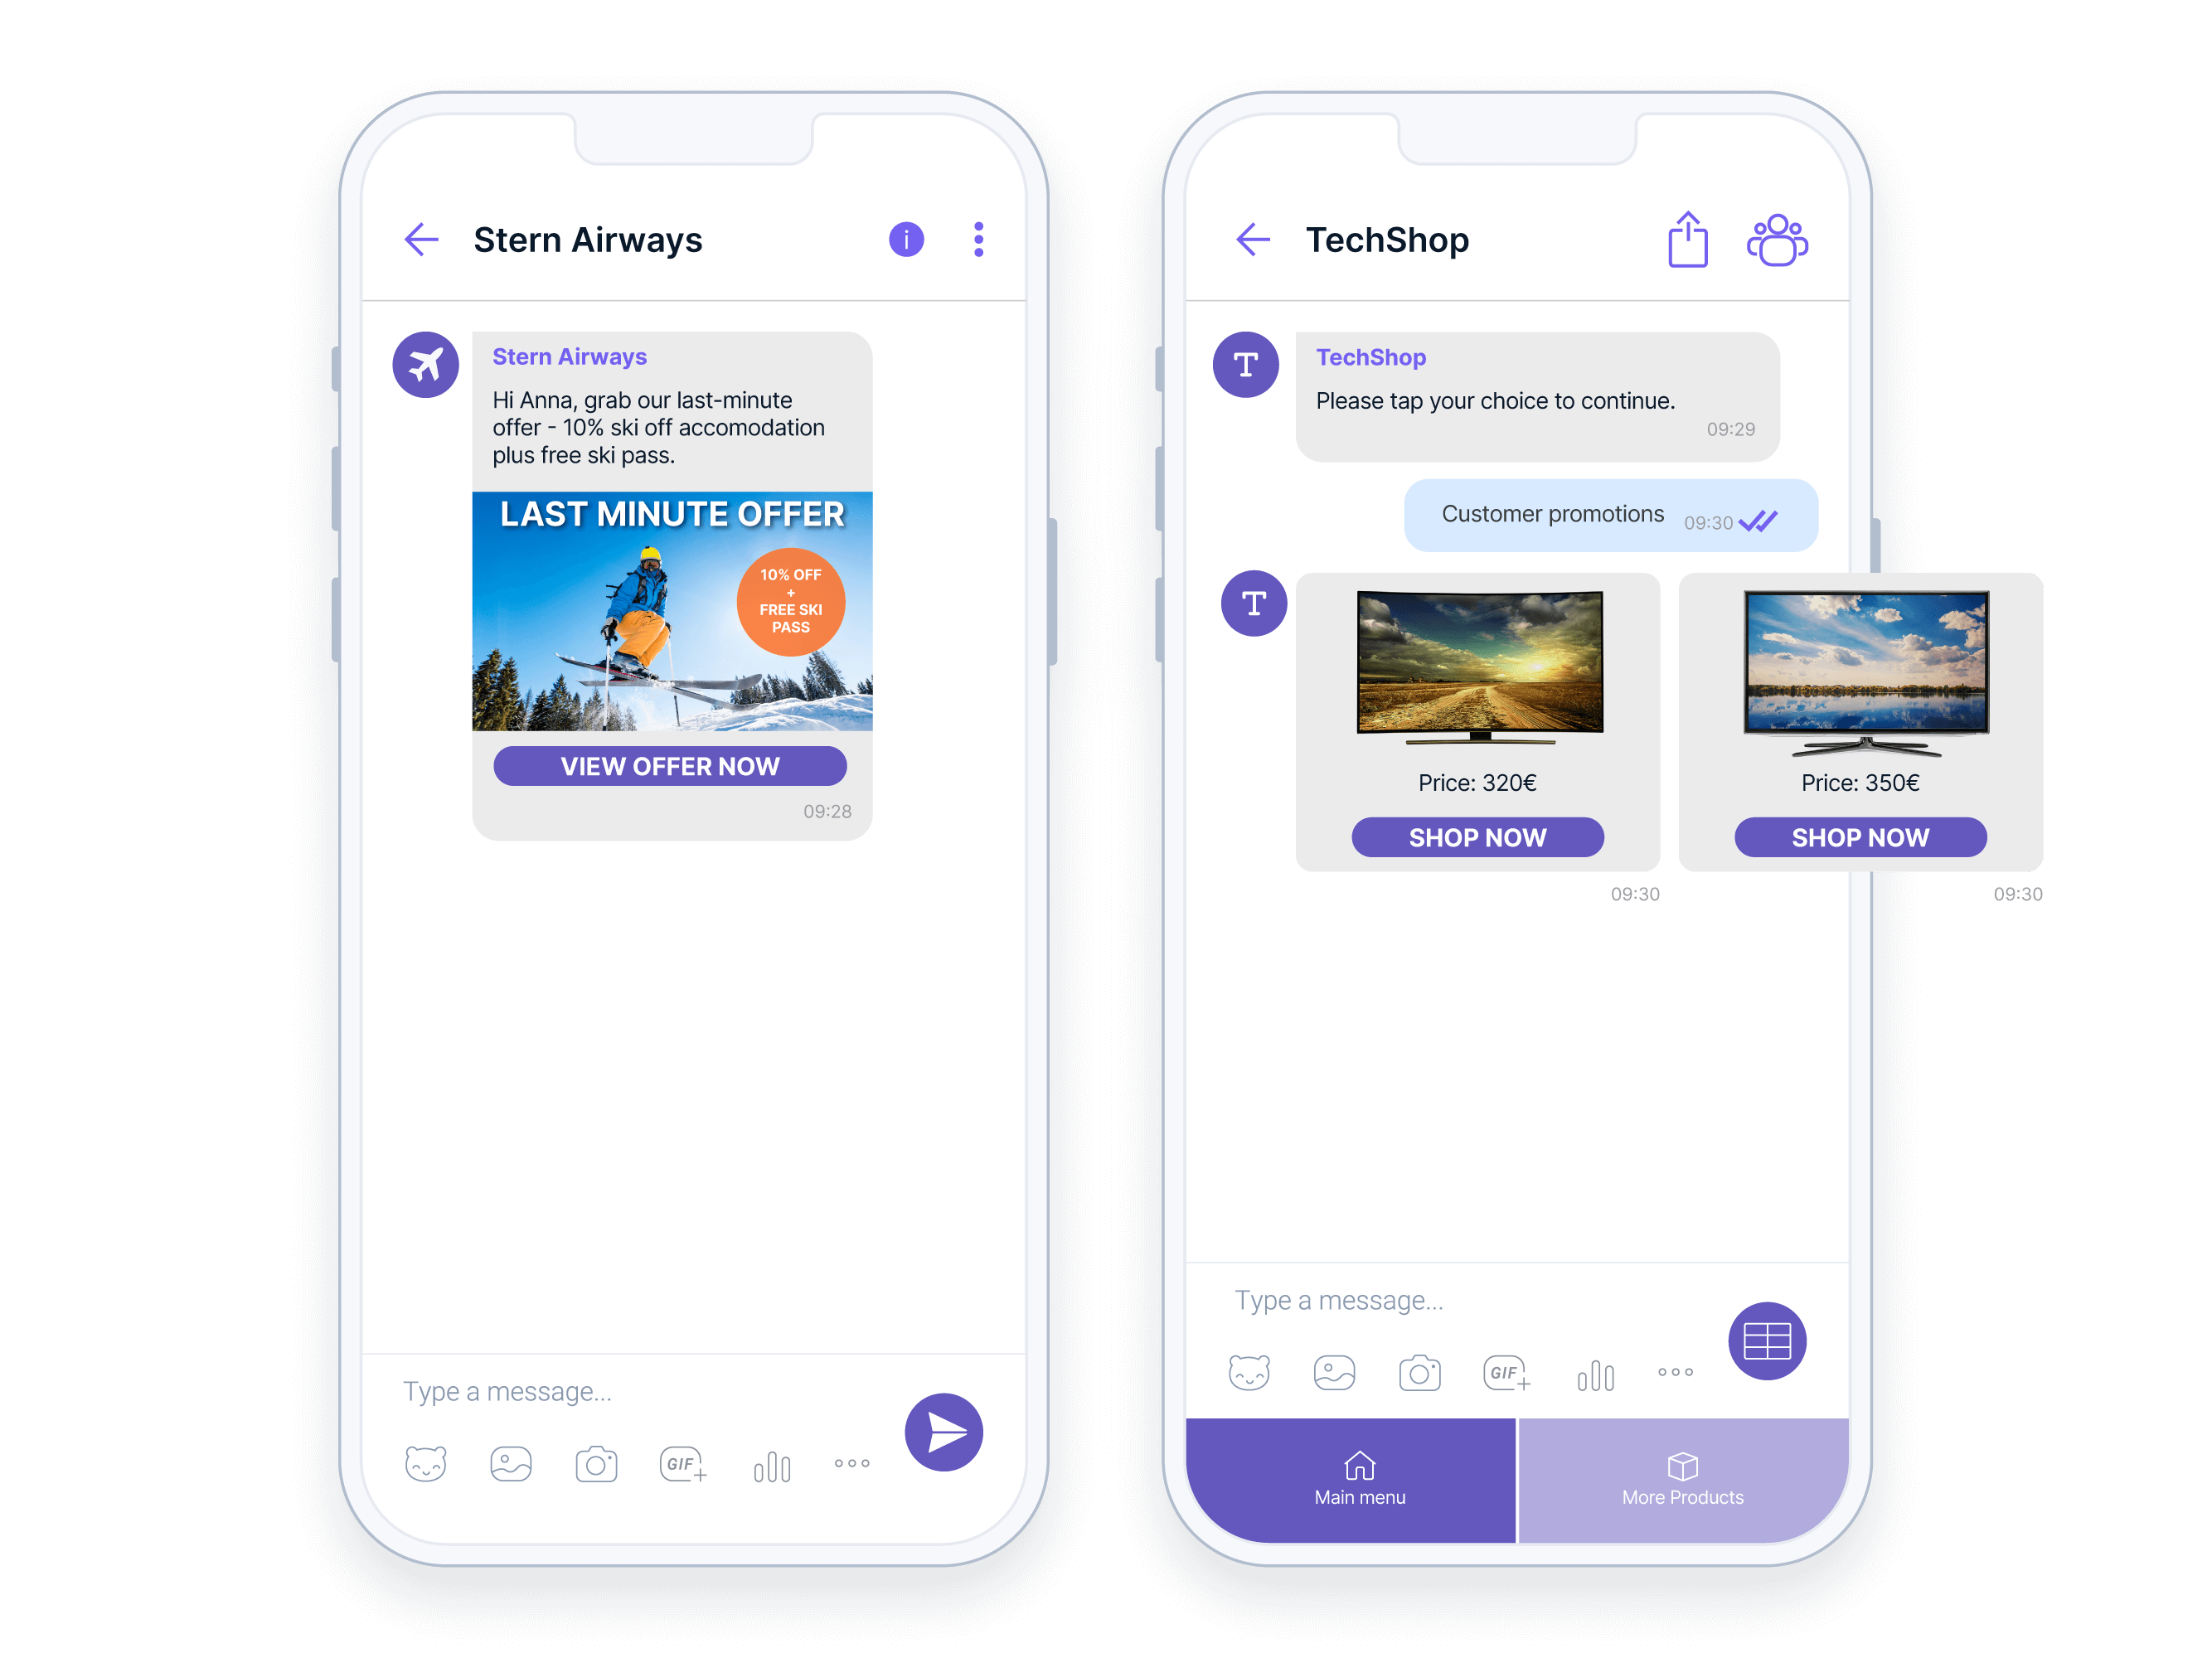
Promotional messages
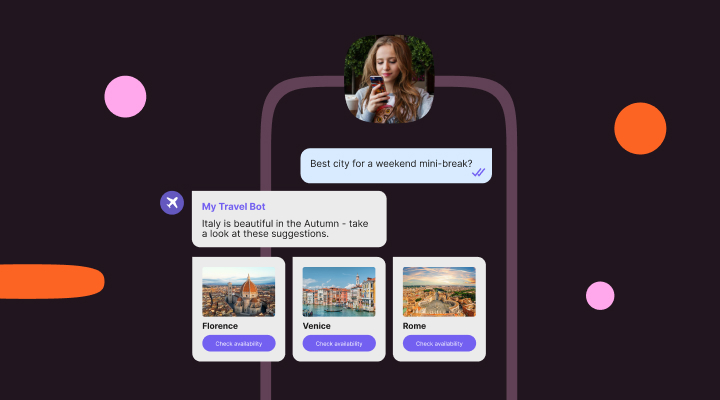
Create compelling campaigns and boost conversion rates with Viber’s unique engagement features including interactive buttons, images, videos, stickers, and attachments.
- Personalized promotions and discounts
- Engaging product messaging with rich media
- Back in stock alerts
- Loyalty club welcome messages
- Re-engagement campaigns and renewal reminders
Transactional messages and notifications
Ensure that your customers always receive important notifications including one-time-passwords (OTPs), alerts, and reminders.
- Transaction and payment notifications
- Shipping and delivery notifications
- Event reminders
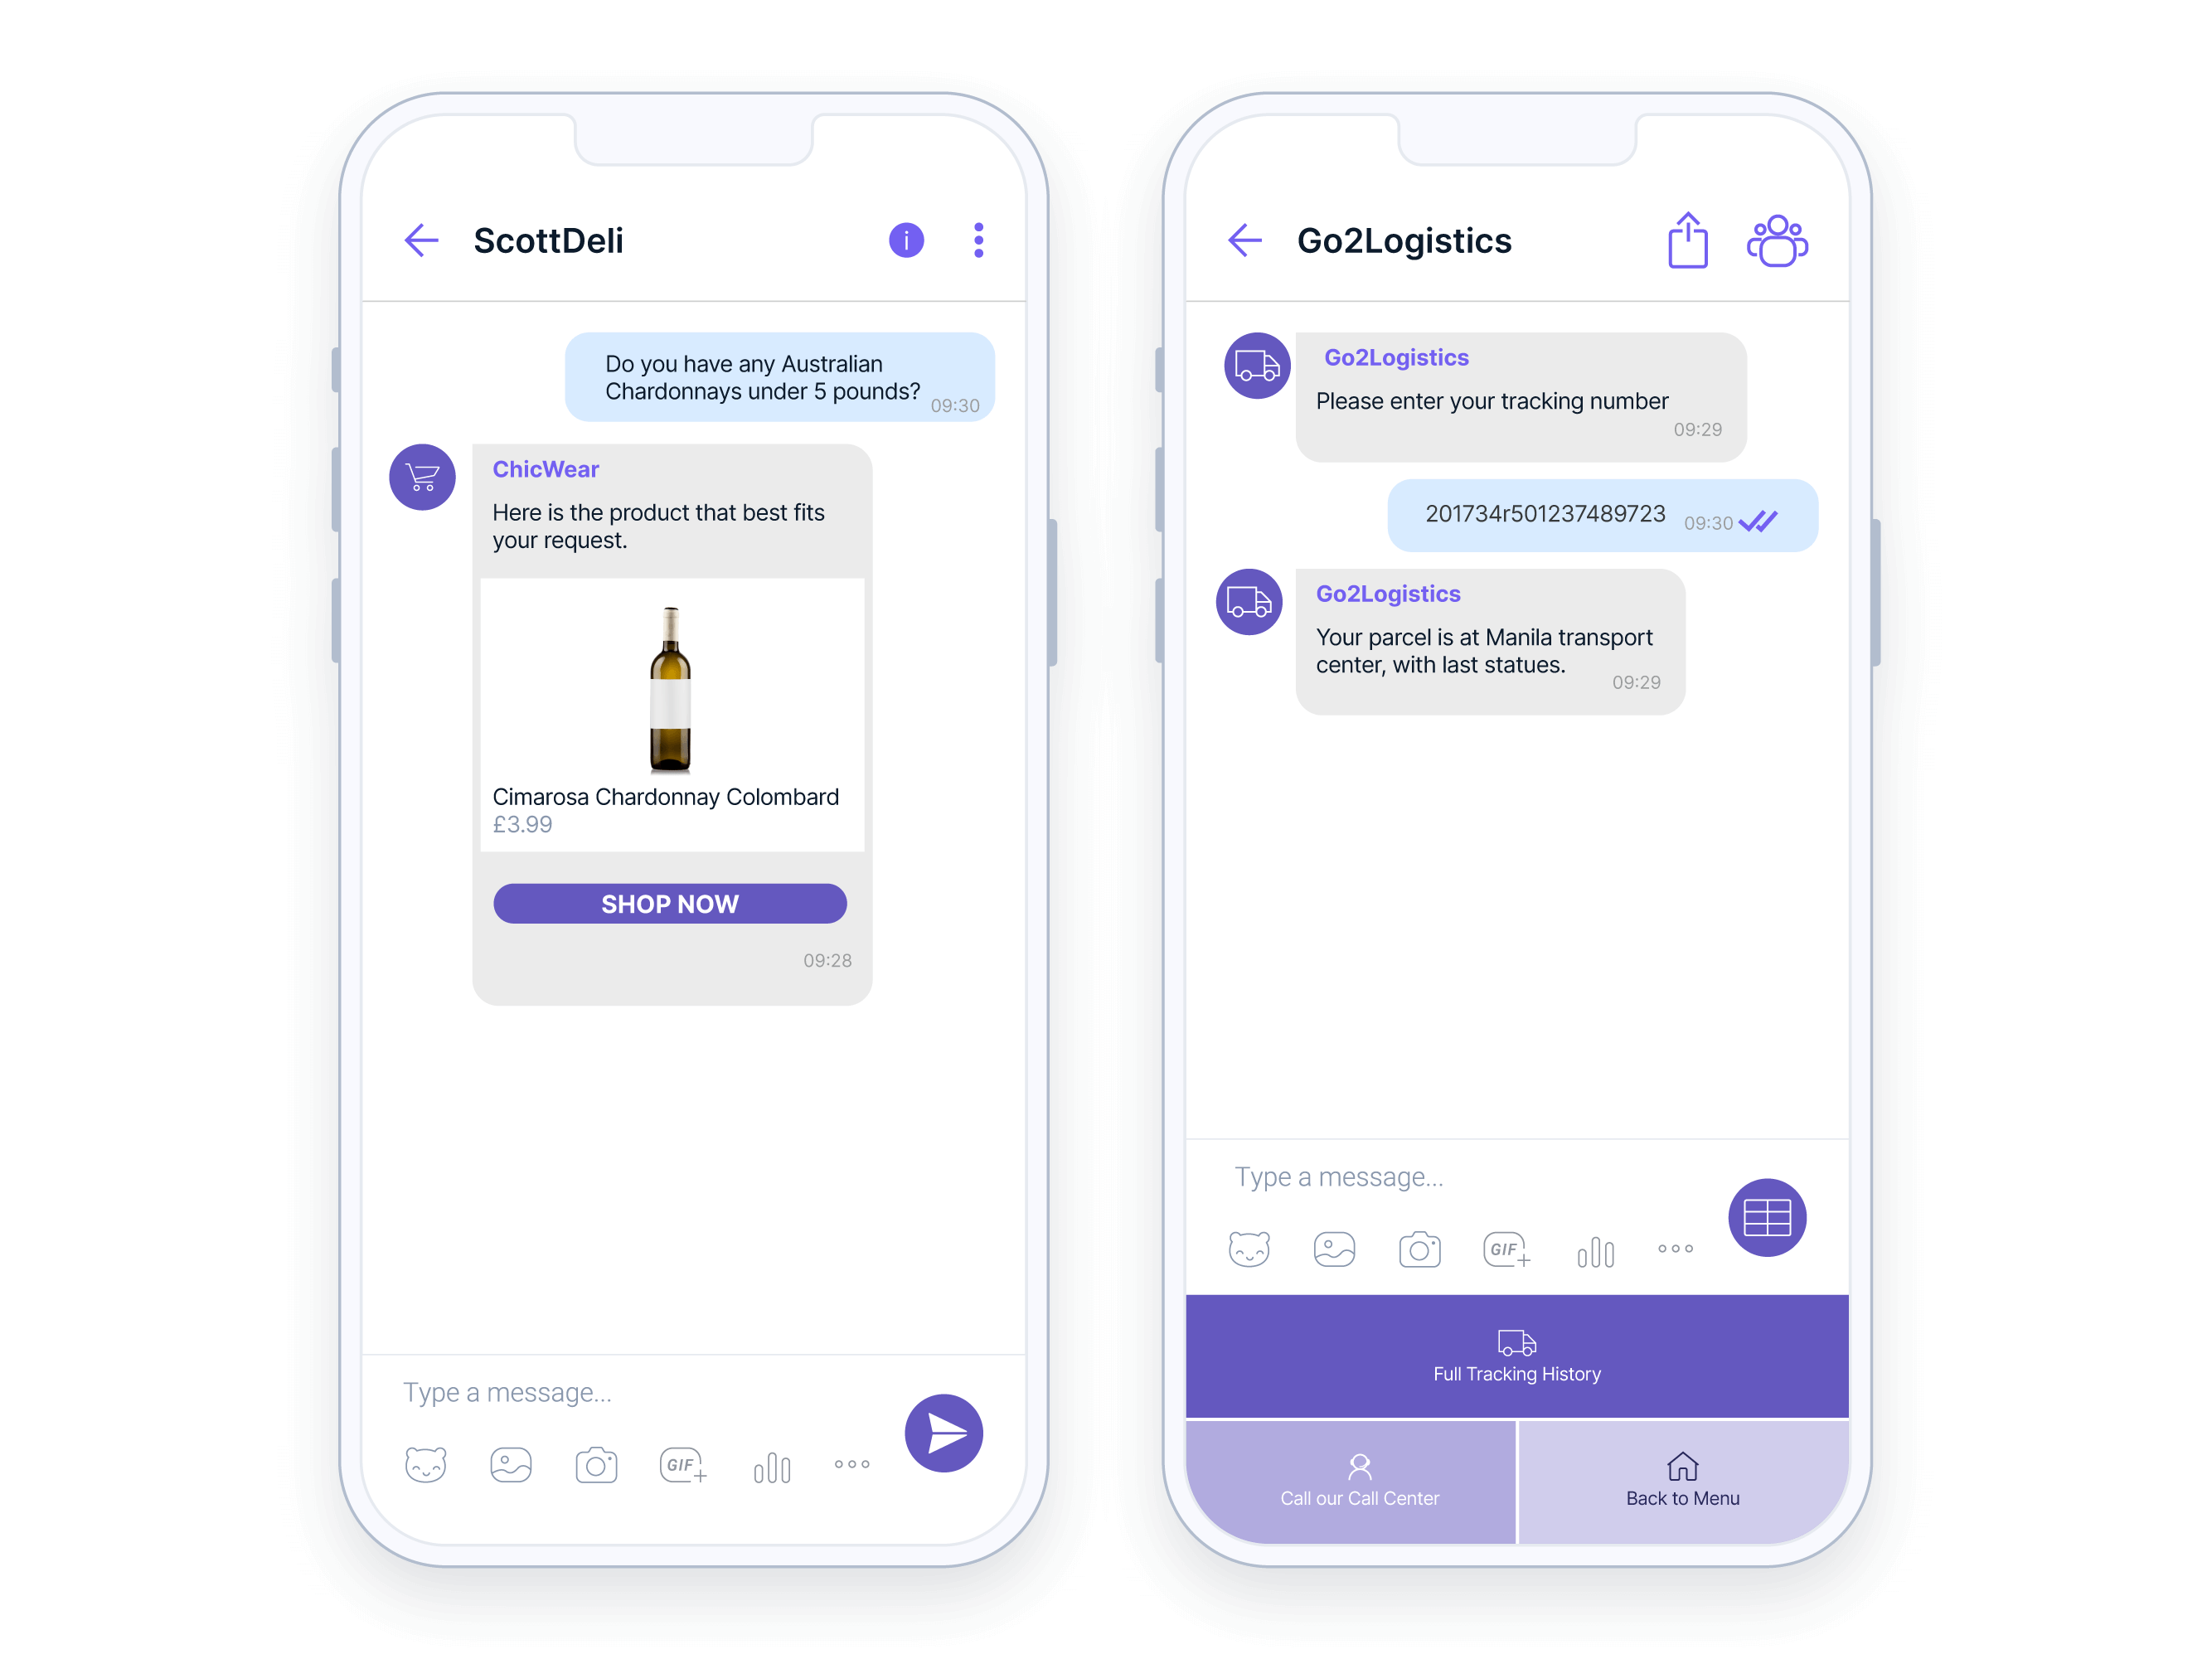
Conversational customer support
Provide superior customer support at every stage of the customer journey with two-way communication that can include multiple file types and rich media content for efficient issue resolution.
- Easy troubleshooting with one-to-one conversations or chatbots
- Account and service sign-up and quick verification
- Sales support and lead nurturing
- Collecting feedback and reviews
Craft the entire customer journey on a single app
Acquire
Check use casesGrow
Check use casesRetain
Check use casesLearn how top brands are using Viber Business Messages to drive sales and improve customer satisfaction

Yespo: 459% revenue growth using Viber via Infobip’s wholesale solution .
17x
more Viber messages .459%
revenue growth .
Primer Group: Boosting sales by 225% using Viber .
225%
increase in sales .
LEAP Summit: Improving attendee experience with Viber and SMS .
50%
decrease in queries .
ShoeBeDo: 4x order increase through personalized Viber communications .
4x
increase in orders .{{title}} .
{{meta.stats[0].number}}
{{meta.stats[0].content}} .{{meta.stats[1].number}}
{{meta.stats[1].content}} .{{meta.stats[2].number}}
{{meta.stats[2].content}} .Easily connect to the Viber Business Messages API
Benefit from the versatility of Viber Business Messages and build rich, cost effective, and scalable messaging solutions.
- Choice of a basic or fully featured API
- Rich engagement functions
- Clear API documentation
- Developer support


Speak to us about using Viber Business Messages with your existing systems
Automate Viber messages from your existing CRM and third-party platforms for event-triggered notifications, promotional messages, reminders and much more.

Harness over 15 years of experience with the world’s best connected platform.
With industry-leading expertise, you can deliver superb customer experience through our global network.
9,700+ global connections
And 800+ direct operator connections to facilitate reliable messaging and use cases anywhere in the world.
75+ offices on 6 continents
Global experience and local presence provides best-in-class service and solutions.
40+ data centers
Our worldwide data centers help you keep operations running smoothly and efficiently.